Blender for 3D Printing: Essential Settings and Export Tips
Master Blender for 3D printing with our guide to essential settings. Learn how to prepare, optimize, and export your models for perfect prints every time.

Ever felt that sinking feeling when you spend hours painstakingly designing something beautiful in Blender, you hit print, and then... *poof*... your FDM printer spits out a stringy mess or an incomplete, hollow shell? Yeah, I've been there, more times than I'd care to admit, especially in the early days of setting up Artopia Collections. It's frustrating, right? You've got this awesome design in your head, maybe a custom trophy for a client's esports tournament, or a unique Diwali lamp, and it just refuses to translate from screen to reality. Honestly, that's where the magic, and sometimes the misery, of Blender for 3D printing truly begins. But don't worry, yaar, I'm here to share some battle-tested tips and essential settings that'll make your journey a whole lot smoother.
For those of us running a small 3D printing business here in India, Blender is an absolute game-changer. I mean, it's free, it's powerful, and with a bit of elbow grease, you can sculpt, model, and prepare almost anything for print. I personally think it's the most versatile tool out there, especially if you're like me and you can't justify shelling out tens of thousands of rupees for other CAD software when you're just starting out or working on a tight budget. A roll of good quality eSun PLA+ costs about ₹1200-₹1500 these days, and a Creality Ender 3 V3 KE, which is an absolute workhorse, can set you back around ₹25,000-₹30,000. So, every saving counts, and free software like Blender helps a lot!
Why Blender is Your Best Friend for 3D Printing (and a Bit of a Frenemy too!)
Look, Blender wasn't *originally* built specifically for 3D printing, not like some dedicated CAD programs. It's an artistic powerhouse – great for animations, rendering, game assets. But that's exactly what makes it so powerful for us! We can create incredibly organic, complex, and visually stunning models that would be a nightmare in purely parametric CAD software. The downside? You need to understand its quirks, its "artist first" philosophy, to make sure your beautiful model is actually "manifold" and "water-tight" – basically, ready for a slicer like PrusaSlicer or Cura to chop into layers.
In my experience, about 70% of 3D print failures stemming from the design phase come down to not preparing the model correctly in Blender before export. It's not the slicer's fault; it's almost always something we missed in the 3D software itself. So, let's dive into those crucial settings and tips.
The Essential Blender Settings and Workflow for Flawless Prints
1. Units, Units, Units! (Please, for the love of Shiva!)
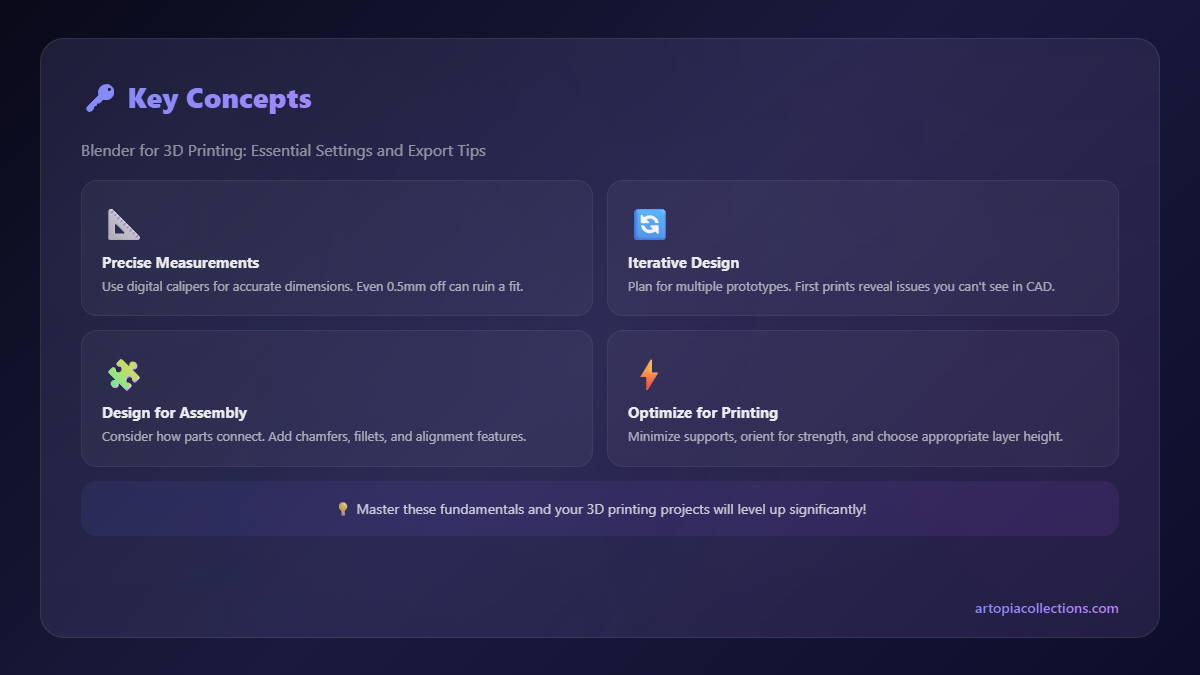
This is probably the most common mistake I see beginners make, and honestly, even I slip up sometimes when I'm rushing. Blender's default unit is "Meters." Your 3D printer and slicer? They speak "Millimeters." Imagine designing a tiny, intricate part for a drone, thinking it's 5cm, but then it prints out at 5 meters! You'd need a warehouse-sized printer for that, and a lot of filament!
Here's the deal: As soon as you open a new Blender file for 3D printing, go to the Scene Properties tab (it looks like a cylinder with three dots) in the Properties panel on the right. Under "Units," change the "Unit System" to Metric and the "Length" to Millimeters. And please, please, set your "Unit Scale" to 0.001. This small change will save you so much grief. Your dimensions will now be displayed in millimeters, and everything you model will be at the correct scale for your printer. It's a small step, but it's HUGE.
2. Manifold Geometry: The Golden Rule
This is the absolute cornerstone of 3D printing success from a design perspective. A "manifold" mesh basically means your model is "water-tight." If you filled it with water, it wouldn't leak. There are no holes, no internal faces, no overlapping geometry, no zero-thickness walls. A 3D printer can't print something that doesn't exist in 3D space, and a non-manifold edge or face is exactly that – an ambiguity.
How to check and fix:
- First, install the free 3D Print Toolbox addon that comes with Blender. Go to Edit > Preferences > Add-ons, search for "3D Print Toolbox," and enable it.
- Once enabled, in the 3D Viewport, press 'N' to open the sidebar. You'll find a new tab called "3D Print."
- Select your object, then in the 3D Print tab, click on "Checks All." It will highlight any non-manifold edges, intersections, or other issues.
- Use the "Make Manifold" button cautiously – it tries to fix things, but sometimes it can mess up intricate details. Often, it's better to manually identify and fix issues.
- Common issues include:
- Internal faces: Faces inside your object. Delete them!
- Non-manifold edges: Edges connected to more than two faces. This often happens with Boolean operations gone wrong.
- Overlapping geometry: Two parts of your mesh occupying the same space. Merge them or adjust.
This tool is invaluable. I use it constantly, especially after complex boolean operations or importing models from other sources. A non-manifold model will either fail to slice, print with holes, or just become an unprintable mess. Trust me, spending a few minutes here saves hours of failed prints.
3. Wall Thickness: Don't Go Too Thin!
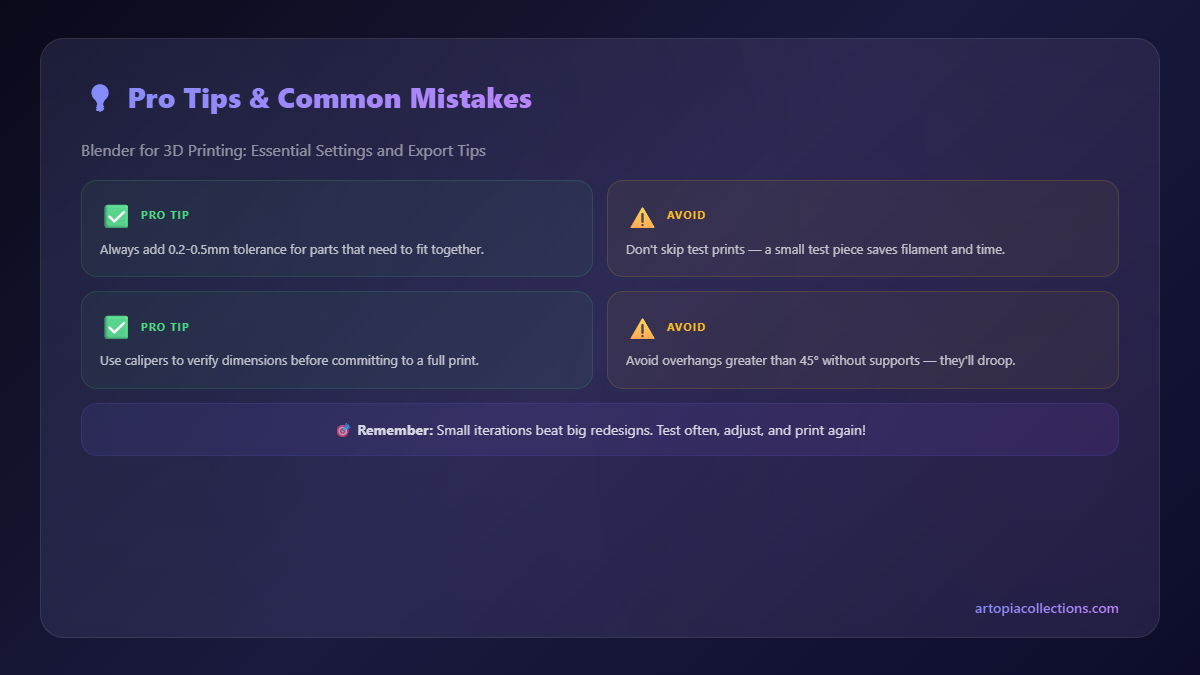
Your printer needs something to print, and if your walls are too thin, they'll either break easily, print as a flimsy single line, or just disappear entirely. Think about the nozzle size of your printer – usually 0.4mm for most FDM printers like my Ender 3 V2 or the Anycubic Kobra 2 Neo my friend uses. You can't print a wall thinner than your nozzle diameter reliably.
General rule of thumb for FDM: Aim for a minimum wall thickness of 1mm to 2mm for anything structural or load-bearing. For decorative items, you *might* get away with 0.8mm (two perimeters with a 0.4mm nozzle), but it's risky and fragile. I usually go for at least 1.2mm for most prints I do for clients – say, a custom keyring or a small enclosure – unless they specifically request ultra-thin for artistic reasons, and then I warn them about fragility.
In Blender, you can check thickness with the 3D Print Toolbox (it has a "Thickness" check). Use the "Solidify" modifier (Modifier Properties > Add Modifier > Generate > Solidify) if you have an open surface model and need to give it uniform thickness. This is super handy for converting 2D shapes into 3D objects.
4. Normals: Pointing the Right Way
Normals are basically vectors that tell Blender (and your slicer) which way a face is pointing – which side is "outside" and which is "inside." If your normals are flipped, your slicer gets confused. It might think the inside is the outside, leading to holes in your print, missing walls, or just general weirdness.
How to check and fix:
- In Edit Mode (Tab), enable "Face Orientation" overlay. Go to the top right of the 3D Viewport, click the "Overlay" dropdown (two overlapping circles), and check "Face Orientation."
- Blue faces are correct (pointing outwards). Red faces are flipped (pointing inwards).
- To fix them: Select all the red faces (or the entire mesh in Edit Mode), then press Shift + N to "Recalculate Normals Outside." If that doesn't work, go to Mesh > Normals > Flip to invert selected faces.
This is critical for a smooth slicing process. Sometimes, especially after complex modeling or importing, normals can get messed up, and it's a quick fix that saves a lot of headaches.
5. Scale: Getting it Just Right
Remember our units discussion? Even if you've set your units to millimeters, sometimes scaling operations can apply disproportionately or not at all. Always, always apply your scale transformations before exporting.
How to apply scale: In Object Mode, select your object, press Ctrl + A (or Cmd + A on Mac), and choose "Scale." This bakes the current scale into the object's data, making its nominal scale 1.0. This prevents weird scaling issues when your slicer imports the model.
Honestly, this one is often overlooked but can lead to very frustrating "my model is too big/too small" problems that seem to have no logical explanation at first glance.
6. Boolean Operations: Use with Caution
Booleans (union, difference, intersect) are incredibly powerful for combining or cutting shapes. But they can also be a nightmare for manifold geometry. A poorly executed boolean can leave you with internal faces, non-manifold edges, and all sorts of topological messes.
Tip: After every significant boolean operation, immediately check your mesh with the 3D Print Toolbox for non-manifold edges and perform mesh cleanup (like merging vertices by distance) to fix any stray geometry. Sometimes, you'll need to manually clean up vertices or edges left by the boolean modifier. It's a bit tedious, but necessary.
Exporting Your Masterpiece: Which Format and What Settings?
Once your model is clean, manifold, and perfectly scaled, it's time to export! You've got a few options, each with its pros and cons.
1. STL (.stl): The Old Workhorse
STL is the most common and universally supported file format for 3D printing. Almost every slicer accepts it. The catch? It's a "dumb" format. It only describes the surface geometry (triangles) and doesn't store color, material, or internal structure information. It's basically a wireframe cage made of triangles.
Export Settings for STL:
- Go to File > Export > Stl (.stl).
- In the export options panel (bottom left of the file browser):
- Selection Only: Check this if you only want to export selected objects. Always a good idea to ensure you don't export hidden objects or lights.
- Apply Modifiers: Definitely check this. It applies all your modifiers (like solidify, subdivision surface, booleans) to the mesh before export. Crucial!
- Scale: Set this to 1.0. Since we've set our units to mm and applied scale, this ensures correct dimensions.
- Up: Z, Forward: -Y: These are standard conventions that work well with most slicers.
- Remember to save your Blender file first! Then export.
One more thing about STL: its resolution. You can control how finely detailed your mesh is during export, sometimes under "Scene > Export Settings" or similar. For most things, the default Blender export resolution is fine. But if you have very smooth, curved surfaces and notice "faceting" (visible triangles) in your print, you might need to increase the density of your mesh (e.g., add a Subdivision Surface modifier and apply it before export, or increase the "Deviation" / "Angle" threshold in some specific STL exporters if available). Just be mindful that higher resolution means larger file sizes and longer processing times in the slicer.
2. OBJ (.obj): The Slightly Smarter Option
OBJ files can store more information than STLs, including color, texture coordinates, and even multiple objects within one file. While most FDM printers don't print in color directly (unless you have a multi-material setup like a Prusa MMU2S), OBJ can be useful if you're sending files to services that do full-color resin or powder printing, or if you're importing into other 3D software that needs texture info.
Export Settings for OBJ:
- Go to File > Export > Obj (.obj).
- Similar to STL:
- Selection Only: Check.
- Apply Modifiers: Check.
- Scale: 1.0.
- Forward: -Z, Up: Y: Blender's default for OBJ, which is a common standard.
- You can also choose to export materials, normals, UVs if relevant, though often not necessary for simple FDM prints.
I don't use OBJ much for direct FDM printing myself, but it's good to know it's there. It's more of a general 3D exchange format.
3. 3MF (.3mf): The Future-Proof Format!
This is where it gets exciting! 3MF is quickly becoming the preferred format for 3D printing because it solves many of the STL's limitations. It's an open standard that can contain:
- The mesh geometry (including manifold information, which is a big deal!)
- Color and textures
- Multiple objects and their relationships
- Support structures (if designed in Blender)
- Printer settings metadata
Export Settings for 3MF:
- Go to File > Export > 3D-Print (.3mf). (You might need to enable the 3D Print Toolbox addon first, as it also provides this export option).
- Again, the usual suspects:
- Selection Only: Yes.
- Apply Modifiers: Absolutely yes.
- Scale: 1.0.
- Up: Z, Forward: -Y: Standard.
- You'll also find options for "Units" (make sure it's mm) and potentially "Materials" or "Colors" if your model has them.
Honestly, for most of the custom models I print at Artopia Collections, especially if they're complex or might involve future multi-material upgrades, I try to use 3MF. It just feels more robust and less prone to interpretation errors by the slicer. It’s definitely worth getting familiar with it. If you're looking for quality filaments to try out your new Blender skills, check out some options like eSun PLA+ on Amazon India – they’ve got a great selection. And if you're thinking about a new printer to handle those amazing Blender models, something like a Creality Ender 3 V3 KE is a fantastic choice for both beginners and seasoned enthusiasts!
A Little Something Extra: Mesh Cleanup
Before any export, I always do a quick mesh cleanup. In Edit Mode, select all (A), then press M and choose "By Distance." This merges any vertices that are extremely close to each other, which can often fix tiny non-manifold issues or reduce polygon count without affecting detail. It's a small step, but it makes a difference.
Bringing it All Together
The journey from a blank canvas in Blender to a tangible, perfectly printed object is incredibly rewarding. It’s what drives me and my little business, Artopia Collections. Whether it's crafting intricate architectural models, bespoke miniatures, or functional prototypes for local businesses, Blender is at the heart of it all. We even offer some of our own 3D printed designs on our products page, and every single one started its life in Blender.
It's not about being a Blender master from day one; it's about understanding these core principles of 3D print preparation. Once you get these settings down, once you instinctively know to check for manifold geometry and correct normals, your print success rate will skyrocket. You'll spend less time troubleshooting failed prints and more time actually creating and innovating. And that, my friends, is what 3D printing is all about – turning imagination into reality, one layer at a time. Happy printing!


