Fusion 360 for 3D Printing: Complete Beginner Course Outline
Get started with 3D modeling for printing! This beginner's course outline for Fusion 360 will guide you through designing your first printable models.
Artopia Collections Blog Team10 May 202612 min read

Fusion 360 for 3D Printing: Your Complete Beginner Course Outline (Finally!)
Alright, buckle up, my fellow makers and aspiring creators! If you've ever dreamt of designing your own stuff – I mean, truly *your own*, from scratch – and then watching it magically materialize layer by layer on your 3D printer, then you're in the right place. Honestly, when I first started my journey into 3D printing here in India, I felt like I was staring at a wall of code and complex software. There's a ton of information out there, but finding a clear, step-by-step path, especially one that speaks to our local context, was a real struggle. I remember spending countless hours on YouTube, switching between different tutorials, sometimes getting completely lost. But then, I found Fusion 360, and let me tell you, it was a game-changer for Artopia Collections, my little business that could! It transformed my ideas from blurry concepts in my head to actual, tangible products that people love (you can check out some of them right here on our store). And that's exactly why I'm so incredibly excited to share this with you today: a complete beginner course outline for Fusion 360, tailor-made for us 3D printing enthusiasts.Why Fusion 360? My Personal Obsession (and yours, soon!)
So, why Fusion 360? In a world full of CAD software – Blender, Tinkercad, SolidWorks, FreeCAD, you name it – why am I banging the drum for Fusion 360 so hard? Well, for starters, it's incredibly powerful, professional-grade software that's also surprisingly intuitive once you get the hang of it. And here's the kicker for hobbyists and small businesses like mine: Autodesk offers a *free personal use license*. That's right, free! For design, modeling, CAM, simulation, rendering – all of it. For individuals earning less than ₹8,00,000 annually from design-related activities, it's essentially a powerhouse in your hands without breaking the bank. A commercial license, on the other hand, can set you back about ₹30,000-₹35,000 annually, which is a significant investment for a startup. So, that free license is just priceless when you're starting out. Beyond the cost, the thing is, Fusion 360 is built for parametric design. What does that mean? It means your designs aren't just static sculptures; they're intelligent. You can change a dimension, and the entire model updates automatically. This is absolutely crucial when you're iterating on a design, making tweaks for printability, or customizing a product for a client. Trust me, I've had clients ask for a phone stand that's "just a little bit wider" or a bracket that needs to fit a "slightly different diameter pipe." With Fusion 360, it's often a matter of changing one number, not rebuilding the entire model. That's efficiency, my friends, and it saves you headaches, time, and filament. And speaking of filament, if you're looking to stock up on some good quality PLA, you can't go wrong with something like this: check out various options on Amazon.in. I personally use eSun and Overture a lot, but there are some decent Indian brands popping up too. My own journey with Fusion 360 wasn't exactly love at first sight, though. It was more like a slow, steady courtship. I came from a background of dabbling in some simpler 3D modeling tools, but I knew if I wanted to create truly functional, precise parts for my business, I needed something more. The initial learning curve felt a bit steep, I won't lie. All those different workspaces – Design, Render, Manufacture – and all those buttons! But once I understood the basic workflow, how sketching leads to solid bodies, and how parameters work, it clicked. Suddenly, ideas that seemed impossible to model became achievable. I started designing custom enclosures, intricate prototypes, and even some artistic pieces that required really tight tolerances. It empowered me to not just print what others had designed, but to bring *my own* visions to life. And that feeling? It's addictive! So, that's why I've poured my heart into outlining this course. I want to save you those hours of frustration and guide you through the process, just like I wish someone had guided me. This isn't just about learning software; it's about unlocking your creative potential and making your 3D printer truly sing.My Course Philosophy: Hands-On, Practical, and No-Nonsense
This course isn't about memorizing every single button in Fusion 360. It's about building a strong foundation, understanding the core concepts, and giving you the confidence to tackle your own projects. We're going to learn by doing. Each module will build on the previous one, and by the end, you won't just know *how* to use Fusion 360, you'll actually be *designing* and preparing models for your 3D printer. I'll be sharing tips and tricks I've learned from countless hours of printing on my trusty Creality Ender 3 V2 (and more recently, an Anycubic Kobra Go – oh, the joys of having multiple printers!), dealing w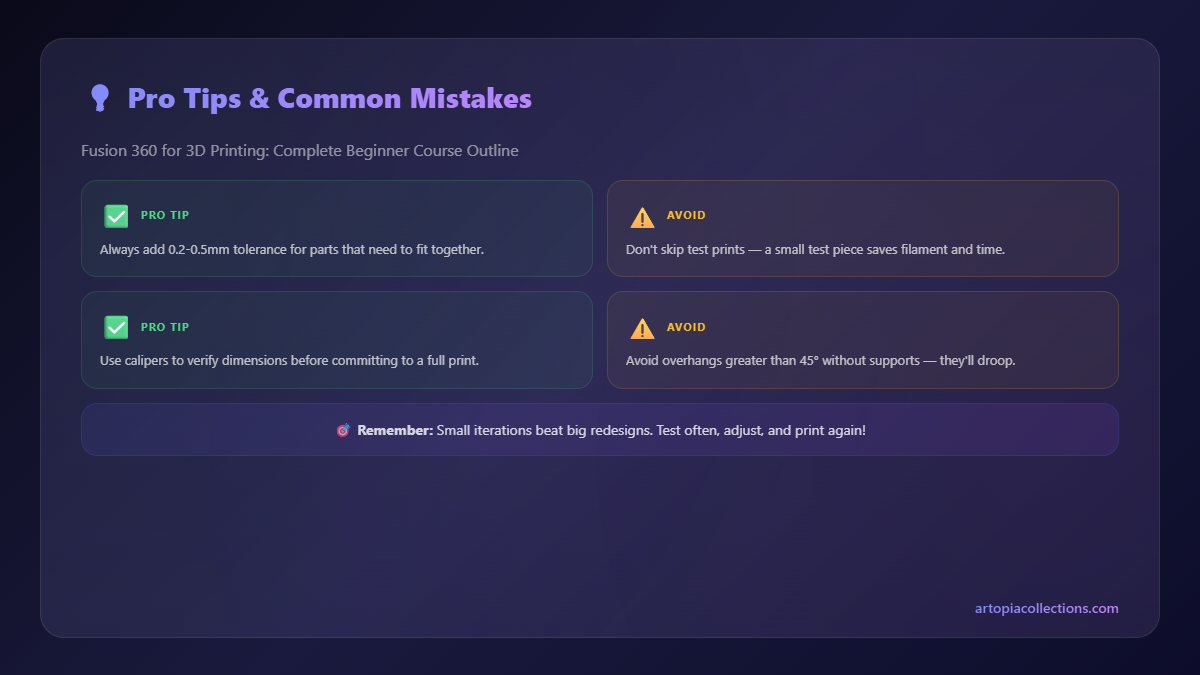
Module 1: Getting Started with Fusion 360 – The Absolute Basics
This is where we peel back the first layer. No prior CAD experience? No problem at all! * Installation & Setup: We'll walk through getting your free personal use license from Autodesk, downloading, and installing Fusion 360. I'll show you how to set it up for optimal performance on your machine. * Understanding the User Interface (UI): Honestly, this is where most people get intimidated. We'll break down the workspace – the ribbon, browser, timeline, view cube, and all the main panels. I'll explain what each section is for without overwhelming you. * Navigation & Controls: Mastering the mouse and keyboard shortcuts for orbiting, panning, and zooming. This seems trivial, but good navigation is critical for efficiency. It's like learning to ride a bicycle; awkward at first, then second nature. * Cloud Project Management: Fusion 360 is cloud-based, which is super cool because you can access your designs from anywhere. We'll learn how to create projects, save files, and understand version control. This saved my bacon more times than I can count when my laptop decided to be fussy.Module 2: Sketching – The Foundation of All Design
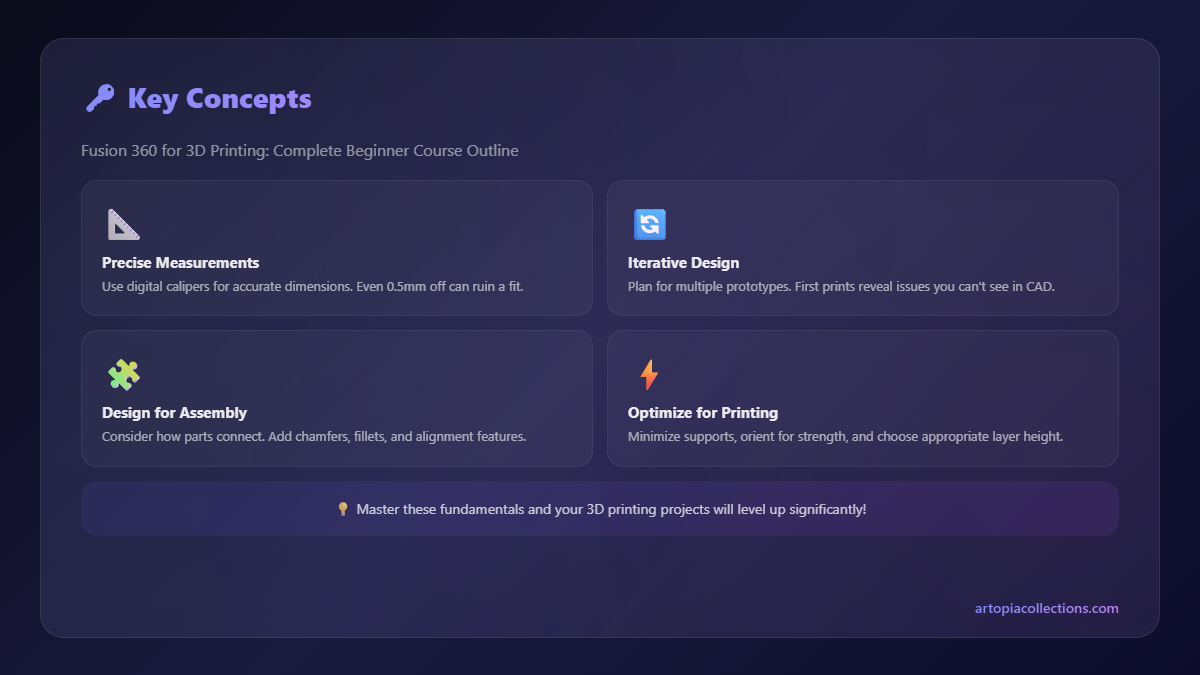
Think of sketching as drawing blueprints. Before you can build a house, you need a solid plan. In Fusion 360, almost every 3D model starts with a 2D sketch. * Basic Sketch Tools: Lines, circles, rectangles, arcs, splines – these are your pencils and rulers. We'll learn how to use each tool effectively. * Dimensions & Constraints: This is the secret sauce of parametric design. We'll learn how to precisely define the size and position of your sketch elements using dimensions, and how to control their relationships with constraints (like making two lines parallel or two circles concentric). This is crucial for making designs that actually work. * Modifying Sketches: Trimming, extending, offsetting – making adjustments to your sketches. * Creating Your First 3D Forms: Taking those 2D sketches and turning them into 3D objects using the 'Extrude' and 'Revolve' commands. This is always a "whoa!" moment for beginners. You'll literally see your 2D idea pop into 3D!Module 3: Basic 3D Modeling – Bringing Ideas to Life
Now that we can sketch and do basic extrusions, it's time to sculpt! This module is where your designs start to gain detail and functionality. * More Extrude & Revolve Options: Going beyond simple extrusions – cutting, joining, intersecting. * Fillet & Chamfer: Smoothing sharp edges or beveling them. Essential for aesthetics and sometimes, printability. (Sharp corners can be a pain on FDM printers, believe me!) * Shell Command: Making hollow objects. Think of creating a box that's hollow inside instead of a solid brick. * Hole Command: Creating precise holes for screws, dowels, or whatever else you need. This is much more powerful than just cutting circles. * Patterning & Mirroring: Duplicating features in a linear or circular pattern, and mirroring designs to create symmetrical objects. This saves so much time! * Construct Geometry: Creating planes, axes, and points that aren't part of your original model but are necessary for complex operations.Module 4: Parametric Design – The Power of Adaptability
This is arguably one of Fusion 360's biggest superpowers and where it truly shines for iterative design. * Understanding Parameters: What they are, how they work, and why they're so important. * User Parameters: Creating your own named parameters (e.g., "wall_thickness," "screw_diameter") that you can easily change later to update your entire model. This is invaluable for customization. * Designing with Adaptability: We'll design a simple object (like a custom enclosure or a bracket) where changing a single parameter updates the entire model, showing you the magic of parametric design in action. This feels like unlocking a cheat code, honestly.Module 5: Assembly & Components – Building Complex Creations
Most real-world objects aren't just one solid piece. They're made of multiple parts that fit together. This module teaches you how to manage and assemble these parts. * Bodies vs. Components: Understanding the difference and why organizing your design into components is crucial for complex assemblies. This was a concept th