How to Design Your Own 3D Models: TinkerCAD, Fusion 360, and Blender Compared
Ready to design your own 3D models but unsure where to start? This guide compares TinkerCAD, Fusion 360, and Blender, helping you choose the best software for your skill level and project needs.

Ever stared at something, an everyday object, a gadget, and thought, "Man, if only this were *just a little bit different*... a bit bigger here, a custom slot there, or maybe a completely new shape altogether?" Yeah, me too. All the time! That's literally how my brain works, and it's what eventually pushed me, Vidyut, from just admiring 3D prints to actually creating my own designs and, well, starting my little business, ArtOptia Collections. The thing is, having a fantastic 3D printer like my trusty old Ender 3 (or even a newer speed demon like the Creality K1 Max, which I'm eyeing these days) is only half the battle. The real magic, the true power of this technology, lies in being able to bring your wildest ideas from your head into the digital realm, ready for the printer to squirt out layer by glorious layer. But how do you even start designing? That's the question I get asked a lot, and honestly, it can feel a bit daunting. So, let's break it down, comparing three titans of 3D design software: TinkerCAD, Fusion 360, and Blender.
I remember when I first got into 3D printing. It was mind-blowing to see a physical object materialize from a spool of plastic. But then, I'd scroll through Thingiverse, Printables, you name it, and while there's an ocean of amazing models out there, I always craved that personal touch. That moment when you design something specific to *your* need, *your* desk, *your* quirky little project â that's pure joy, folks. Itâs not just about making things; itâs about solving problems creatively, about building exactly what you envision. And that's why diving into design software is an absolute game-changer for any 3D printing enthusiast. Trust me, it unlocks a whole new level of fun and utility.
TinkerCAD: The Friendly Playground for Your First Steps
Alright, let's kick things off with TinkerCAD. If you've never touched 3D design software before, this is where you should absolutely, unequivocally start. Think of TinkerCAD as your digital Lego set. You're basically dragging and dropping simple shapes â cubes, cylinders, spheres, cones â onto a workplane and then combining them, subtracting them, or scaling them to create more complex forms. Itâs browser-based, completely free, and incredibly intuitive. Iâve seen kids as young as seven or eight years old pick this up in minutes and start designing some really cool stuff. No software to install, no complex menus to navigate; it's just pure, unadulterated drag-and-drop fun.
I personally recommend TinkerCAD to anyone asking about getting started, especially for hobbyists who just want to quickly mock up a simple bracket, a custom phone stand, or perhaps a little organizer for their desk. It's fantastic for quick iterations. Like, if I need a quick fix for something broken around the house, say a small plastic clip for a curtain rod, I'll often just hop onto TinkerCAD, whip something up in 15-20 minutes, export it, and print it. It saves me so much time compared to trying to find a pre-made model that might not perfectly fit my exact dimensions.
But, and there's always a "but," right? TinkerCAD has its limitations. Because it's so simple, you're not going to be designing intricate mechanical parts with precise tolerances, or sculpting organic, flowing shapes for an action figure. It's not built for that kind of complexity. It's essentially a Constructive Solid Geometry (CSG) modeller, meaning you're always adding or subtracting solids. You can't really do advanced surfacing, fillets, chamfers with super fine control, or anything parametric where you can easily change a dimension and have the whole model update. For those things, you'll need something more powerful. Still, it's the perfect entry point. It teaches you the basics of thinking in 3D space, how to combine objects, and the importance of dimensions. For many, it's all they'll ever need, and that's perfectly fine!
Fusion 360: The Engineer's Workbench (Even for Hobbyists!)
Now, if TinkerCAD is your Lego set, Fusion 360 is your full-fledged engineering workshop. This is where things get serious, precise, and incredibly powerful. Fusion 360, by Autodesk, is a parametric CAD (Computer-Aided Design) software. What does "parametric" mean? Basically, you define dimensions and relationships between parts. If you later decide you want a hole to be 5mm instead of 4mm, you just change that one number, and the software automatically updates everything that's dependent on it. This is a massive deal for accuracy and making iterative changes.
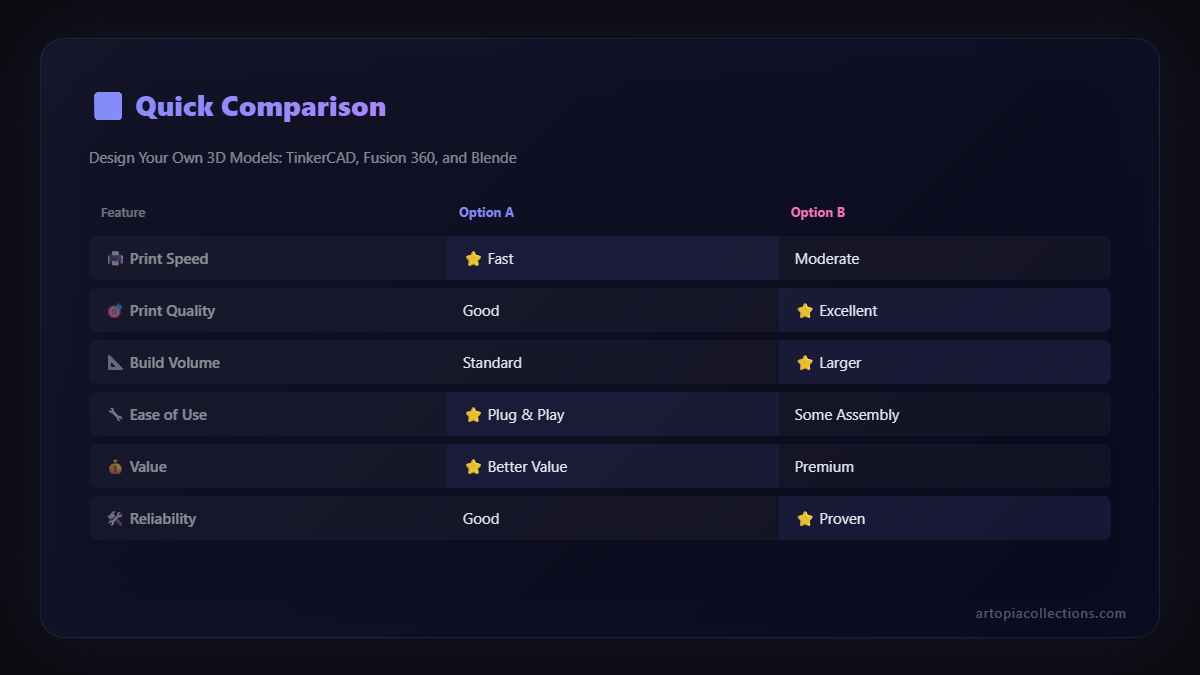
In my business, ArtOptia, Fusion 360 is my daily driver for anything functional, anything that needs to fit perfectly, or anything with moving parts. Custom enclosures for electronics? Fusion 360. Replacement gears for a broken appliance? Fusion 360. Designing intricate jigs or fixtures for my workshop? You guessed it, Fusion 360. It excels at creating solid, robust, and manufacturable designs. You start with sketches, constrain them with dimensions, extrude them into 3D, and then add features like holes, fillets, chamfers, and more. It also has excellent assembly tools, letting you design multiple parts and then virtually put them together to see how they'll interact before you even hit print.
The learning curve for Fusion 360 is definitely steeper than TinkerCAD. You'll need to understand concepts like sketching planes, constraints, extrusions, revolves, sweeps â all the fundamental CAD operations. But honestly, the payoff is immense. There are tons of fantastic free tutorials on YouTube, and Autodesk itself offers great resources. Plus, the community is huge and very supportive. The best part for hobbyists in India (and globally) is that Fusion 360 offers a free personal use license if your annual revenue from it is below a certain threshold (I believe it's around $1,000 USD, so for most hobbyists, it's essentially free). For businesses like mine, with revenue exceeding that, you'll need a commercial license, which runs about â¹44,900 for a one-year subscription. It's an investment, but for the capabilities it offers, it's totally worth it.
One of the things I love about Fusion 360 is its integrated CAM (Computer-Aided Manufacturing) workspace. While primarily used for CNC machining, it's super handy for understanding toolpaths, and it shows the depth of this software. You can even do some basic rendering to see what your design would look like in different materials before printing. It's a powerhouse, and if you're serious about creating functional, precise 3D prints, this is the software you'll eventually want to master. Get yourself a good 3D printing toolkit â something with deburring tools, pliers, and a spatula â it'll be your best friend when working on these functional parts: Check out some options on Amazon.in!
Blender: The Digital Clay for Artists and Sculptors
And then there's Blender. Oh, Blender! This software is a beast. It's free, open-source, and arguably one of the most powerful 3D content creation tools out there. But here's the deal: Blender wasn't originally designed with 3D printing in mind, at least not in the same way CAD software like Fusion 360 was. Blender excels in organic modeling, sculpting, animation, rendering, visual effects â basically, anything artistic and visually stunning. Think character models for games, intricate statues, detailed cosplay props, or even complex architectural visualizations. It's the digital equivalent of a sculptor's studio, where you're pushing, pulling, pinching, and smoothing virtual clay.
The learning curve for Blender? It's like climbing Mount Everest without oxygen, initially. It's incredibly powerful, but it has a unique interface and a workflow that can feel completely alien if you're coming from a CAD background. While Fusion 360 deals with solid bodies and precise dimensions, Blender primarily deals with meshes â vertices, edges, and faces. This makes it fantastic for creating flowing, organic shapes that would be incredibly difficult, if not impossible, to achieve in Fusion 360. You can literally sculpt models using brushes, much like a digital ZBrush (another powerful sculpting software, but a paid one).
For 3D printing, Blender shines when you're making figurines, intricate jewellery designs, artistic pieces, or anything that prioritizes aesthetics over precise mechanical function. I sometimes use Blender to add very fine, organic details to models that I've largely designed in Fusion 360, especially if I'm making something decorative for ArtOptia. For instance, if I'm designing a custom vase, I might do the basic shape in Fusion for stability, then take it into Blender to add intricate patterns or textures that would be tough to model parametrically. However, you need to be mindful of "manifold" geometry when preparing models for 3D printing in Blender. Essentially, you need a watertight, solid mesh without any holes or internal faces that would confuse the slicer. This can be a headache for beginners, and often requires using specific add-ons or cleanup techniques.
So, if your passion is character design, creating your own tabletop gaming miniatures, or highly detailed, artistic prints, Blender is your go-to. Just be prepared to spend a significant amount of time learning its quirks and capabilities. Itâs an incredibly rewarding journey, but itâs definitely not a shortcut. Remember, a good quality PLA filament makes all the difference for these detailed prints; I usually stick with brands like eSun or Overture for reliable results. You can find a wide range of options here: Browse PLA filaments on Amazon.in.
Which One Should YOU Choose? The Big Decision!
Honestly, there's no single "best" software; it all depends on what you want to achieve. Hereâs my two cents:
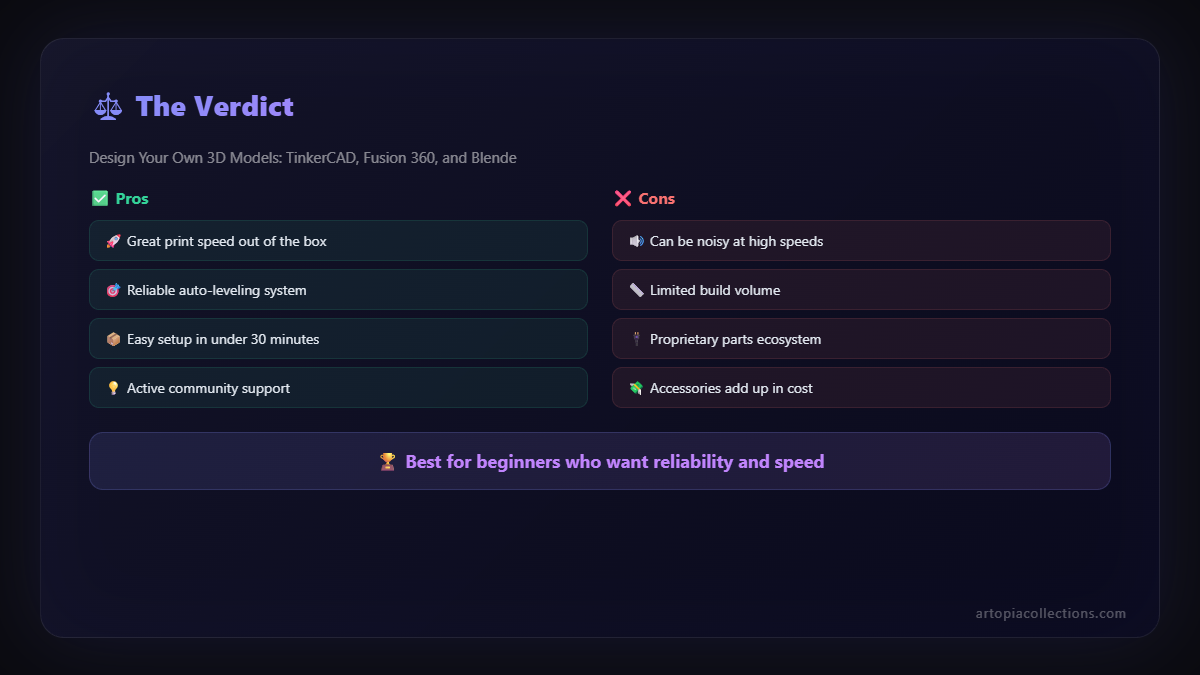
- For the absolute beginner or simple, quick fixes: Start with TinkerCAD. It's free, easy, and will get you comfortable with the basics of 3D thinking.
- For functional parts, mechanical designs, enclosures, and precise models: Dive into Fusion 360. It's the industry standard for product design, and its free personal license makes it accessible. This is the one youâll want for serious engineering and problem-solving prints.
- For artistic sculpting, organic shapes, characters, or intricate visual designs: Tackle Blender. Be prepared for a steep learning curve, but the creative freedom it offers is unparalleled.
In my own workflow at ArtOptia Collections, I primarily use Fusion 360 for anything that needs to be functional, precise, or part of an assembly. I occasionally dabble in Blender for more artistic, organic projects, and I still use TinkerCAD for super quick, simple models, or even to prototype an idea before moving it into Fusion 360. There's no shame in using multiple tools; they all have their strengths!
The journey from an idea in your head to a physical 3D print is incredibly satisfying. It starts with choosing the right digital canvas for your vision. Don't be afraid to experiment! There are countless free tutorials out there for all three software. Just pick one, watch a few videos, and start making something, anything! You'll be amazed at what you can create. And hey, once you've designed some masterpieces, why not check out some of my own creations over at ArtOptia Collections? Maybe you'll find some inspiration, or even something you'd like to customize further yourself!
Happy designing, and happy printing, my friends!


