How to Design a Custom Enclosure for Raspberry Pi in Fusion 360
This guide will teach you how to design a custom enclosure for your Raspberry Pi using Fusion 360, making it perfect for 3D printing. You'll learn essential modeling techniques and considerations for electronic enclosures.

Ever Scratched Your Head Wondering How to Give Your Raspberry Pi That *Perfect* Home? Let's Design It Together in Fusion 360!
You know that feeling, right? You’ve just finished a killer Raspberry Pi project – maybe it’s a retro gaming console, a smart home hub, or even a tiny server for your house. Everything’s working flawlessly, you’ve coded your heart out, and the Pi is humming along beautifully. But then you look at it, just sitting there on your desk, naked. All those exposed pins, the bare PCB, just begging for a stray coffee spill or a curious kid’s finger. That’s where I usually throw my hands up and say, “Alright, time to give this little powerhouse the enclosure it deserves!”
Hi there, fellow maker! It's Vidyut from ArtOpia Collections, your friendly neighbourhood 3D printing enthusiast and small business owner right here in India. We do a lot of custom 3D prints, prototyping, and design work for folks, and honestly, Raspberry Pi enclosures are a super common request. Why? Because off-the-shelf options are often... well, let's just say they're *okay*, but they rarely fit your exact needs. They might block a specific sensor you want to add, not have enough ventilation for your overclocked setup, or just look plain boring. And who wants boring when you can have awesome, right?
So, today, I want to walk you through my process for designing custom Raspberry Pi enclosures using Fusion 360. It’s my go-to CAD software, and honestly, if you’re into 3D printing and design, you absolutely *need* to get familiar with it. It’s powerful, relatively easy to learn, and best of all, the personal use license is free! So no need to shell out big bucks to get started. Let’s dive in and turn that naked Pi into a properly housed masterpiece!
Why Go Custom When You Can Buy Off-the-Shelf?
That’s a fair question, and one I get asked a lot. Sure, you can hop onto Amazon.in and find a gazillion enclosures for your Raspberry Pi. They're cheap too, often just a couple of hundred rupees – maybe something like this. But here's the deal: most of those are generic. They don't account for your specific HAT (Hardware Attached on Top) board, your extra fan, an external antenna, or even just that cool LED strip you want to embed. And what if you want your company logo on it, or a specific colour that matches your home decor? Good luck finding that off the shelf!
Designing your own enclosure gives you complete control. You can add mounting points for a camera, cutouts for specific cables, integrated standoffs for additional PCBs, and even complex ventilation patterns to keep your Pi cool under heavy load. Plus, there’s an immense satisfaction in seeing your design go from a concept in Fusion 360 to a tangible, perfectly fitting physical object coming right off your 3D printer. Trust me, it’s addictive!
Getting Started: The Essentials You'll Need
Before we even open Fusion 360, let's talk about what you'll need. It's pretty basic, honestly:
- Your Raspberry Pi: Obviously! You'll need the exact model (Pi 3B+, Pi 4, Pi Zero W, whatever) because their dimensions and port layouts differ.
- Fusion 360: Download and install it. Get comfortable with the interface if you haven't already.
- Digital Caliper: An absolute must-have. Even a basic one like these on Amazon for ₹500-₹1000 will be invaluable for precise measurements.
- A 3D Printer: I run a bunch of machines, including Creality Ender 3s and an Anycubic Kobra, which are great workhorses for hobbyists and small businesses. An Ender 3 V2, for example, will set you back about ₹20,000-₹25,000 these days, and it's totally worth it.
- Filament: PLA is great for most enclosures. It’s easy to print and comes in a rainbow of colours. For something that might get a bit warm, like a Pi handling heavy tasks, you might consider PETG, which handles heat a bit better. A good spool of eSun or Overture PLA usually costs me around ₹1200-₹1500.
Step 1: Get Your Raspberry Pi's Digital Twin
You don't want to measure every single component of your Pi manually, trust me, you'll go mad. The best way to start is to find a accurate 3D model of your specific Raspberry Pi board. Sites like GrabCAD are fantastic for this, or sometimes the Raspberry Pi Foundation themselves provide official CAD files. A quick search for "Raspberry Pi 4 CAD model Fusion 360" usually does the trick.
Once you’ve downloaded the STEP or F3D file, you can import it directly into your Fusion 360 project. This will serve as your reference point. You can toggle its visibility on and off, but it's crucial for ensuring all your cutouts and mounting points are perfectly aligned. This is your foundation, literally.
Step 2: Sketching the Base – The Heart of Your Enclosure
Alright, fire up Fusion 360! Create a new design. My usual workflow goes like this:
- New Component: Always start with a new component for each major part (base, lid, etc.). This keeps your design organised.
- Create Sketch: Select the bottom plane (or whatever plane makes sense for your base).
- Outline the Board: Draw a rectangle slightly larger than your Raspberry Pi. Give it a bit of a buffer – maybe 1.5mm to 2mm clearance on each side is good for PLA, allowing for print tolerances and easy fitting. So, if your Pi is 85mm x 56mm, you might make your internal dimensions 88mm x 59mm.
- Extrude the Base: Extrude this sketch upwards to create the base thickness. I usually go for about 3mm to 5mm for the floor of the enclosure. Remember, your walls will come up from this.
Step 3: Port Cutouts – Where Your Pi Connects to the World
Now, this is where that imported Raspberry Pi model really shines. Make it visible. You'll need to create cutouts for all the ports: USB, Ethernet, HDMI, power (USB-C for Pi 4, micro USB for older models), and the audio jack (if present). Don't forget the micro SD card slot!
Here’s how I tackle this:
- Create Sketch on the Side: Select the face of your base where a port is located.
- Project Geometry: Use the "Project/Include" tool (P on the keyboard) to project the outline of the Pi's port onto your sketch. This gives you a perfect guide.
- Offset and Extrude Cut: Draw a rectangle slightly larger than the projected port outline (again, 0.5mm to 1mm clearance all around is good). Then use the "Extrude" tool, but instead of creating new material, select "Cut" and drag it through the wall.
- Repeat: Do this for every single port. It's a bit tedious, but precision here is key!
Pro Tip: For the SD card slot, remember it’s often recessed. You might need to create a small ramp or a larger opening to make it accessible. I personally prefer a slightly larger opening so I don't have to fiddle too much trying to get the card in or out. It's a small detail, but makes a huge difference in usability!
Step 4: Mounting the Pi – Standoffs and Screws
Your Pi can't just float inside the enclosure. It needs to be securely mounted. This is where standoffs come in. The Raspberry Pi boards have four standard mounting holes.
- Identify Mounting Holes: Make sure your Pi model is visible. Locate the four small mounting holes.
- Create Sketch on Base: Create a sketch on the internal floor of your base.
- Project Hole Centres: Project the centre points of the Pi's mounting holes onto your sketch.
- Draw Circles: Draw circles for your standoffs. I usually make them 4mm-5mm in diameter for stability. Extrude these upwards. The height should be sufficient to clear any components on the bottom of the Pi, but not so high that the Pi touches the lid. Around 5mm-7mm is a good starting point.
- Threaded Holes: On top of these standoffs, create smaller holes (2.5mm for an M2.5 screw, which is common for Pi boards). You can then use the "Thread" tool in Fusion 360 to visually represent the threads. During printing, the printer will just print a 2.5mm hole, and you can self-tap the screw in. Or, you can make the hole 2.0mm and use heat-set inserts for a more robust connection – I absolutely *love* heat-set inserts. They make everything feel so premium!
Step 5: Designing the Lid – Vents, Logos, and Fasteners
The lid is where you can really get creative!
- New Component for Lid: Create a new component.
- Sketch the Lid Outline: Project the outer edge of your base component onto a new sketch plane above the base. Extrude this outline to the desired lid thickness (again, 3mm-5mm is good).
- Ventilation: This is critical, especially for a Pi 4, which can run hot. Design some vents! You can do simple slots, honeycomb patterns, or even intricate geometric designs. Make sure there’s enough open area for airflow, ideally directly above the CPU/RAM chip. For something like a Pi 4 running a server, I might add an extra fan mount – just design a circular cutout for a standard 30mm or 40mm fan and add screw holes around it.
- Fastening the Lid:
- Screws: The most common method. Design screw bosses (small pillars with holes) on the corners of your base that align with holes in your lid. Again, M2.5 or M3 screws work well. Remember to account for the screw head!
- Snap-fit: A more elegant solution if designed correctly. This requires careful dimensioning and some understanding of material flexibility. It's trickier to get right on the first try but looks super clean.
- Magnets: For quick access, small neodymium magnets can be embedded during printing or glued in afterwards.
- Branding/Features: Want your business logo, or a cool icon? Use the "Text" or "SVG Insert" feature in Fusion 360 and extrude-cut or extrude-add them to your lid. For my business, ArtOpia Collections, I often add our custom logo. It's a great way to personalize things, and for a small fee, we can even do custom designs for you, check out our custom design service here!
Self-Correction Moment: I often forget to add a small chamfer or fillet to the edges of my lid designs, and then when it prints, it feels a bit too sharp. Always remember to add those small aesthetic touches; they make a huge difference in how the final print feels in hand.
Step 6: Refinement and Tolerances – The Devil's in the Details
This is where experience really kicks in. Here are some critical points:
- Wall Thickness: Aim for at least 1.5mm to 2mm for walls for structural integrity. Thinner than that and your prints might be flimsy.
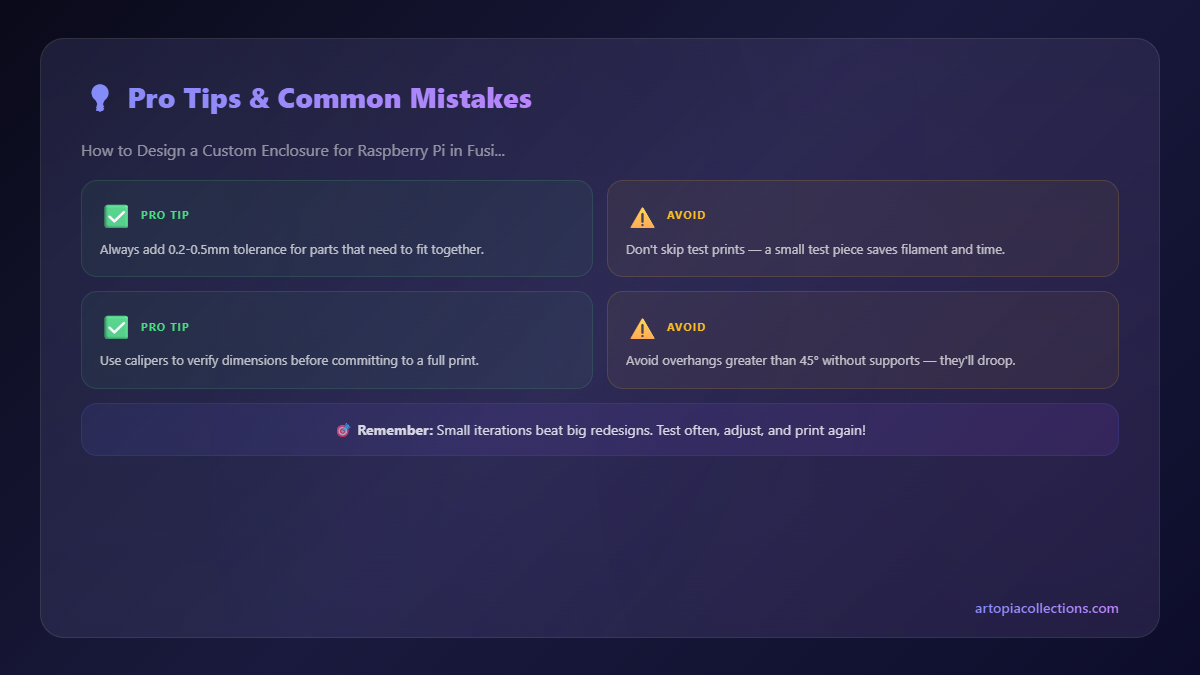
- Clearance: I mentioned this before, but it's worth repeating. For mating parts (like the lid fitting onto the base), add a slight clearance – 0.2mm to 0.4mm is a good starting point for FDM printers, depending on your printer's calibration. You might need to experiment with this a bit on your specific printer. If you make it too tight, the parts won't fit; too loose, and they'll wobble.
- Chamfers & Fillets: Add chamfers to sharp edges for a more professional look and to prevent warping on the first layer of your print. Fillets can soften internal corners.
- Overhangs: Try to minimize steep overhangs (angles greater than 45-60 degrees) that would require excessive support material. Design features that can be printed without support where possible, or use bridging effectively.
- Test Prints: For complex designs, don’t print the whole thing at once. Print small test sections first – maybe just the port cutout, or a small section of a snap-fit mechanism – to verify dimensions before committing to a long print. This saves a lot of filament and time!
Printing Your Masterpiece
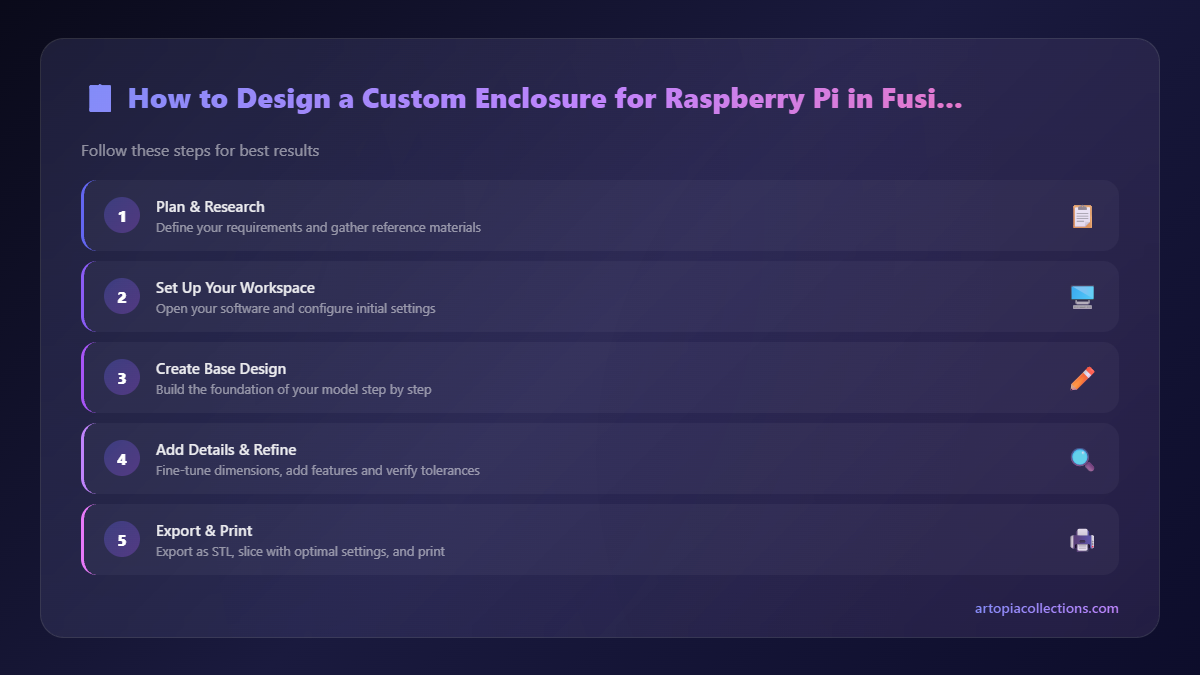
Once your design is ready in Fusion 360, export the components (base and lid) as separate STL files. Then, bring them into your favourite slicer software (PrusaSlicer, Cura, etc.).
- Filament Choice: As I said, PLA is fine for most uses. If your Pi is going to be in a hot environment or running intense tasks, PETG is a better choice due to its higher temperature resistance. It's a bit trickier to print than PLA, but totally manageable.
- Orientation: Think about how you orient your parts on the print bed. For the base, printing it flat on its bottom is usually best to ensure a clean first layer and good adhesion. The lid can also be printed flat. This minimizes support material.
- Infill: For enclosures, 15-20% infill is usually plenty. You don't need a super-strong, heavy enclosure.
- Layer Height: 0.2mm layer height is a good balance between speed and detail. If you want super smooth walls, go for 0.12mm or 0.16mm, but it will take longer.
And then, hit print! Watch your design come to life. There's really nothing like it. The smell of hot filament, the hum of the stepper motors... it's pure magic for us 3D printing enthusiasts.
Taking Your Skills Further (and maybe even starting a business!)
Learning to design effectively in Fusion 360, especially for practical things like enclosures, opens up a world of possibilities. It’s not just about housing your Raspberry Pi; it’s about solving problems with custom solutions. This skill is literally the backbone of my business, ArtOpia Collections. People come to me with ideas, prototypes, or simply a need for a specific part that doesn't exist, and Fusion 360 allows me to bring those ideas into reality. From custom mounting brackets for home automation sensors to unique props for cosplay events, it all starts with a design.
So, don't be afraid to experiment. Play around with Fusion 360. Watch some YouTube tutorials (there are tons of great Indian creators out there too!). The learning curve might seem a bit steep at first, but once you get the hang of sketching, extruding, and modifying, you'll be designing incredible things in no time. And who knows, maybe you'll even turn your passion into a small business like I did!
Happy designing, and even happier printing! If you have any questions or want to share your enclosure designs, drop a comment below. I’d love to see what you create!


