How to Create Organic Shapes in Blender for 3D Printing
Discover how to easily sculpt and model organic shapes in Blender for your projects. This tutorial will guide you through the process, optimizing your designs for successful 3D prints.

Unleash Your Inner Sculptor: Crafting Organic Shapes in Blender for Truly Unique 3D Prints!
You know that feeling, right? When you’re scrolling through Thingiverse or Cults3D, and it’s all… well, blocky. Geometric. Functional, sure, but sometimes you just crave something more flowing, more natural, more like a piece of art you'd actually want to display in your living room, or even sell! That’s exactly how I felt when I first started my little 3D printing business, ArtOpia. I mean, making brackets and tool holders is cool and all, but my heart yearned for the kind of forms you see in nature – a smooth river stone, a winding vine, the gentle curve of a human figure. And honestly, trying to achieve that organic magic with basic geometric modeling? Forget about it, boss. It’s like trying to draw a portrait with only a ruler and protractor. That’s when I dove headfirst into Blender's sculpting tools, and let me tell you, it completely changed my game. If you're ready to break free from the tyranny of straight lines and sharp angles, you're in the right place. We're going to talk about how you can sculpt stunning organic shapes in Blender and bring them to life on your 3D printer.
Why Organic Shapes Are a Game-Changer (and Why Blender is Your Best Friend)
Look, there's a huge demand for unique, custom-made items. In India, especially, people appreciate craftsmanship and things that feel special, not mass-produced. Organic shapes inherently feel more artistic, more personal. Think about custom jewelry, stylized action figures, intricate home decor, or even ergonomic handles for tools – all of these benefit immensely from a fluid, natural design. They stand out from the crowd, and that means happier customers and a thriving business. For ArtOpia, offering custom organic designs has been a huge differentiator.
Now, why Blender? Simple: it’s incredibly powerful, it’s free, and it’s open-source. You don’t need to shell out thousands of rupees for expensive software licenses just to get started. While there are other great sculpting programs out there like ZBrush (which is amazing, no doubt, but costs a pretty penny – easily ₹30,000-₹50,000 for a perpetual license if you can even get it in India, plus the learning curve can be steep), Blender gives you professional-grade tools without touching your wallet. And honestly, for 3D printing, Blender offers everything you need to create amazing, print-ready models.
Getting Started: The Bare Bones of Sculpting
So, you’ve opened Blender. You’re probably looking at the default cube. Don't worry, that little guy is about to get a serious makeover. Here’s how we typically begin:
- Start with a Simple Mesh: Ditch the cube for a UV Sphere or an Icosphere. They already have a somewhat rounded base, which is better for organic forms. Add one from
Add > Mesh. - Subdivision Surface Modifier: This is your magic wand for smoothness. Go to the Modifiers tab (the wrench icon), click
Add Modifier, and chooseSubdivision Surface. Crank up theLevels Viewportto 2 or 3. This makes your mesh smoother and gives you more vertices to work with for sculpting. Don't apply it yet! We want to keep it non-destructive for now. - Enter Sculpt Mode: Select your object, then go to the dropdown menu in the top left of your 3D Viewport (it usually says "Object Mode") and switch to
Sculpt Mode.
Alright, welcome to the jungle! Your cursor is now a brush, and you've got a whole palette of tools on the left side of your screen. It can feel overwhelming, but trust me, you'll mostly be using a handful of brushes.
Your Essential Sculpting Brushes (My Go-To List!)
These are the brushes I use 90% of the time for organic modeling:
- Grab Brush (G key): This is your foundational brush. It lets you push, pull, and drag large sections of your mesh around. Think of it as shaping clay with your whole hand. Use it for establishing the basic silhouette and large forms. Seriously, if you learn only one brush, make it Grab.
- Clay Strips Brush (often default, but C key): My personal favourite for building up volume. It adds strips of "clay" to your surface, perfect for muscles, folds, or adding mass. You can hold
Ctrlwhile using it to carve away instead of building up. Super versatile. - Smooth Brush (Shift key + any other brush): Absolutely critical. After every few strokes of another brush, hold
Shiftand go over the area to smooth out lumps and bumps. This creates natural transitions and gives your model that polished, organic feel. You'll be using this constantly. - Inflate Brush: Makes parts of your mesh puff up like a balloon. Great for subtle swelling or creating areas of tension.
- Crease Brush: Creates sharp creases and pinches the mesh. Useful for defining edges, wrinkles, or sharp details like fingernails or eyelids. Again,
Ctrlinverts it to un-crease. - Scrape/Flatten Brush: Flattens surfaces. Good for defining planes or flattening out an area you've over-inflated.
And remember, you can adjust the brush Radius (F key) and Strength (Shift+F key) on the fly, which is crucial for detail work versus broad strokes. Always be playing with these settings!
Dyntopo vs. Multiresolution: Understanding Detail Levels
This is a super important concept in Blender sculpting for 3D printing, so pay attention! It took me a while to really grasp the difference, but once you do, your workflow becomes so much smoother.
Dynamic Topology (Dyntopo): For Roughing Out
Dyntopo is brilliant for the initial stages of sculpting. You find it in the header of the Sculpt Mode, look for a checkbox called "Dyntopo." When activated, Blender dynamically adds or removes mesh detail (triangles) based on your brush size and detail settings. This means you can start with a low-poly sphere, and as you sculpt, Blender will automatically create more geometry where you need it – say, if you're pulling out a nose or sculpting fine lines. It’s liberating because you don't have to worry about running out of polygons. However, the mesh it creates can be messy, full of uneven triangles, and not ideal for clean UV unwrapping or animation down the line (though for 3D printing, clean UVs aren't usually a major concern).
When to use Dyntopo: For blocking out your major forms, establishing the silhouette, and generally just having fun pushing and pulling clay without constraints. It’s like throwing a lump of clay on the wheel and just getting the basic shape.
Multiresolution Modifier: For Adding Fine Detail
Once you have your basic shape established with Dyntopo (or if you started with a highly subdivided mesh), you'll often want to switch to the Multiresolution modifier. This is different from the Subdivision Surface modifier in that it *stores* different levels of detail. You can sculpt on a high-res level, then drop down to a lower level to make broad changes without destroying your fine details, and then go back up. The mesh remains quad-based (mostly) and clean, which is great for precision. You find this modifier in the Modifiers tab, just like Subdivision Surface.
When to use Multiresolution: After your major forms are set. You apply your Subdivision Surface modifier (if you were using one), potentially run a remesh operation (we'll get to that), then add a Multiresolution modifier and subdivide it a few times to get a dense, even mesh. This is where you add all your intricate details, wrinkles, textures, etc.
My usual workflow: I start with Dyntopo on a simple sphere to get the overall shape and proportions. Once I'm happy with the general form, I might use the Remesh modifier (more on that next!) to get a more even topology, apply it, and *then* add a Multiresolution modifier to start layering on the fine details. It gives you the best of both worlds – the freedom of Dyntopo and the control of Multires.
Remeshing & Decimation: Making Your Sculpt Print-Ready
After all that glorious sculpting, especially with Dyntopo, your mesh can be a chaotic mess of triangles of varying sizes. This isn't ideal for 3D printing, and it can also make your file size huge. That's where these two handy tools come in.
Remesh Modifier/Operator
The Remesh modifier (or the Remesh operator in Sculpt Mode under the "Remesh" tab) is a lifesaver. It essentially rebuilds your mesh with a clean, uniform quad-based (or sometimes voxel-based) topology while trying its best to preserve your sculpted details. It’s like taking your messy clay sculpture and magically making it neat and orderly, ready for more precise work. You can control the voxel size (how detailed the remesh will be), which is critical. A smaller voxel size means more detail preserved but a denser mesh.
When to use: After you've established your primary and secondary forms with Dyntopo, and before you jump into fine details with Multires. Or if your mesh just gets too unmanageable.
Decimate Modifier
On the other end, the Decimate modifier is for reducing the polygon count of your model without losing too much visual detail. This is often necessary because highly detailed sculpts can easily have millions of polygons, which can bog down your computer, make slicing software crash, or create unnecessarily large files for your 3D printer. The Decimate modifier has a few modes, but the "Collapse" mode with a "Ratio" setting is usually what you want. You set a ratio (e.g., 0.1 for 10% of the original poly count) and Blender intelligently removes polygons.
When to use: Towards the very end of your sculpting process, right before you export for 3D printing. It's a balance – you want to reduce the file size, but not so much that you lose crucial details.
The Golden Rule of 3D Printing: Manifold Meshes!
This is probably the most important thing to remember for 3D printing your glorious organic creations: your model MUST be a manifold mesh. What does that mean? Basically, every edge must be connected to exactly two faces. No holes, no internal geometry, no overlapping faces, no flipped normals. It needs to be a completely sealed, "water-tight" volume. If it's not manifold, your slicer software (like PrusaSlicer or Cura) will have no idea what's "inside" and "outside," and you'll end up with weird prints or errors.
Blender has an awesome built-in add-on called 3D Print Toolbox. Go to Edit > Preferences > Add-ons, search for "3D Print Toolbox" and enable it. It will appear in your N-panel (press N in the 3D viewport) under the "3D Print" tab. This toolbox has a "Check All" button that will highlight non-manifold edges, open faces, and other issues. It also has a "Make Manifold" button that sometimes works wonders, but often you'll need to manually fix things like tiny holes or overlapping geometry in Edit Mode. Always, always check for manifold issues before exporting!
Some Other Crucial Considerations for Printing
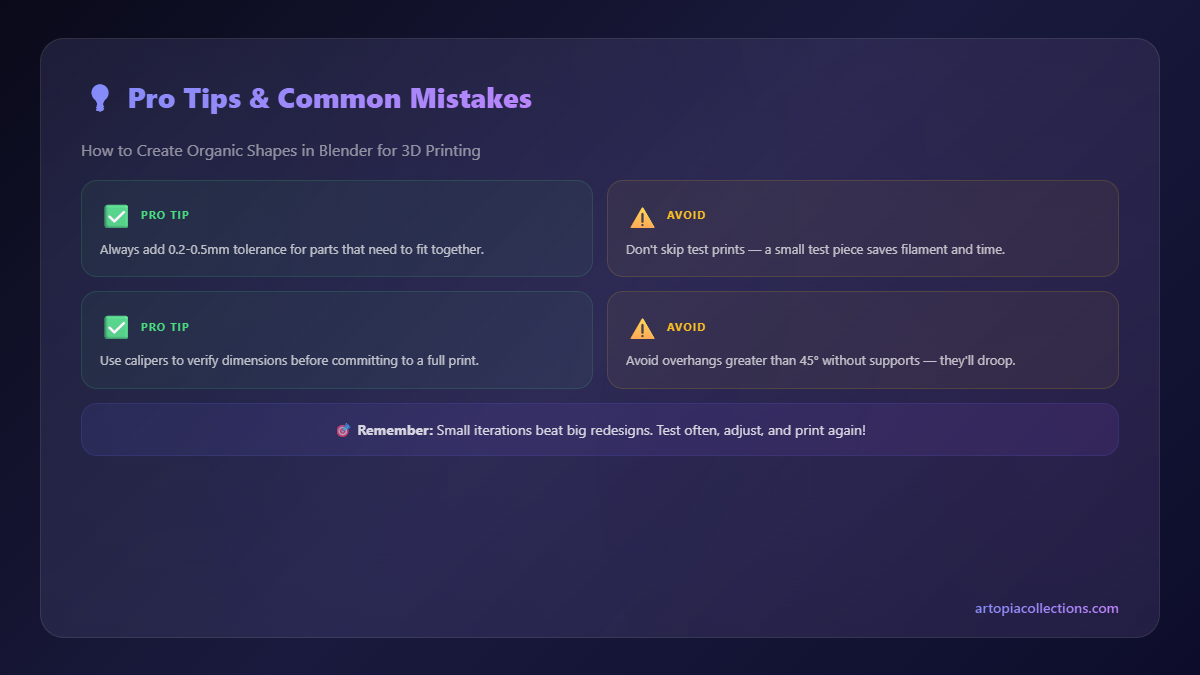
- Wall Thickness: For FDM printers, I generally recommend a minimum wall thickness of 1.5mm to 2mm. Thinner than that, and your print might be too fragile or your printer might struggle to extrude consistent walls. If you're printing small details, make sure they aren't so thin they just disappear.
- Overhangs and Supports: Organic shapes often mean lots of overhangs. Plan for supports in your design if possible, or adjust your sculpt to minimize extreme angles. Slicers are good, but they're not magic.
- Scale: Always check your scale! Blender uses meters by default. Make sure your model is scaled appropriately for your printer's build volume. I usually work in millimeters from the start for 3D printing models.
My Personal Workflow (from an ArtOpia perspective)
So, how do I tackle a custom organic order for a client? Let's say someone wants a stylized, flowing vase with intricate patterns.
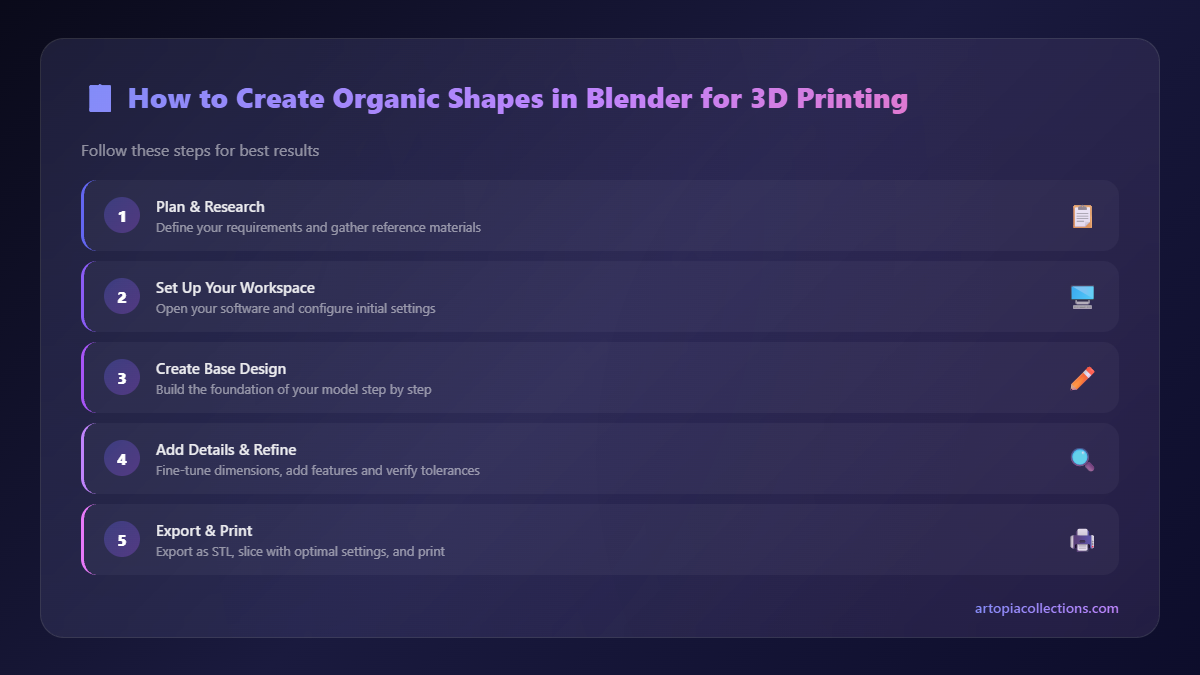
- Concept & Blockout: We'll discuss the design, I'll do some quick sketches, and then I'll start in Blender with an Icosphere. I'll immediately turn on Dyntopo with a relatively low detail setting (maybe 5-8 pixels) and use the Grab and Clay Strips brushes to get the overall vase shape – wide base, tapering body, flared rim. I’m not worrying about details yet, just the large, sweeping curves.
- Refining Forms: Once the basic silhouette is there, I'll use the Smooth brush liberally, and maybe some Inflate to add volume where needed. I might occasionally use Proportional Editing in Edit Mode (by pressing
O) for really large, smooth deformations that are hard to do with a brush. - Remesh & Detail Prep: When the general shape is good, I'll use the Remesh operator (often with "Voxel Remesh" set to a slightly higher resolution) to get a more uniform mesh. I'll apply that, and *then* add a Multiresolution modifier, subdividing it 2-3 times. Now I have a clean, dense mesh to work with.
- Adding Fine Details: With the Multiresolution modifier active, I’ll start adding the intricate patterns using the Clay Strips (for raised areas), Crease (for sharp lines), and again, lots of Smooth to blend everything naturally. If I need a specific texture, I might use a texture brush.
- Decimate & Manifold Check: Once I'm happy with all the details, I’ll add a Decimate modifier to reduce the polygon count. I'll usually aim for a poly count that's still detailed but manageable – maybe 100,000 to 500,000 tris depending on the complexity. Then, the absolute final step before export: I run the 3D Print Toolbox "Check All" function. If there are any issues, I fix them, even if it means going back into Edit Mode for a bit.
- Export & Print! I export as an STL, load it into PrusaSlicer (my preferred slicer for my Prusa MK3S+ and my Ender 3 V2), generate supports if needed, and send it to print!
It's a process, but honestly, it gets faster with practice. And the results? Truly amazing. You can check out some of the unique, flowing designs we've printed for customers over at ArtOpia's product page – you'll see exactly what I mean about the power of organic forms!
Filament & Printer Recommendations (from an Indian perspective)
To print these beautiful organic shapes, you need good tools. For FDM printing, here’s what I usually recommend:
- Filament: For most organic art pieces, PLA filament is your best friend. It’s easy to print, comes in a dazzling array of colours, and is relatively affordable – you can get a good kilo spool for anywhere between ₹800 and ₹1200 from brands like eSUN, Overture, or even some local Indian manufacturers. For stronger, more durable prints (like that vase if it's going to be handled a lot), PETG is excellent, though a bit trickier to print. It typically costs ₹1000-₹1500 per kg.
- Printers:
- Beginner/Budget: The Creality Ender 3 V2 (or even the Ender 3 Neo) is still a fantastic starting point. You can often find it for around ₹15,000-₹20,000 on Amazon.in or local distributors. It's a workhorse and very moddable.
- Mid-Range: For a step up in reliability and ease of use, I personally love my Prusa MK3S+, though it's a significant investment (around ₹80,000+ if you import, or more if bought from a local reseller). A more accessible alternative in India for around ₹25,000-₹35,000 would be something like the Anycubic Kobra 2 Neo or a Bambu Lab A1 Mini (if you can find it readily and within budget).
- For Extreme Detail: If you're really serious about tiny, intricate organic shapes (like detailed miniatures or jewelry), a resin printer like the Anycubic Photon Mono X or an Elegoo Mars 4 is unbeatable. They offer incredible resolution. These start around ₹25,000-₹40,000, plus the cost of resin (which is more expensive per print than filament) and the necessary safety gear.
Don't Be Afraid to Experiment!
The biggest advice I can give you is just to jump in and start playing. Don’t be intimidated. Your first few sculpts might look like abstract art gone wrong, and that’s perfectly okay! Mine certainly did. The beauty of digital sculpting is that you can always undo, delete, and start fresh without wasting a single rupee of filament. Watch some YouTube tutorials (there are tons of amazing Blender sculptors sharing their knowledge for free!), follow along, and then try to create something entirely your own.
The feeling of designing a complex, flowing shape in Blender and then holding the physical print in your hands is incredibly rewarding. It opens up a whole new world of creative possibilities for your 3D printing journey, whether it’s for a hobby or a burgeoning business like ArtOpia. So go on, fire up Blender, grab that sphere, and let your imagination flow like a gentle river. Happy sculpting, my friend!


