How to 3D Scan Objects with Your iPhone and Print Them at Home
Unlock the power of your iPhone to capture real-world objects in 3D. This guide shows you how to scan, process, and 3D print your creations right from your home.

Turn Your World into 3D: iPhone Scanning to Home Prints!
Hey everyone, Vidyut here, your friendly neighbourhood 3D printing addict from ArtTopia Collections! You know that feeling, right? You see something – maybe a cool little statue, a sentimental toy from your childhood, or even just a weird-shaped rock – and you just wish you could have a copy of it. Maybe you want to scale it up, maybe down, or just have a duplicate in a different colour. For years, that was a dream for most of us, something only big studios or folks with super expensive gear could do. But lemme tell you, guys, that's history now!
The magic of taking something from the real world, digitizing it, and then bringing it back into physical form with a 3D printer… it’s honestly one of the coolest things I’ve ever experienced. And guess what? You don't need a fancy industrial scanner that costs more than a small car. You probably have the most powerful portable 3D scanner right in your pocket. Yep, your iPhone!
I get asked all the time if it's really possible to get decent scans with just a phone, and then print them at home without tearing your hair out. And my answer is always a resounding YES! I’ve done it countless times for prototypes, custom orders, and just for fun. And today, I'm going to walk you through exactly how you can do it too. From scanning with your iPhone to slicing it up and hitting that 'print' button – we're covering it all. Let’s dive in!
Why Your iPhone is a Secret 3D Scanning Weapon
So, why the iPhone? Well, a couple of reasons. First, sheer accessibility. Most of us have one. Second, and this is the big one for newer models (iPhone 12 Pro and up, including all iPhone 13, 14, 15 Pro models and even some iPads), it's got a LiDAR scanner built right in. LiDAR, or Light Detection and Ranging, is basically like having a tiny, super-fast radar system that maps out distances by bouncing laser light off objects. This makes for incredibly accurate depth data, which is crucial for good 3D scans.
Even if you don't have a LiDAR-equipped iPhone, don't fret! Older iPhones (and even many Android phones) can use photogrammetry apps, which stitch together hundreds of photos to create a 3D model. It takes a bit more effort and often results in less precise geometry, but it absolutely works! I personally prefer LiDAR for most quick scans because it's just so fast and clean, especially for objects with complex shapes, but photogrammetry has its place for texture detail.
What You’ll Need for Your 3D Scanning & Printing Adventure
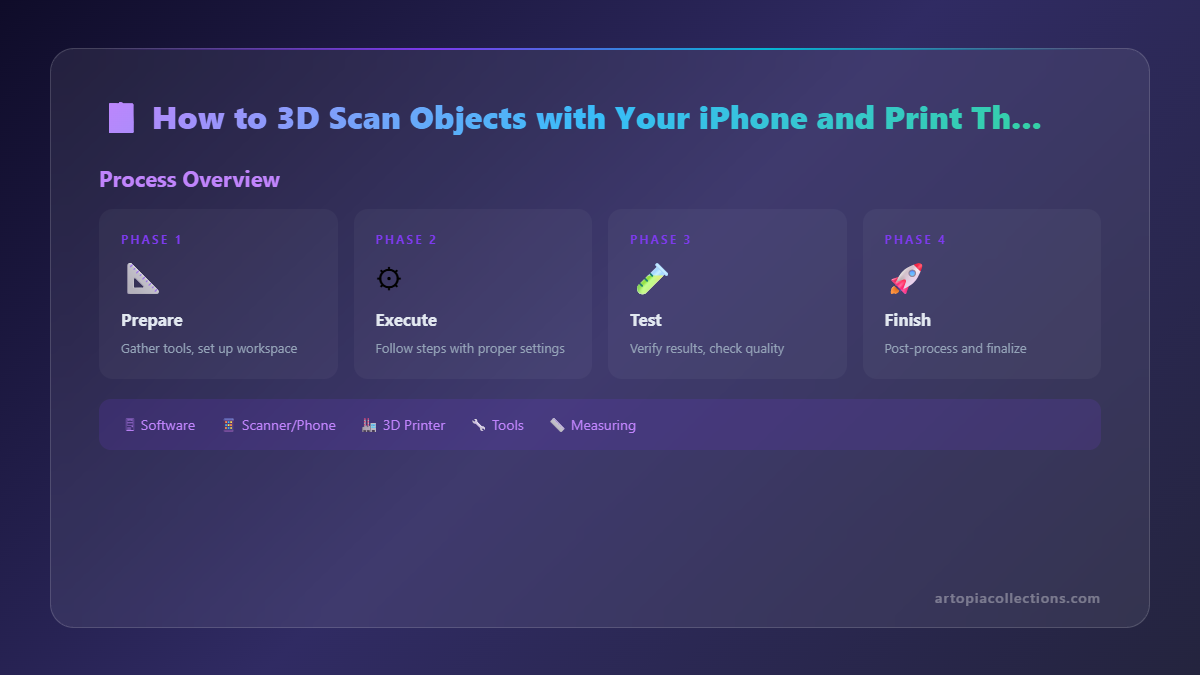 Alright, before we get started, let’s quickly list out what you'll need to turn your iPhone scans into physical objects:
- Your iPhone: Duh! Ideally, a LiDAR-equipped one for the best experience.
- A 3D Scanning App: My go-to is Polycam. It’s got a free tier that lets you export a few models per month, which is perfect for getting started. Other great options include Scaniverse and Metascan. For photogrammetry, sometimes even just your regular camera app combined with a desktop software can work, but dedicated apps make it easier.
- A 3D Printer: You don't need a beast. A budget-friendly FDM printer is perfect. Think something like a Creality Ender 3 V3 SE (which goes for around ₹18,000 - ₹25,000 these days) or an Anycubic Kobra Go. These are workhorses and brilliant for beginners.
- Filament: PLA (Polylactic Acid) is your best friend. It’s easy to print, biodegradable, and comes in a zillion colours. I often use eSUN, Overture, or even local Indian brands. You can grab a good quality 1kg spool for ₹1000 - ₹1500. Here’s a good place to start looking for PLA filament on Amazon.in.
- Slicing Software: This is free! Ultimaker Cura or PrusaSlicer are excellent choices. They translate your 3D model into instructions your printer understands.
- A Computer: For post-processing your scans and running your slicer.
- Patience and Experimentation: The most crucial tools, honestly!
Pre-Scan Prep: Setting the Stage for Success
Before you even open that scanning app, a little prep goes a long way. Trust me on this, it'll save you headaches later.
- Lighting is Key: Even, diffuse lighting is your best friend. Avoid direct harsh sunlight or really dim rooms. Shadows can confuse the scanner, especially for photogrammetry. A soft, consistent light source from multiple directions is ideal.
- Background Matters: A plain, uncluttered background with good contrast to your object is perfect. Avoid busy patterns or reflective surfaces. The scanner needs to focus on your object, not get distracted by the chaos behind it.
- Object Prep (The Tricky Bits):
- Shiny Objects: Highly reflective surfaces (think polished metal, glossy plastic) are a nightmare for scanners. They bounce light unpredictably. My pro tip? A light dusting of matte white spray paint (the kind for models, or even dry shampoo can work in a pinch) can help. Just make sure it’s safe for your object!
- Transparent Objects: Glass, clear plastic – these are almost impossible to scan directly because light passes right through them. Again, a matte coating or even some masking tape can help, but sometimes you just have to get creative or accept a less-than-perfect result.
- Featureless Objects: A perfectly smooth, uniformly coloured sphere, for instance, offers no reference points for the scanner. For photogrammetry, you might need to stick small, easily removable markers (like tiny bits of paper with dots) on it. LiDAR is less bothered by this, but still benefits from some texture.
- Stability: If your object is small, place it on a turntable (even a manual one you spin yourself). This allows you to keep your iPhone at a consistent distance and angle while the object rotates. For larger objects, you’ll be the one moving, so keep your hand steady!
The Scanning Process: Let's Get Digital!
 Alright, phone in hand, object prepped, let’s open up Polycam (or your chosen app). I'm mostly going to talk about the LiDAR process here, as it's the most common for iPhone Pros.
- Choose Your Mode: In Polycam, you'll typically start in LiDAR mode for faster, more accurate geometry. There’s also a Photo mode for photogrammetry, which you can use for capturing more texture detail or if you don't have LiDAR.
- Start Scanning: Tap the record button. Now, here's the crucial part:
- Slow and Steady: Move your iPhone slowly and deliberately around the object. Think of it like painting with light.
- Orbit and Elevate: Start by orbiting the object at mid-height. Then, gradually raise your iPhone to capture the top surfaces, and lower it to capture the bottom. Make sure you get every angle, especially the tricky bits underneath or in crevices. Overlap is good!
- Maintain Distance: Try to keep a consistent distance from the object – usually around 30-60 cm works well for smaller items. Too close, and you might miss the bigger picture; too far, and you lose detail. The app usually gives you feedback on optimal distance.
- Watch the Visualizer: Polycam and similar apps will show you a real-time mesh forming. This is super helpful! Look for gaps or areas that aren't fully covered and go over them again. Areas turning green or blue often indicate good data capture.
- Stop and Review: Once you think you’ve got everything, hit stop. The app will process the scan. Take a good look at the resulting 3D model. Are there any big holes? Missing chunks? If it’s not looking good, don't be afraid to delete it and try again. It's a skill, and it takes practice!
- Clean Up & Export: Most apps have some basic editing tools. You can often crop out the floor or background you didn't need. Once you’re happy (or as happy as you can be on the phone), export your model. The best format for 3D printing is usually
.OBJor.STL. Sometimes you might only get.USDZwhich is Apple's format, but Polycam usually offers OBJ or GLTF.
Post-Processing: Refining Your Digital Masterpiece
Okay, you’ve got an exported file. Great! But chances are, it's not perfect. Scans, especially from phones, often have holes, noise (little floating bits of mesh), or might not be perfectly scaled or oriented. This is where a desktop program comes in. Don't worry, there are free options!
My top recommendations for beginners are:
- Autodesk MeshMixer: It's free, a bit old, but incredibly powerful for repairing and cleaning up meshes.
- Blender: This is a full-blown 3D suite, also free, but has a steeper learning curve. However, for basic mesh repair and scaling, it’s excellent once you get the hang of it.
Here’s the basic workflow:
- Import Your Scan: Open your chosen software and import your
.OBJor.STLfile. - Repair Holes: Scans often have holes, especially on the bottom where the object touched the surface. Use the "Make Solid" or "Close Holes" functions. MeshMixer's "Analysis" -> "Inspector" is brilliant for this.
- Remove Noise/Floating Geometry: Sometimes you get little speckles or bits of mesh floating unconnected to your main object. Delete these.
- Decimate (Reduce Polygon Count): Phone scans can have millions of polygons, making the file huge and slow. You can reduce this without losing too much detail. Look for a "Decimate" or "Reduce" function. Aim for a balance between file size and retaining important features.
- Scale and Orient: Make sure your object is the right size (e.g., if it's a 5cm model in real life, check it's 50mm in your software). Also, ensure it's oriented correctly, usually flat on its base, ready for printing.
- Export as STL: Once it’s clean and ready, export it as an
.STLfile. This is the universal language for 3D printers.
Slicing it Up: The Printer’s Blueprint
Now we’re getting close to printing! Your .STL file needs to be translated into G-code, which is the precise set of instructions your 3D printer understands. This is where your slicing software comes in. I use Cura a lot, so I'll refer to that.
- Import STL: Open Cura and load your newly cleaned
.STLfile. It should appear on the virtual print bed. - Choose Your Printer & Material: Make sure you’ve selected your specific 3D printer model in Cura's settings, and that you've chosen PLA as your material.
- Basic Settings (The Big Ones):
- Layer Height: This determines the vertical resolution. For scans, 0.2mm is a good balance between speed and detail. Finer layers (e.g., 0.12mm) will show more detail but take longer.
- Infill: How solid the inside of your print is. For most display pieces, 10-20% infill is fine. Higher infill makes it stronger but uses more filament and takes longer.
- Supports: This is CRITICAL for scans! Scanned objects often have overhangs or floating parts that need temporary structures to print correctly. Enable "Generate Support" and usually "Tree Supports" (if your slicer has them) are fantastic as they’re easier to remove.
- Adhesion (Brim/Raft): To prevent your print from detaching from the print bed, a "Brim" (a single layer of plastic around the base) or a "Raft" (a whole base layer under your print) helps a lot. I usually stick with a brim for most things.
- Slice & Save: Once your settings are dialled in, click "Slice." Cura will calculate the G-code and show you a preview of your print, including supports. This preview is super useful for spotting potential issues. Then, save the G-code file to an SD card or directly to your printer if it has Wi-Fi connectivity.
The Printing Part: Watching the Magic Happen
You're almost there! This is where the digital becomes physical.
- Load Filament: Make sure your printer is loaded with your chosen PLA filament.
- Transfer G-code: Insert your SD card into the printer or send the file wirelessly.
- Start Print: Select your file from the printer’s menu and hit print!
- Monitor Closely (Especially the First Layer): The first few layers are the most important. Make sure the filament is sticking well to the print bed. If it's not, you might need to clean your bed, adjust bed leveling, or tweak your adhesion settings in the slicer.
- Patience: Depending on the size and complexity, prints can take hours, even a full day. Grab a chai, relax, and let your printer do its thing.
- Post-Processing the Physical Print: Once the print is done and cooled down, carefully remove it from the print bed. Then, gently remove all the support structures. You might need a pair of flush cutters or a craft knife. Some light sanding can smooth out rough spots from supports.
Troubleshooting Common Hiccups
Honestly, you'll run into issues. It's part of the fun (mostly!).
- Bad Scan: If the printed object looks blobby or has huge missing chunks, it likely started with a bad scan. Go back to step 1 and rescan, paying close attention to lighting and coverage.
- Print Doesn't Stick: Bed adhesion is probably the most common issue. Clean your print bed with isopropyl alcohol, ensure it’s level, and try using a brim or raft in your slicer.
- Supports Fail/Hard to Remove: Experiment with different support settings (angle, density, type like tree supports). Sometimes a small adjustment makes a huge difference.
What I Do with Scans at ArtTopia Collections
This whole scanning and printing workflow is a huge part of what I do here at ArtTopia Collections. We use it for creating custom models from real-world objects, replicating unique parts, or even just digitizing existing art pieces to experiment with new scales and finishes. It’s opened up so many possibilities for bespoke creations and rapid prototyping. If you're curious about the kind of cool stuff we print, definitely check out our products!
Your Creative Journey Starts Now!
So there you have it, folks! From the iPhone in your hand to a physical object printed in your home. It’s an incredible journey that bridges the digital and physical worlds. It might seem like a lot of steps, and it definitely has a learning curve, but every successful print is a huge win, and every failed one teaches you something new.
Don't be afraid to experiment. Scan everything! Your favourite coffee mug, a cool little Ganesh idol, a fallen leaf, even your own hand (though that's a tricky one!). The more you scan and print, the better you'll get. The power to create and replicate is literally at your fingertips. Happy scanning and even happier printing!