Fusion 360 Sheet Metal Tools for 3D Printed Flat-Pack Designs
Discover how to utilize Fusion 360's sheet metal environment to craft smart, interlocking designs ideal for 3D printing. Learn to create efficient flat-pack assemblies that save space and material.

Ever found yourself staring at a perfectly cool 3D model, maybe some intricate organizer or a fancy display stand, and then your mind goes straight to the pain of printing it? All that support material, the huge print time, and then the nightmare of shipping a bulky, pre-assembled piece across India? Honestly, it’s a constant headache for us small business owners, especially when you’re sending something from, say, Bangalore all the way to Chandigarh. And trust me, the courier guys here don't exactly handle packages with kid gloves. Well, I had this absolute lightbulb moment a while back, and it's been a game-changer for my little venture, ArtoPia Collections. We're talking about making 3D printed flat-pack designs, and guess what tool became my secret weapon? Fusion 360's Sheet Metal workspace. Yeah, I know, sounds crazy, right? Sheet metal for 3D prints? But hear me out, because this is probably one of the most underrated tricks in the book.
You see, the thing is, when we think about 3D printing, our brains often go straight to organic shapes, complex geometries, and all that fancy stuff. And don't get me wrong, that's what makes 3D printing so magical! But sometimes, the most elegant solution is also the simplest. For ages, I was wrestling with designs that were either too big for my Creality Ender 3 (God bless that workhorse, it’s been through so much!), or they just had too many overhangs, meaning wasted filament and hours spent picking off supports. And let’s not even talk about trying to fit a fully assembled, custom-printed desk organizer into a reasonably sized, affordable shipping box. My profit margins were practically waving goodbye before I even packaged the item!
So, I started looking for ways to streamline things. I wanted designs that were strong, looked good, were relatively quick to print, and most importantly, could be shipped flat. Like IKEA furniture, you know? Just a bunch of flat pieces that slot together. That's when I accidentally stumbled into the Sheet Metal environment in Fusion 360 while watching some random YouTube tutorial – I think it was about designing a custom server rack enclosure, totally unrelated to 3D printing, but something just clicked. It's meant for designing things out of actual sheet metal, where you start with a flat piece, fold it, weld it, you get the idea. But the core concept? Designing *flat* components that form a larger structure when assembled. And boom, the idea hit me: why can't I apply this same principle to 3D printed parts?
Why Flat-Pack 3D Prints Are a Game Changer (Especially in India)
Before we dive into the how-to, let's just quickly touch upon why this approach makes so much sense, especially for folks like me running a small business here:
- Efficiency on the Printer: Flat parts are easier to print. Period. Less support material, faster print times. You can often print multiple components of a single design in one go. Imagine printing all the sides of a box laying flat on your print bed instead of one large, hollow box standing upright. Huge time and material saver! I use eSun PLA+ mostly, and that stuff isn't super cheap, usually around ₹1800-₹2200 for a 1kg spool, depending on the colour and where you buy it. Every gram saved is real money. You can check out some eSun PLA+ options here, I usually grab mine from Amazon.in when there's a good deal.
- Shipping Cost & Safety: This is a big one. Shipping a flat envelope or a thin box is significantly cheaper than a bulky, odd-shaped item. We’re talking about saving ₹100-₹300 on shipping for a medium-sized item, easily. And because the parts are flat, they’re less prone to breaking during transit. My customers get a neat little package, and they don't have to pay exorbitant shipping fees. Win-win, right?
- Assembly Experience: People love building stuff, don't they? Think IKEA. Giving your customers a simple, satisfying assembly process adds to the value. It makes them feel more connected to the product. My clients often send me photos of their finished items, and it's always a good feeling.
- Design Flexibility & Strength: Sometimes, printing a large, complex object as one piece can lead to weak points or warping. By breaking it down into interlocking flat panels, you can actually design for more structural integrity. You can use different infill patterns or even print different parts with different materials (like a rigid base in PLA and flexible connectors in PETG).
So, yeah, there are a bunch of compelling reasons to consider this approach. And the best part? Fusion 360 makes it surprisingly intuitive.
Diving into Fusion 360's Sheet Metal Workspace
Okay, let's get to the juicy bits. If you've never ventured out of the "Design" workspace in Fusion 360, don't worry, it's not a scary place. It's just... different. You'll find it in the dropdown menu at the top left, right next to the "File" and "Edit" menus. Switch it to "Sheet Metal."
Now, the core idea here isn't to literally bend plastic (unless you're doing living hinges, which is a whole other topic!), but to use the *tools* that are designed for creating parts from a single flat sheet. The magic happens when you realize you can design your whole assembly in a "folded" state, and then with a single click, "unfold" it into all its constituent flat pieces ready for printing.
The Basic Workflow (My Way, Anyway)
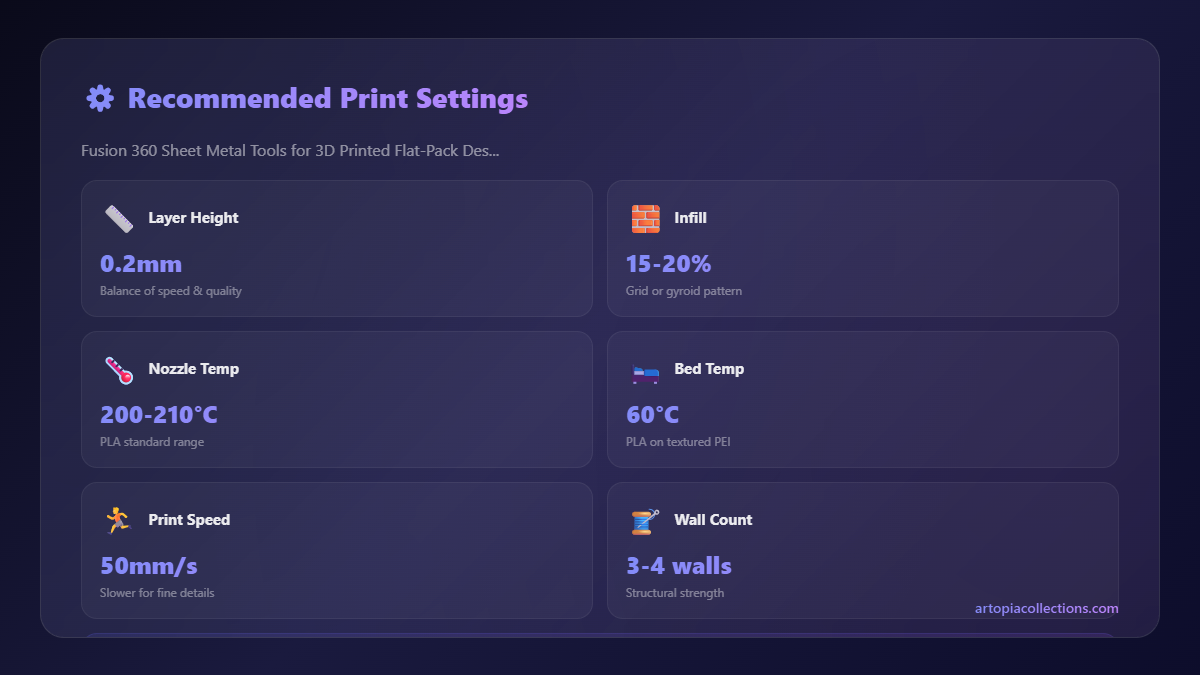
- Start with a Base Flange: This is basically your first flat piece. You sketch a profile, let's say a simple rectangle for the base of a phone stand, and then use the "Flange" command (under the "Create" menu) to give it thickness. Now, here's where you need to adapt: this thickness isn't going to be actual metal gauge; it's going to be the thickness of your 3D printed plastic panel. I usually design for 3mm or 4mm thick panels, as that gives a good balance of strength and printability. So, if I'm printing with a 0.4mm nozzle, I'd make my thickness 3mm.
- Adding "Folds" and Connecting Pieces: This is where the sheet metal tools truly shine. Instead of manually sketching and extruding every tab and slot, you can use the "Flange" tool again. Select an edge of your existing part, and drag out a new "flange." It'll automatically create a bend line and extend the material. For our 3D printing purpose, this "flange" isn't a bend, but a connecting tab or a side panel. You can adjust the angle (usually 90 degrees for simple boxes) and the length.
- Cutouts and Features: You can sketch directly onto any "face" of your sheet metal body and then use the "Extrude" command to cut holes, slots, or whatever features you need. This is super intuitive. Want a slot for a phone charger? Sketch it on the front panel, extrude cut it.
- The Unfold/Refold Magic: This is the absolute best part. Once you've got a few flanges going and maybe some bends, you can use the "Unfold" command. It asks you for a stationary face (which part stays put) and then for the "bends" you want to unfold. Click those virtual bends, and *poof*, your complex 3D shape flattens out into a single, flat design! This is unbelievably helpful for adding features that might span across what would be a joint in your assembled print, or just to make sure everything lines up perfectly. Once you're done adding details in the flattened state, hit "Refold" to see your complete assembly again. I personally check this quite often, because sometimes in the flattened state, you forget how things will look when assembled.
- Exporting for Printing: When you're happy with your design in its unfolded state, you can then export it. Go to the "Modify" menu, and you'll see "Create Flat Pattern." This will generate a separate body that is completely flat. From there, you can right-click this flat pattern in your browser tree, and export it as a DXF. DXF files are perfect for importing into your slicer (like PrusaSlicer or Cura) or even back into Fusion 360 as a sketch for further manipulation. I sometimes export as SVG too, if I need it for laser cutting tests (yeah, dabbling in that too!).
I know it sounds like a lot of steps, but once you do it a couple of times, it becomes second nature. And honestly, the time saved in design and troubleshooting offsets the initial learning curve big time.
Practical Examples for Your 3D Printing Business
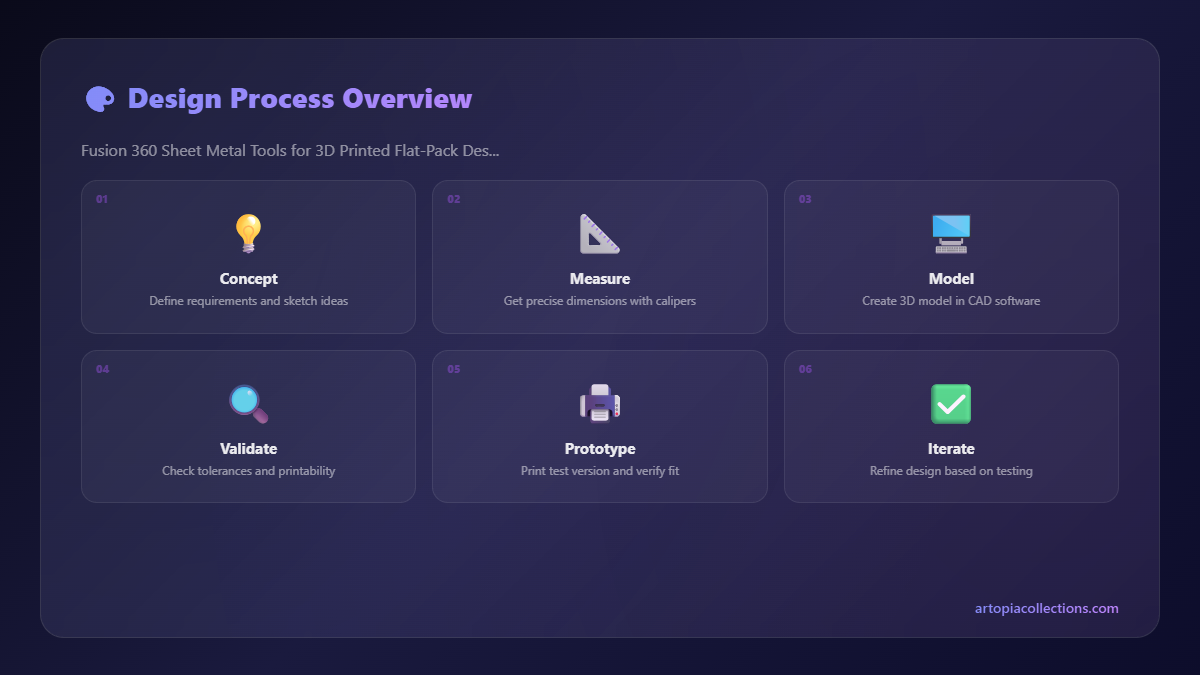
So, what can you actually make with this? Tons of stuff! Here are a few things I’ve designed and sold successfully:
- Custom Desk Organizers: These are a hit. People love personalized slots for their pens, phones, hard drives. Flat-pack makes them super easy to ship.
- Phone/Tablet Stands: Simple interlocking pieces for a sturdy stand. Great for branding.
- Small Shelving Units: For collectibles or spices in the kitchen. Modular, easy to assemble.
- Display Stands for Products: If you sell other small items (jewelry, keychains), custom stands printed on demand are fantastic.
- Jigs and Fixtures: For your own workshop or for local artisans. Flat-pack means you can quickly iterate and print prototypes without too much hassle.
Look, the possibilities are genuinely endless. The only real limitation is your imagination. And your printer's build volume, of course. My Anycubic Kobra 2 Neo, which I got for around ₹16,000 during a sale, is quite good for these flat pieces. It’s a workhorse and produces decent quality prints for the price point. If you're starting out, an Ender 3 V2 or similar is perfectly capable. You can find the Ender 3 V2 on Amazon.in if you’re looking for a reliable and affordable printer to kick things off.
Some Crucial Tips and My Personal Learnings
Using sheet metal tools for 3D printing isn’t just a direct translation; you need to tweak your mindset a bit. Here’s what I’ve learned:
- Tolerances, Tolerances, Tolerances: This is probably the most critical aspect. When parts slot together, they need to fit snugly but not be so tight they break. I usually start with a 0.2mm offset for my slots and tabs. So, if my panel is 3mm thick, my slot width will be 3.2mm. And then I fine-tune from there, sometimes going to 0.15mm or 0.25mm depending on the filament and printer calibration. This often requires test prints, usually just a small corner piece or a couple of tabs/slots. It's frustrating sometimes, but it’s worth it.
- Filament Choice Matters: For flat-pack designs, especially those meant to be assembled and disassembled, PLA+ is my go-to. It’s rigid, prints well, and holds tolerances. For parts that need a little flex or higher temperature resistance, PETG works, but it's a bit trickier to print with precise dimensions. I've used Hatchbox PETG sometimes, but it's not always easy to find in stock at a decent price here.
- Joint Design: Simple tabs and slots are effective. But you can get fancy! Dovetail joints add extra strength. Some designs even benefit from a bit of superglue or epoxy once assembled for permanent fixtures. For example, if I'm designing a display stand for a client’s shop, I often recommend a dab of Fevikwik on the joints for added stability.
- Material Gauge vs. Print Thickness: In the sheet metal environment, you define a "sheet metal rule" which includes things like thickness and bend radius. For 3D printing, you can create a custom rule where the thickness is your desired panel thickness (e.g., 3mm), and the "bend radius" can be set to something very small or even zero, as you’re not actually bending. It’s more about defining the joint area.
- Print Bed Adhesion is Key: Because you’re printing flat pieces, a well-calibrated bed and good adhesion are paramount. Warping on a long, thin piece can ruin the dimensional accuracy. I always use a PEI sheet now, it’s a lifesaver.
In my experience, once you get the hang of designing with these tools, your workflow speeds up dramatically. I can whip up a custom phone stand design in maybe 30-45 minutes now, whereas before, fiddling with multiple bodies and aligning things could take twice as long. And the best part? The client gets a clean, easy-to-assemble product that looks professionally designed and manufactured.
Here at ArtoPia Collections, this method has allowed me to take on more custom orders without getting bogged down by complex shipping logistics or insane print times. For a simple flat-pack desk organizer, I might charge ₹800-₹1500 for the design and printing, depending on the complexity and filament used. For something larger, like a modular storage unit, it could go up to ₹2500-₹5000. The cost savings on shipping alone mean I can offer more competitive pricing to my customers, which is huge in our market.
So, if you’re looking to optimize your 3D printing workflow, cut down on support material, reduce shipping costs, and offer your customers a really cool, interactive product, I seriously urge you to explore Fusion 360's Sheet Metal workspace. Don't let the name fool you. It’s not just for metal; it’s for smart design. Take a leap, give it a try, and maybe you'll unlock a whole new dimension of possibilities for your 3D printing adventures!
And hey, if you end up designing some cool flat-pack stuff, definitely share it! I’d love to see what you come up with. And if you're ever looking for some ready-made designs or custom print services, do check out our collections over at ArtoPia Collections. We're always adding new stuff!


