Blender Sculpting for 3D Printing: From Digital Clay to Physical Object
Dive into the world of Blender sculpting and learn how to prepare your digital models for flawless 3D printing. Discover essential techniques to bring your imaginative creations to life as physical objects.

Ever stared at a blank screen, a complex idea buzzing in your head, and felt that crushing dread of trying to translate organic, free-flowing creativity into rigid, geometric CAD software? Yeah, I’ve been there. Countless times. I remember trying to model a stylized Ganesh idol using traditional CAD tools back in my early days of 3D printing. Man, it was a nightmare! Every curve felt forced, every detail a struggle against the software, not with the artistic vision. I just wanted to sculpt, you know? To push and pull, pinch and smooth, like working with real clay, but without the mess and the constant fear of it crumbling.
That’s where Blender sculpting swooped in like a superhero, honestly. It completely changed the game for me, and for my little 3D printing business here in India, ArtOptia Collections. Suddenly, the impossible became… well, not just possible, but *fun*. From digital clay to a physical object you can hold in your hand – that’s the magic we’re talking about today. And trust me, if I, a guy who used to struggle with even basic Boolean operations, can get good at this, anyone can. Seriously.
From Frustration to Freedom: Why Blender Sculpting is a Game-Changer
The thing is, many of us in 3D printing start with functional parts, mechanical designs, or simple geometric shapes. And for those, CAD software like Fusion 360 or SolidWorks is king. But what if you want to create a character from your favorite anime? A mythological creature? A custom miniature for a D&D campaign? Or maybe just a beautifully ergonomic handle for a tool? Trying to do that with traditional CAD is like trying to paint a portrait with a ruler and compass. It’s technically feasible, I guess, but you’ll pull your hair out, and the end result will likely look stiff and unnatural. It just lacks that organic flow, that artistic touch.
Blender, specifically its sculpting tools, lets you ditch the rulers and exact measurements for a while and just *feel* the form. You’re basically working with digital clay. You start with a simple sphere, or maybe a block, and you gradually refine it, adding volume, carving details, smoothing out rough patches. It’s incredibly intuitive once you get past the initial learning curve, and the freedom it offers for organic models is unparalleled. I personally think it's one of the most powerful tools available for artists who want to bridge the gap between their imagination and a tangible 3D print.
My Journey into the Digital Clay World
I stumbled upon Blender's sculpting features by accident, actually. I was looking for a free alternative to some ridiculously expensive sculpting software, and someone in a forum mentioned Blender. My initial reaction was, "Blender? Isn't that for animations and stuff?" But curiosity got the better of me. I downloaded it, watched a few YouTube tutorials (shoutout to Grant Abbitt and FlippedNormals – their stuff is golden!), and just started playing around. And man, was it clunky at first! I was using my mouse, trying to sculpt, and it felt like drawing with a brick. Every stroke was jagged, every detail impossible.
That's when I invested in a simple Wacom Intuos graphics tablet. It wasn't super expensive, maybe around ₹7,000-₹8,000 at the time (you can find similar ones like this Wacom Intuos Small on Amazon.in now, sometimes even less during sales). And let me tell you, that was the second game-changer. It's like going from finger painting to using a proper brush. The pressure sensitivity, the precision – it makes all the difference in the world. So, if you're serious about sculpting, a graphics tablet isn't optional; it's essential, in my humble opinion.
Once I had the tablet, things started clicking. I spent hours, days, weeks just practicing. Sculpting heads, hands, creatures, abstract shapes. There's a real joy in seeing a blob of digital mesh transform into something recognizable, something beautiful. And the best part? If you mess up, you just hit Ctrl+Z. No wasted clay, no starting from scratch. That's the beauty of digital, right?
Blender's Sculpting Toolkit: Your Digital Chisel Set
Blender has an incredible array of sculpting brushes, each designed for a specific purpose. You won't use all of them all the time, but knowing the core ones will get you a long way. Here are a few I swear by:
- Clay/Clay Strips: These are your foundational brushes. They build up material, just like adding clay to a real sculpture. Great for blocking out major forms.
- Grab: This lets you pull and push large sections of your mesh. Super useful for adjusting proportions or moving entire limbs.
- Smooth: Essential for blending out lumps and bumps, creating a refined surface. You'll use this constantly.
- Crease: Perfect for carving sharp lines, wrinkles, or defining edges. Think of it as a detailing tool.
- Scrape/Flatten: These are great for squaring off surfaces or creating flat planes, which can be surprisingly useful even in organic sculpting.
And then there's Dyntopo (Dynamic Topology), which automatically adds or removes mesh detail as you sculpt. This means you don't have to worry about running out of polygons when you need fine details, or having too many when you're just roughing out large shapes. It's truly magical and lets you focus purely on the artistic process. It’s like the software is intelligently supplying you with more clay where you need it, and less where you don’t. How cool is that?
From Sculpted Mesh to Print-Ready Model
Okay, so you’ve sculpted your masterpiece. It looks amazing on screen. Now what? The journey isn't quite over. For 3D printing, especially FDM (Fused Deposition Modeling) printers, you need a "clean" mesh. Sculpting, especially with Dyntopo, often creates a very dense, uneven mesh that isn't ideal for printing or even for proper slicing. This is where our ArtOptia Collections workflow kicks in.
The key here is retopology. Basically, you create a new, cleaner, more organized mesh over your high-detail sculpt. It's a bit like tracing, but you're creating a simpler, more efficient wireframe. Blender has tools for this, both manual and automatic (like the QuadRemesher add-on, which is a paid but incredibly powerful tool). For most of my simpler sculptures, I can get away with Blender's built-in tools or even just a Decimate modifier to reduce polygon count without losing too much detail. But for intricate models, a good retopology workflow is a lifesaver.
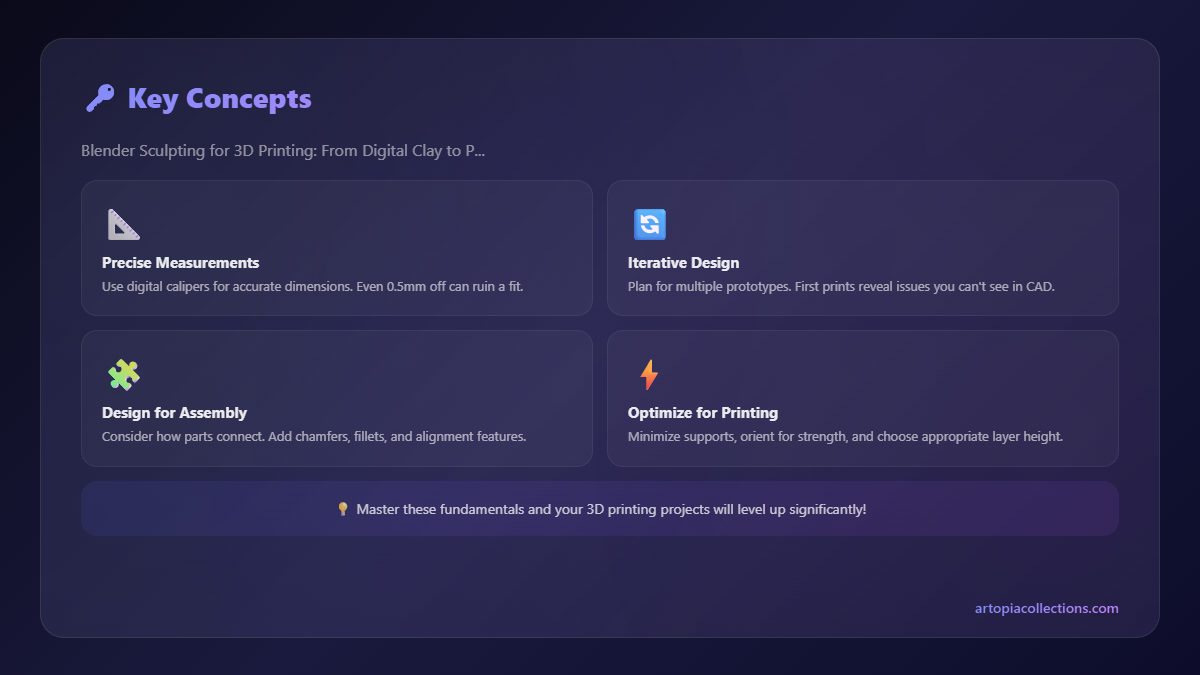
Once your mesh is clean, manifold (watertight), and appropriately dense, it's time to export it, usually as an STL or OBJ file, and bring it into your slicer. I mostly use PrusaSlicer or Ultimaker Cura, depending on the printer and the project. This is where you prepare your model for the physical world: choosing orientation, adding supports, determining layer height, infill, and all that jazz.
Printing Your Digital Dream
For most of my artistic prints, I stick to PLA filament. It's easy to print with, comes in a gazillion colors, and gives decent detail. Brands like eSun, Overture, and locally sourced filaments from Indian manufacturers work great. You can find good quality PLA for around ₹1,000-₹1,500 per kg on Amazon.in (check out something like PLA filament options here). For functional parts or items that need more strength, I'd go with PETG or even ABS, but they're a bit trickier to print.
And when it comes to printers, I rely on my trusty Creality Ender 3 V2s for most FDM projects. They're absolute workhorses and are pretty affordable, costing around ₹18,000-₹22,000 these days. For really fine details, especially for miniatures or small busts, nothing beats a resin printer. I've got an Anycubic Photon Mono X, and the detail it can achieve from a Blender sculpt is just mind-blowing. Resin isn't cheap though – a liter of standard resin can set you back ₹2,000-₹3,500, and there's more post-processing involved with washing and curing. But the results? Oh, they're worth it, especially for those highly detailed sculptures.
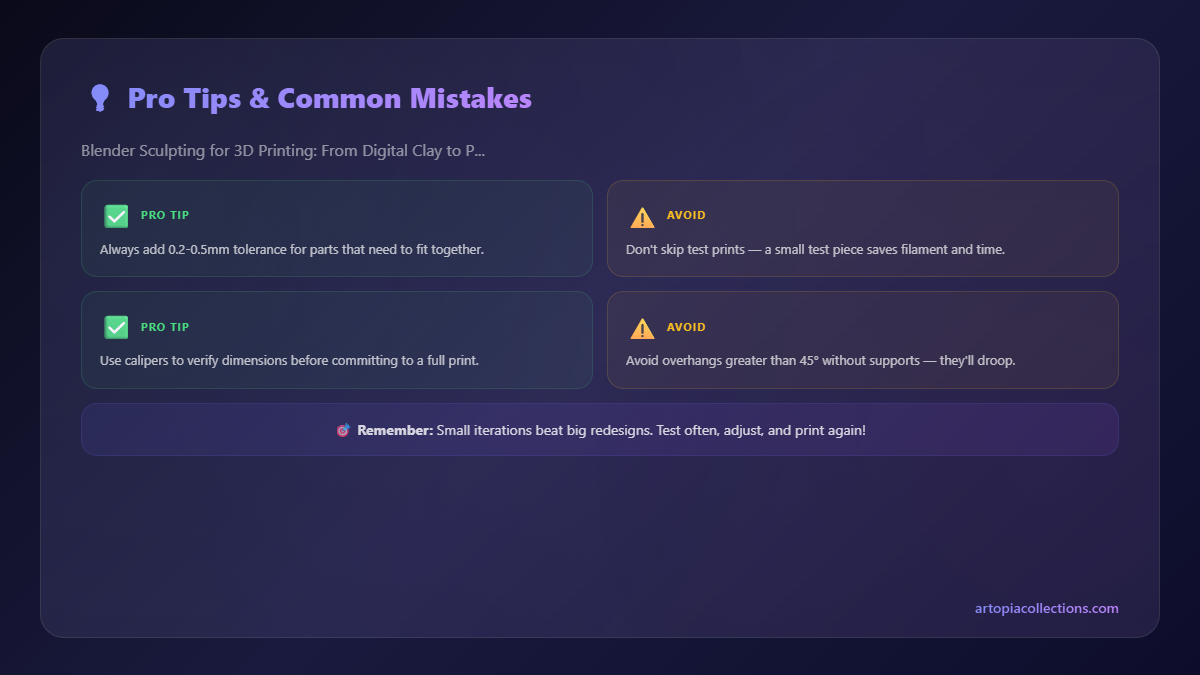
I always make sure to orient my sculpts carefully in the slicer to minimize supports and maximize surface quality. Sometimes, splitting a complex model into multiple parts and gluing them together after printing yields better results than trying to print it as one massive, support-heavy piece. And supports are crucial for overhangs, of course. For organic shapes, tree supports often work best as they're easier to remove and leave fewer marks than traditional linear supports.
Post-Processing: Bringing the Sculpture to Life
Once the print comes off the bed, the real fun begins for me. No, not really, it's actually the part I tolerate, haha! But it's essential. For FDM prints, careful support removal is key. I use flush cutters and sometimes a hobby knife. Then, it's sanding, sanding, and more sanding if you want a smooth finish. For resin prints, it's washing, curing, and then removing supports, which is usually easier than FDM. After all that, painting is where your sculpture truly comes to life. A good primer, some acrylic paints, and a steady hand can transform a dull plastic print into a stunning work of art.
Blender Sculpting for Business: A Unique Edge
At ArtOptia Collections, Blender sculpting has given us a significant competitive edge. We can offer truly unique, custom-sculpted pieces that you simply can't find off-the-shelf. Someone wants a custom-designed miniature of their pet? We can sculpt it. A unique award for a corporate event? Done. A personalized action figure for a birthday? You got it. This capability has opened up so many doors for us, allowing us to cater to niche markets and deliver bespoke creations that genuinely wow our customers.
The ability to iterate quickly in digital clay, get feedback, and make changes before committing to a physical print saves a ton of time and material. Plus, it fosters a much more collaborative process with clients who might have a clear vision but no technical design skills. We literally sit down, sculpt in front of them (virtually, these days!), and they can see their ideas taking shape in real-time. It’s an amazing experience, for them and for us.
The initial investment for getting into Blender sculpting isn't prohibitive either. You need a decent computer (most modern PCs can handle it), Blender (which is free!), and a graphics tablet (as I mentioned, around ₹5,000-₹8,000 for a good beginner one). Compared to the cost of some other professional design software or traditional sculpting materials, it's incredibly accessible. And the return on that investment, in terms of creative freedom and business opportunities, is immense.
Ready to Get Your Hands Dirty (Digitally)?
If you've been on the fence about trying Blender sculpting for your 3D printing projects, I'm telling you, jump in! It's a journey, not a destination, and you'll learn something new every day. Don't be intimidated by the seemingly complex interface. Start small, follow tutorials, and just experiment. The satisfaction of seeing your digital creation manifest as a physical object in your hand is truly unmatched. It's a powerful feeling, transforming pixels into something tactile, something real.
And hey, if you ever need some inspiration, or just want to see what kind of cool stuff you can create with Blender sculpting and 3D printing, feel free to browse some of our unique creations over at ArtOptia Collections. We've got everything from custom miniatures to artistic home decor, all born from a blob of digital clay and brought to life by our printers. It's a testament to what's possible when you embrace the artistic side of 3D printing.
So go on, download Blender, grab a cheap tablet if you don't have one (or save up for a slightly better one, totally worth it!), and start sculpting. Your next masterpiece is waiting to be unearthed from the digital clay. Happy printing, my friends!


