How to Use LIDAR on iPad for 3D Scanning and Printing
Learn to use your iPad's LiDAR scanner for incredible 3D models. We'll show you how to scan, process, and prepare them for 3D printing.

Okay, imagine this: you’ve got a broken part on your mixer grinder, a little plastic knob, and you’re absolutely fuming because finding a replacement is a nightmare in this country, right? Or maybe you've got this beautiful, intricate Ganesha idol your grandmother cherishes, and you dream of making a smaller version for your desk, but how do you even begin to replicate something so complex? For years, getting a 3D model of a real-world object was either super expensive, required specialized hardware, or meant hours of painstaking measurement and CAD work. But then, LiDAR came along, tucked right into our everyday iPads, and suddenly, the game changed. And honestly, it changed everything for us small business guys and hobbyists here in India.
LiDAR on iPad: Your Superpower for 3D Printing
So, what even IS LiDAR, without getting all science-y about it? Basically, your iPad Pro (or some of the newer Air and Mini models) shoots out invisible laser beams, measures how long they take to bounce back, and builds a super accurate depth map of your surroundings. Think of it like a bat echolocating, but for visual data. And the thing is, this isn't just for fancy AR games. For us 3D printing enthusiasts, it’s a revelation. It means you can literally "scan" real-world objects, capture their geometry, and then print them out on your FDM or resin printer. It's like having a Star Trek replicator, but, you know, slower and requires a bit more elbow grease.
I personally remember the days of trying to take dozens of photos for photogrammetry, battling bad lighting and blurry results, only to spend hours trying to stitch them together into something usable. It was a headache, honestly. But with LiDAR, especially on my iPad Pro, it’s often a matter of minutes to get a decent base scan. The accuracy isn't industrial-grade (don't expect micron-level precision, folks!), but it's more than good enough for most hobby and even many small-business applications. For repairing that mixer knob, or replicating that idol? Absolutely perfect.
What You'll Need to Get Started (The Basics, Yaar!)
Alright, let’s talk turkey. What do you need to jump into this cool scanning and printing adventure?
- A Compatible iPad: This is the big one. You’ll need an iPad Pro model from 2020 or newer, or one of the newer iPad Air (5th gen and up) or iPad Mini (6th gen and up) models. These are the ones with the LiDAR scanner. I know, I know, iPads aren't cheap. A new iPad Pro 11-inch can set you back anywhere from ₹70,000 to over ₹1,20,000, depending on storage and connectivity. Even a decent used one might be ₹50,000-₹60,000. But if you already have one, or were planning to buy one anyway, you've already got your biggest hurdle covered!
- A 3D Scanning App: There are quite a few good ones out there. My top picks, based on my experience, are:
- Polycam: This is my go-to. It's super intuitive, has great processing, and allows you to export in various formats. They have a free tier with limited exports, but for serious use, you'll want the Pro subscription, which is roughly ₹1,500 a month or around ₹12,000 for a year. It's an investment, but for what it offers, totally worth it.
- Everypoint: Also fantastic, especially for more technical scans. It has excellent measurement tools.
- Scaniverse: A good free option to get started and see what LiDAR can do. It's a bit simpler, but very capable.
- A 3D Printer: Obviously! You need something to bring those scans to life. A good FDM printer like the Creality Ender 3 V2 (which goes for about ₹18,000-₹25,000) or an Anycubic Kobra is an excellent starting point. For finer details, a resin printer is awesome, but that's a whole different ball game of post-processing and ventilation.
- Filament: You can't print air, right? For most general purposes, good old PLA is your friend. It's easy to print with, comes in a million colors, and is relatively affordable. I usually grab eSUN, Overture, or even some local Indian brands that have popped up. You can find a good selection of PLA filament on Amazon.in, typically ranging from ₹1000-₹2000 per kilogram spool.
- Slicing Software: PrusaSlicer or Ultimaker Cura are the industry standards. They're free, powerful, and essential for turning your 3D model into printer instructions.
- Basic 3D Editing Software (Optional but Recommended): Tools like Autodesk Meshmixer (free!) or Blender (also free!) are super helpful for cleaning up your scans. More on this in a bit.
The Scanning Process: It's Not Rocket Science, But There Are Tricks!
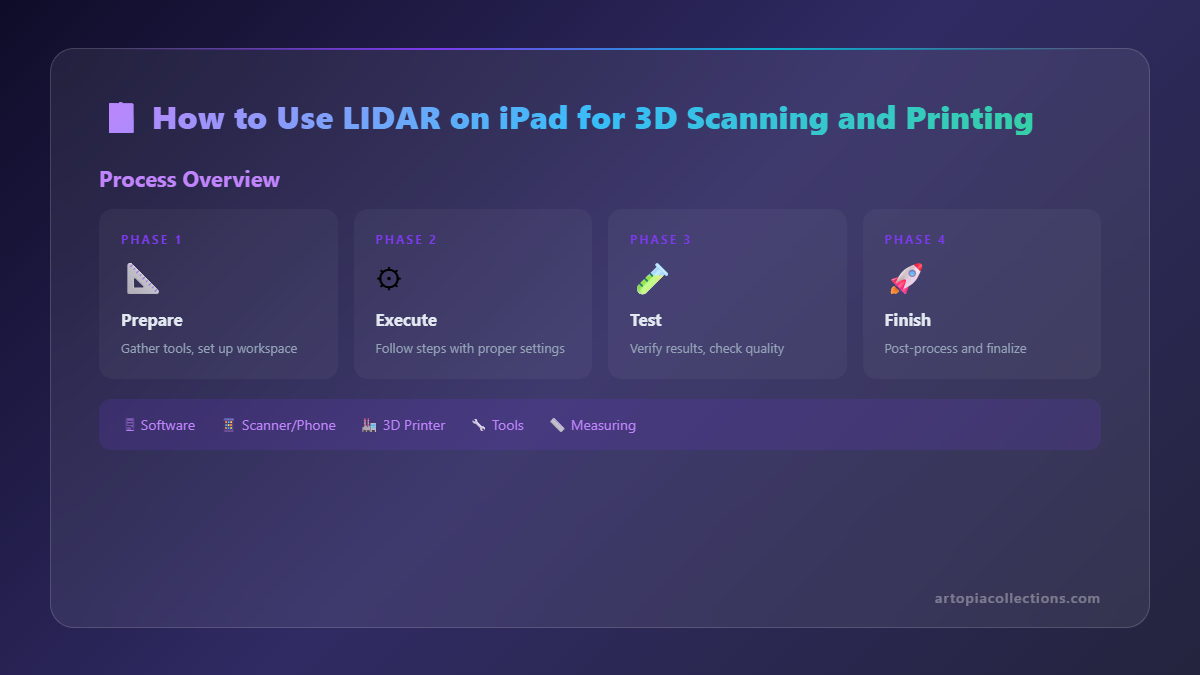 Alright, you've got your iPad and your app. Let's scan something! Here’s my workflow:
- Prepare Your Object and Environment:
- Lighting is Key: Good, even, diffuse lighting is your best friend. Avoid harsh shadows or super bright spots. If you're scanning something shiny, like a metal pot, you might struggle. Sometimes a light dusting of matte spray paint (or even talcum powder if you're feeling adventurous and can clean it off!) can help the LiDAR sensor pick up details.
- Background Matters: A plain, contrasting background helps the app focus on your object, not the clutter. A rotating turntable (even a cheap manual one you can spin with your hand) is a game-changer for getting a full 360-degree scan easily. I got a basic one for ₹300-₹400 from a local market.
- Stable Surface: Place your object on a stable surface. You don’t want it wiggling mid-scan.
- Open Your App and Start Scanning:
- I fire up Polycam. You'll usually get a real-time preview of the mesh being built.
- Smooth Movements: This is critical. Move your iPad slowly and smoothly around the object. Think like you're filming a slow-motion documentary.
- Overlap is Good: Make sure you have plenty of overlap in your scanning paths. Don't just do one quick circle. Go high, go low, get all the angles.
- Distance: Keep a consistent distance from the object, usually about 30cm to 1 meter, depending on the object size and app recommendations.
- Patience, Grasshopper: Don’t rush it. Take your time to capture all the nooks and crannies. If you miss a spot, the resulting model will have holes.
- Process and Export:
- Once you’re done scanning, the app will process the data. This can take a few seconds to several minutes, depending on the complexity and size of your scan.
- After processing, you can usually view, crop, and make minor edits right in the app.
- Then, export! For 3D printing, you'll generally want an OBJ or STL file. Most apps offer these. I usually go for OBJ if I plan to do a lot of editing, as it can sometimes retain color information, though that's less relevant for FDM printing.
Pro Tip (from a guy who's seen it all): Don't be disheartened if your first few scans aren't perfect. It's a skill, and it takes practice! You'll learn what works best in your environment, what kinds of objects scan well, and how to move your iPad effectively.
From Scan to Print: The Digital Alchemy
So, you’ve got an OBJ or STL file. Great! Now, it's rare that a raw LiDAR scan is perfect for printing. You'll almost always need to do a little cleanup. This is where Meshmixer or Blender come in handy.
- Cleaning Up the Mesh:
- Filling Holes: Scans often have holes, especially in areas the LiDAR couldn't see, or if your movement was shaky. Meshmixer has excellent tools for filling these automatically.
- Removing Unwanted Parts: You might have scanned part of your table or background. You can easily select and delete these extra bits.
- Making it Watertight: For 3D printing, your model needs to be "watertight" – meaning no open edges or internal inconsistencies. Meshmixer has a "Make Solid" feature that does wonders for this. Blender also has powerful tools, but it has a steeper learning curve.
- Simplifying the Mesh: LiDAR scans can be very high-poly (lots of triangles), which can make files large and slow down slicing. You can reduce the polygon count (decimate the mesh) while retaining detail in most cases.
- Slicing Time!
- Once your model is clean and watertight, import it into your slicing software (PrusaSlicer, Cura).
- Here, you'll set up all your print parameters: layer height (0.2mm is standard for speed, 0.12mm for more detail), infill percentage (20% is usually fine for most functional prints), print speed, temperatures, and supports.
- Supports: This is a big one. LiDAR scans often capture complex geometries that require supports for successful printing. Learn how to use them effectively – where to place them, how dense they should be.
- Orientation: Think about how to orient your part on the print bed for the best results and fewest supports. Sometimes rotating it a bit can make a huge difference.
The Moment of Truth: Printing!
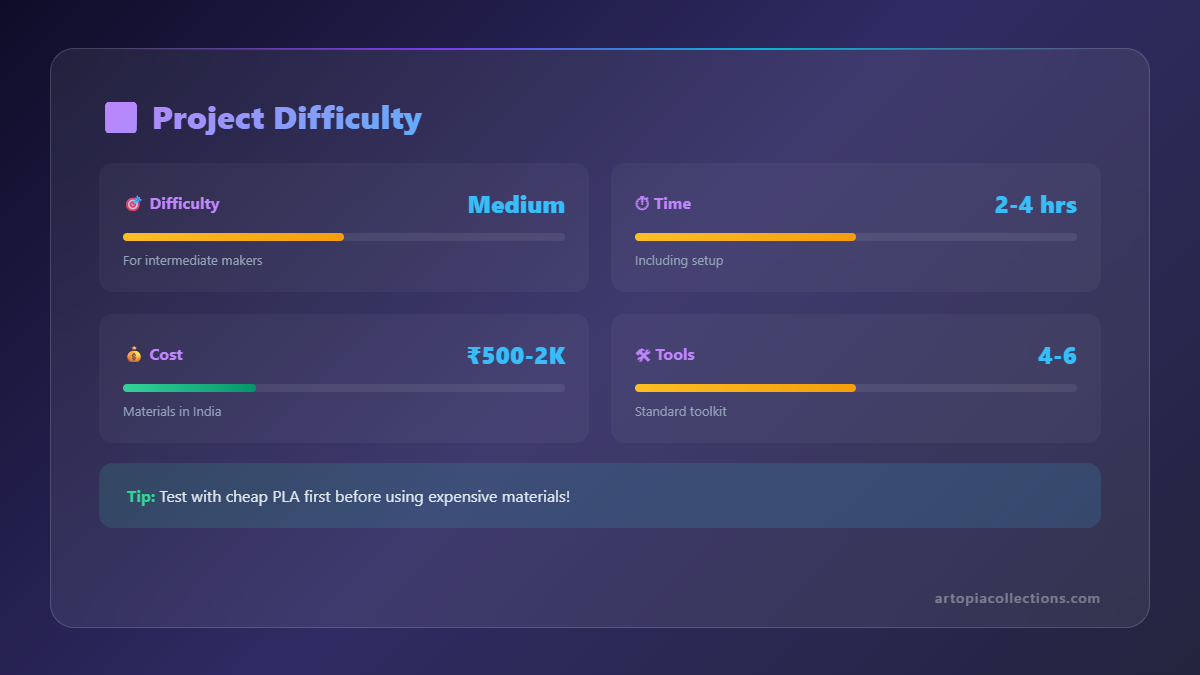 With your g-code file ready, it's time to transfer it to your printer (usually via an SD card or USB) and hit print. This is where the magic really happens, and also where all your patience is tested! I’ve had countless prints fail halfway through because of a dodgy first layer or a sudden power cut (thanks, India!). But when it works, oh man, the satisfaction is immense.
In my experience, PLA is generally the easiest to get good results with, especially for decorative items or parts that don't need high strength or temperature resistance. If you’re printing a functional part, say for that mixer grinder, you might consider PETG, which is stronger and more durable, but a bit trickier to print. I usually stick to 0.4mm nozzle and 0.2mm layer height for a good balance of speed and detail.
For custom orders in my business, ArtOptia Collections, this LiDAR scanning capability has been a game-changer. Customers come to me with a broken part or a unique item they want replicated, and instead of quoting them absurd amounts for CAD design, I can often scan, clean, and print within a day or two. You can check out some of the cool stuff we do, including custom prints, right here: https://artopiacollections.com/products.
A Few Last Thoughts from an Indian Maker
Look, the biggest hurdle for many of us here in India is often the initial investment. iPads and good 3D printers aren't cheap. But if you already have a compatible iPad, you're halfway there. And honestly, the cost of a basic Ender 3 and a few spools of filament is quickly offset by the endless possibilities it opens up – for personal projects, for repairs, or even for starting your own small side hustle.
Don't be afraid to experiment! Try scanning different textures, different sizes. Join online communities – there are tons of Indian 3D printing groups on Facebook and WhatsApp where people share tips, tricks, and local resources. You might find a vendor selling filament for cheaper, or someone who's mastered scanning a particular type of object.
The convergence of readily available mobile tech like LiDAR and accessible 3D printing is truly empowering. It means we, as makers, have more tools than ever before to bring our ideas, our repairs, and our creativity to life. So go on, give it a try! You might just surprise yourself with what you can create.


