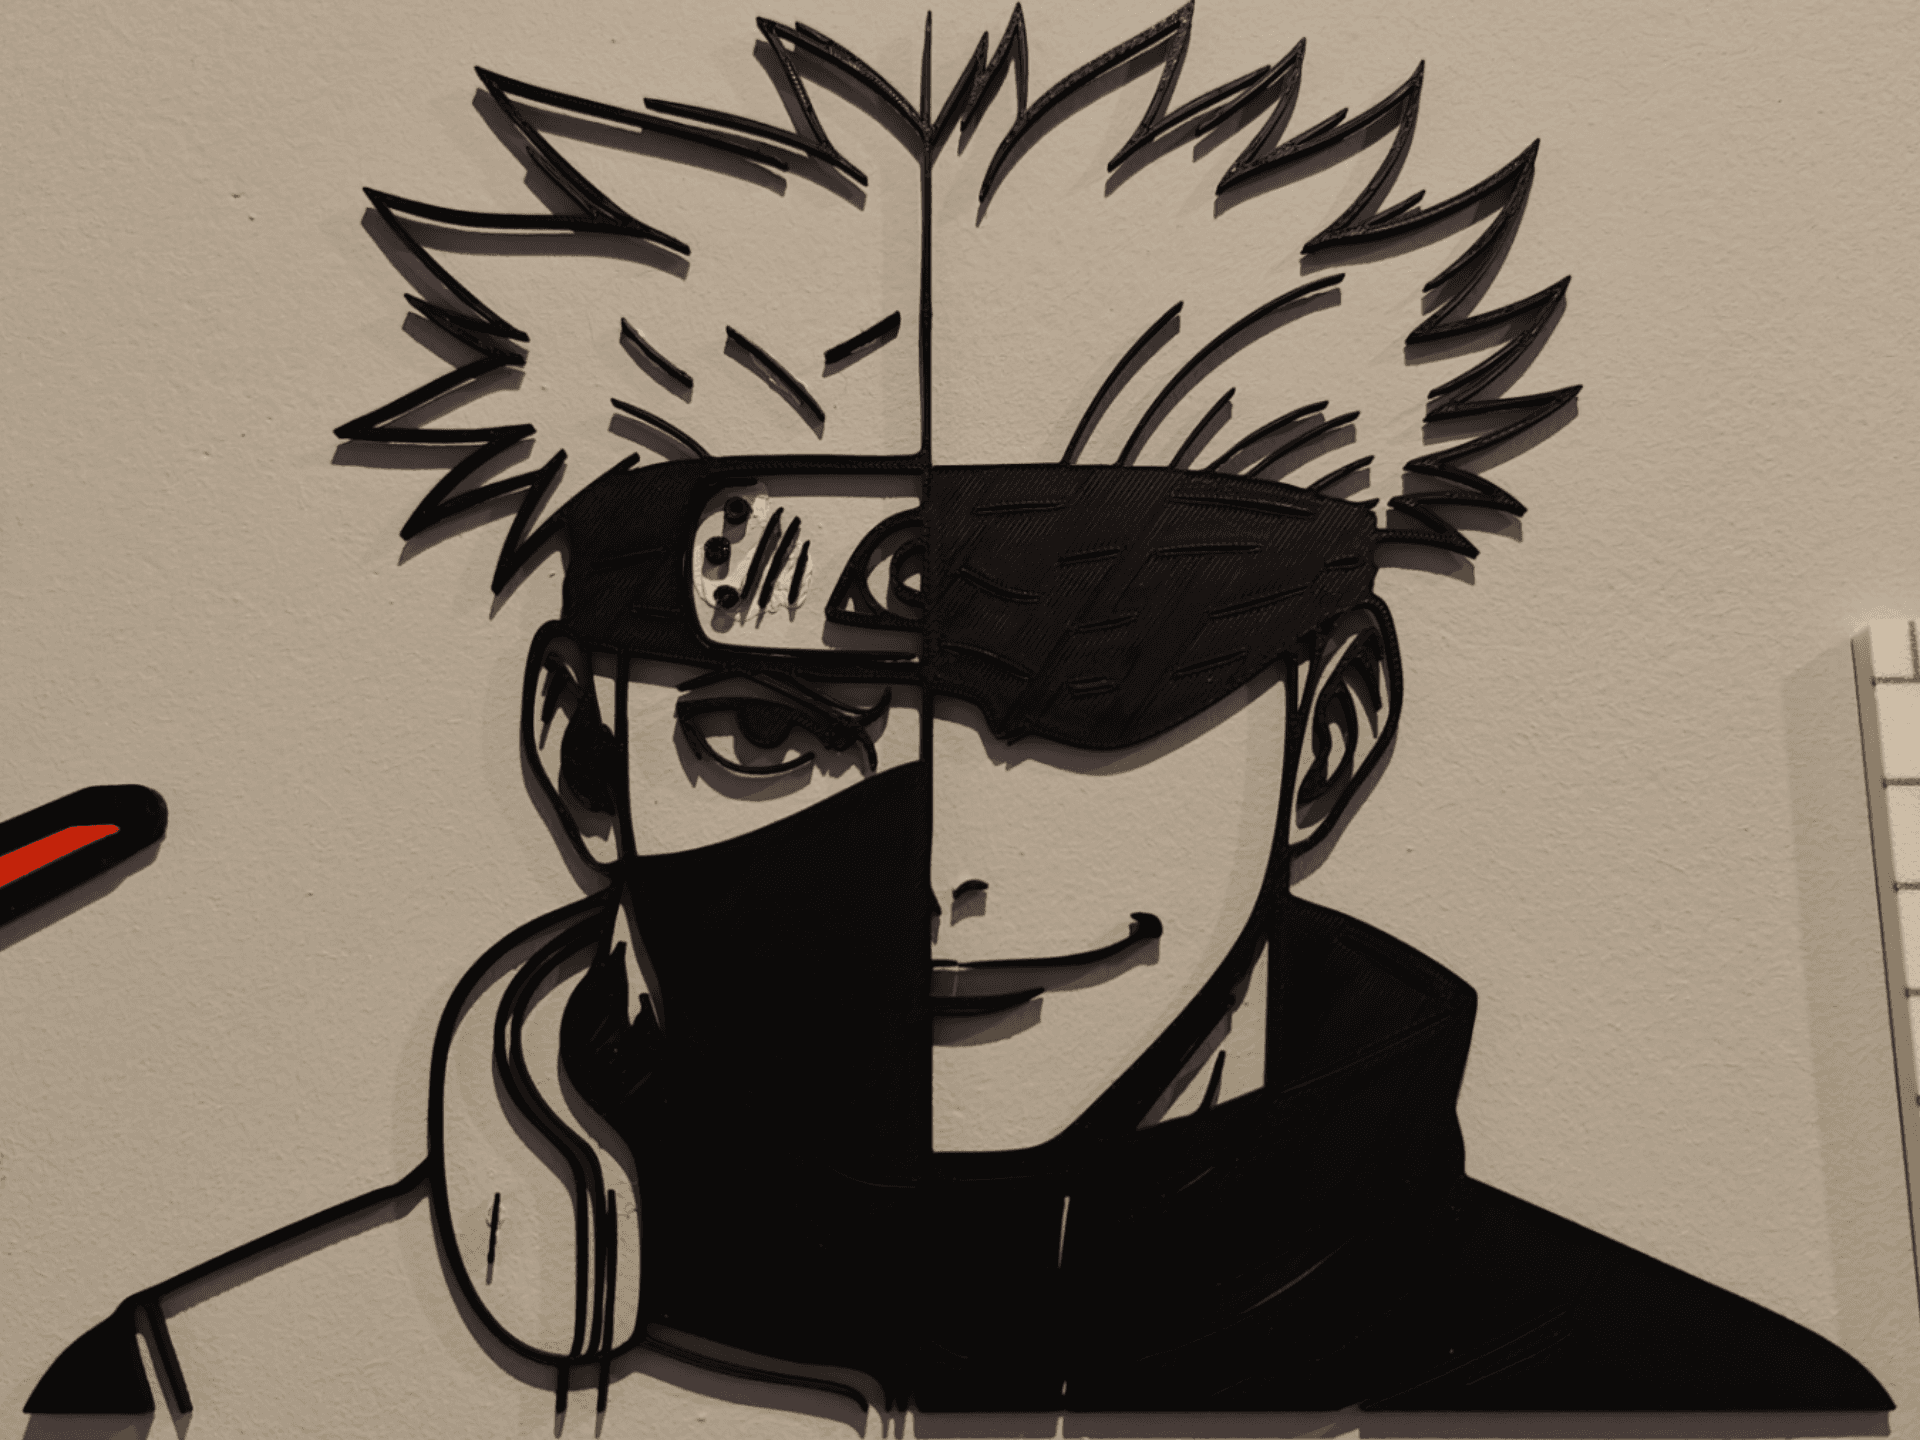
How to Paint 3D Prints Like a Pro: Priming, Painting, and Finishing
Unlock professional results for your 3D prints with our comprehensive guide. Learn the secrets to perfect priming, detailed painting, and flawless finishing techniques.

Hey everyone, Vidyut here, your friendly neighbourhood 3D printing fanatic from Artopia Collections! You know that feeling, right? You spend hours â sometimes days â designing, slicing, and then patiently watching your printer hum away, layer by beautiful layer, until that perfect print emerges. You pull it off the build plate, hold it up, admire the details⦠and then it hits you. Itâs grey. Or beige. Or whatever generic filament colour you had loaded. It looks cool, sure, but it's not quite the masterpiece you envisioned, is it?
Thatâs where the magic truly begins, my friends. The moment you pick up that paintbrush. In my small business, Artopia Collections, we don't just print things; we bring them to life. And honestly, a huge part of that "life" comes from a good paint job. Itâs like giving your model a soul, transforming a plastic object into something with character, depth, and a story. And trust me, itâs not as intimidating as it sounds. If I, a guy who started with zero artistic talent (my childhood drawings were legendary for all the wrong reasons!), can learn to paint 3D prints like a pro, then so can you. Chalo, let's dive in!
Why Even Bother Painting Your 3D Prints?
I get this question a lot. "Vidyut, why don't you just print in the colour you want?" And yeah, sometimes I do! If it's a simple functional part or a quick toy for my nephew, I'll just use coloured filament. But the thing is, filament colour has limitations. You canât get nuanced shading, realistic textures, or that gritty, weathered look with just plastic. Painting allows for:

- Unleashing Creativity: You're not limited to 10 or 20 filament colours. The world of paint is your oyster!
- Hiding Imperfections: Minor layer lines, slight sanding marks, even tiny elephant's foot issues â a good primer and paint job can make them disappear or become part of the aesthetic.
- Adding Depth & Realism: Washes, dry brushing, and layering can make a simple model look incredibly lifelike or fantastical.
- Protection: A good clear coat protects your print from UV, dust, and general wear and tear.
Basically, painting takes your 3D print from "cool plastic thing" to "OMG, where did you buy that?!" It's a game-changer, and it's what differentiates a hobbyist print from a professional-looking display piece or collectible. And if you're running a business like mine, it's non-negotiable for custom orders and art pieces.
Phase 1: The Foundation - Preparation and Priming
Alright, letâs be real. No amount of fancy painting techniques will save a poorly prepared print. This initial stage is CRUCIAL. Donât skip it, don't rush it. It's the difference between a masterpiece and a flaky mess.

1. Cleaning Your Print
First things first. You've just pulled your print off your trusty Ender 3 Pro or Anycubic Kobra. It might have some sticky residue from the build plate, or just general dust and grime. Give it a good wash with mild soap and water. If you used glue stick or hairspray, a bit of isopropyl alcohol (IPA) works wonders. Just make sure itâs completely dry before moving on. I personally use IPA for a quick wipe down after all the sanding, just to be super sure.
2. Smoothing Those Layer Lines (Oh, the horror!)
This is where the elbow grease comes in. PLA, ABS, PETG â they all have layer lines. Depending on your print quality and layer height, they can be more or less visible. For truly smooth, professional results, you'll need to sand.
- Sanding: Start with a coarser grit, say 220-grit sandpaper (easily available at any hardware store for about â¹20-â¹30 a sheet). Work your way up to finer grits â 400, then 600, maybe even 800 or 1000 if you want a mirror-smooth finish. I usually stop at 600 for most projects. Remember to sand gently, especially on detailed areas. Wet sanding (dipping your sandpaper in water) can help reduce dust and give a smoother finish. But please, please, wear a mask. Fine plastic dust is not good for your lungs. Seriously, don't skimp on a good N95 mask.
- Filling Gaps/Seams: Sometimes, even after sanding, you'll have tiny gaps, particularly if you've assembled multiple printed parts. This is where filler comes in. Automotive body filler (like putty from Motomax or local brands) works great, but it can be a bit tricky to work with and sands down hard. For smaller gaps, I've had fantastic results with M-Seal, yes, the same epoxy putty we use for plumbing! It cures quickly and can be sanded smooth. Just mix a tiny bit, apply with a small tool, let it dry, and sand it down.
3. The Mighty Primer
Okay, this is probably the most overlooked step, and it's a huge mistake. Priming is like giving your print a fresh canvas. It helps paint adhere better, provides a uniform base colour, and helps reveal any remaining imperfections you missed during sanding (which you can then fix!).
Iâve used a bunch of different primers over the years. For spray primers, I usually go for an automotive grey primer from brands like Rust-Oleum or Asian Paints. You can find them at most hardware stores or even online for around â¹300-â¹500 a can. They stick really well to plastic. Just make sure itâs a 'plastic primer' or 'all-purpose primer'. Apply in thin, even coats from about 10-12 inches away, letting each coat dry before applying the next. Two to three thin coats are better than one thick, drippy mess. If you don't have good ventilation, don't use spray cans indoors, yaar. Open windows, fans, or better yet, do it outside.
If you prefer brush-on, a good acrylic gesso (like Fevicryl Gesso) works wonderfully. It's water-based, less smelly, and easy to clean up. But honestly, for larger prints, a spray primer gives a much smoother, more consistent finish. You can find a good selection of primers on Amazon.in if your local stores are lacking: Shop 3D Print Primer Spray on Amazon.in.
Phase 2: Bringing Colour to Life - Painting
Now for the fun part! Your print is smooth, clean, and beautifully primed. Time to add some colour!
1. Choosing Your Paints
For 3D prints, especially PLA and ABS, acrylic paints are your best friend. Why? They're water-based, non-toxic (mostly), easy to clean up with water, and come in a dazzling array of colours. Brands like Fevicryl, Camel, Faber-Castell, and even artist-grade acrylics are fantastic and readily available in India. For miniature painting, I also swear by specialized hobby paints like Citadel (Warhammer) or Vallejo â theyâre a bit pricier (â¹200-â¹400 per bottle), but the pigment density is amazing.
Enamel paints are an option if you want extreme durability and vibrancy, but they're solvent-based, smell strong, and require mineral spirits for cleanup. I tend to avoid them unless I'm doing something very specific like scale models where that level of toughness is needed.
2. Essential Painting Techniques
You don't need to be a Picasso, but knowing a few basic techniques will elevate your game dramatically:
- Base Coating: This is your initial layer of colour. Apply it in thin, even coats. Multiple thin coats are always better than one thick one that hides details and creates brush strokes. Thin your paints with a little water or an acrylic medium.
- Layering: Build up colours from dark to light. For example, if you're painting skin, start with a darker base, then apply progressively lighter shades in smaller areas to create highlights and depth.
- Washing/Shading: This is pure magic! A "wash" is very thin, usually dark paint that flows into the recesses of your model, emphasizing details and creating shadows. Think of a slightly diluted black, brown, or even a dark green for an aged metallic look. Wipe off any excess from the raised areas before it dries. It instantly adds depth and realism. For custom prints, I sometimes even make my own washes using regular acrylics thinned down with water and a tiny drop of dish soap to break surface tension.
- Dry Brushing: This is the opposite of washing and perfect for highlighting raised details. Get a small amount of paint on an old, stiff brush (often a lighter colour than your base). Wipe almost all of it off on a paper towel until barely any paint is left. Then, lightly drag the brush across the raised edges of your model. The paint will catch only on the high points, creating a subtle highlight and texture. It's super effective for things like weathered stone, fur, or metallic edges.
- Detailing: For eyes, tiny buttons, or intricate patterns, you'll need fine-tipped brushes and a steady hand. Take your time, breathe, and use a magnifying glass if needed.
And speaking of brushes, you don't need a whole art store. A good set of synthetic round brushes (sizes 00, 0, 1, 3, 5) and a couple of flat brushes will get you started. You can get a decent set for â¹150-â¹500 online or at any stationery shop. Remember to clean your brushes thoroughly after each use with soap and water to keep them in good shape!
Phase 3: The Grand Finale - Finishing and Sealing
You've poured your heart into painting, now itâs time to protect your masterpiece and give it that final, professional sheen. This is where clear coats, or varnishes, come in.
1. Choosing Your Varnish
Just like primers, varnishes come in spray and brush-on forms, and in different finishes:
- Matte: My personal favourite for most projects. It reduces shine, gives a sophisticated, non-reflective look, and helps hide minor imperfections.
- Satin/Semi-Gloss: A subtle sheen, a good middle ground if you want a bit of a glow without being too reflective.
- Gloss: High shine, perfect for wet-looking surfaces, futuristic tech, or specific details you want to pop.
Again, I usually opt for spray varnishes (like Rust-Oleum Clear Coat or similar brands) for an even finish, especially if the piece is large. Apply in thin, even coats from about 10-12 inches away, just like the primer. Let each coat dry fully before applying the next. Two to three coats usually do the trick. A good spray varnish will cost you around â¹300-â¹600 a can.
For brush-on, look for acrylic varnishes. Fevicryl has some decent options, and hobby brands like Vallejo also make excellent brush-on varnishes. They are great for small details or if you want precise control over the finish on specific areas.
2. Optional: Weathering and Distressing
This is where you can add another layer of realism. Want your robot to look battle-worn? Or your ancient ruin to appear dusty and crumbling? You can use ultra-thin washes (almost like dirty water) for dust effects, sponging on dark brown or black for chipped paint, or even dry brush a metallic silver onto edges to simulate worn metal. It's an advanced technique, but incredibly rewarding when done right. There are tons of tutorials online for specific weathering effects!
3. Final Inspection
Once your varnish is fully cured (give it at least 24 hours, sometimes more for thicker coats), do a final inspection. Check for any missed spots, smudges, or areas that need a little touch-up. But honestly, at this point, you're usually just admiring your work!
If you're looking to stock up on some great acrylic paints to get started, check out this search on Amazon.in: Shop Acrylic Hobby Paint Sets on Amazon.in. You'll find plenty of beginner-friendly sets there.
Safety First, Always!
I cannot stress this enough, friends. When you're dealing with sanding dust, spray paints, and primers, please prioritise your health. Work in a well-ventilated area, wear a good quality mask (N95 or better is ideal), and use gloves to protect your skin from chemicals and paint. Itâs no biggie to take these precautions, and they make a huge difference in the long run.
My Journey, Your Journey
Honestly, when I first started Artopia Collections, my painted prints were⦠well, let's just say they had character! But with every print, every brush stroke, I learned. I watched tutorials, experimented with different paints and techniques, and embraced the mistakes. Because thatâs the thing about art, and by extension, painting 3D prints â itâs a journey, not a destination. Don't be afraid to experiment. Don't be afraid to mess up; you can always repaint it (most of the time, anyway!).
The joy of seeing a raw plastic model transform into a vibrant, living creation is simply unmatched. It's what drives me, what keeps me printing and painting day after day. And if youâre ever looking for some inspiration, or maybe even a custom, beautifully painted 3D print for your collection, do check out what we've been up to over at Artopia Collections. We love bringing your wildest ideas to life!
So, there you have it â my no-nonsense guide to painting 3D prints like a pro. Go on, give it a try! Youâve already mastered the art of 3D printing; now itâs time to conquer the brush. If you have any questions, tips of your own, or awesome painted prints to show off, drop them in the comments below. I'd love to see what you create!