How to Design Tolerance into 3D Printed Parts That Fit Together
Designing 3D printed parts that fit together perfectly requires careful consideration of tolerances. This guide will walk you through the essential principles to achieve precise assemblies.

The Frustration is Real: Making 3D Printed Parts Fit Together Like Magic (or at Least, Science!)
Ever spent hours, maybe even days, hunched over your computer, meticulously designing the coolest, most intricate multi-part print imaginable? You've got all the gears, the housings, the snaps, all lined up perfectly in your CAD software. You hit print, the machine whirs to life, and after what feels like an eternity, your masterpiece emerges, layer by glorious layer. But then, the moment of truth arrives. You try to assemble it. And… nothing. It jams. It's too loose. It just doesn't fit. You push, you pull, you maybe even use a little too much force (and break something), and suddenly, that glorious masterpiece looks more like a modern art sculpture of shattered dreams. Yeah, me too, man. More times than I care to admit, especially in the early days of getting Artopia Collections off the ground.
It's honestly one of the most common, and most frustrating, challenges we face as 3D printing enthusiasts and small business owners here in India. That feeling of wasting precious filament – a good roll of eSUN or Overture PLA can set you back anywhere from ₹1800 to ₹2500 these days – on a part that just doesn't work? It's like watching ₹100-₹150 just dissolve into plastic dust. Ouch. But here's the deal: the secret to making parts fit isn't some dark art. It's all about understanding and designing for tolerance. And once you get a handle on it, your 3D printing game, and your business, will totally level up.
Why Do My Prints Not Fit? The Unspoken Truth of 3D Printing
First things first, let's talk about why this happens. Because it's not always your fault, okay? Your printer, bless its heart, isn't a perfect machine. Even the fancy ones. There are several factors at play that conspire against your perfectly fitting parts:
- Printer Inaccuracies: Every FDM printer, from a budget Ender 3 to a high-end Prusa MK3S+, has some level of inherent inaccuracy. Nozzle diameter, stepper motor precision, belt tension, environmental temperature fluctuations – they all contribute.
- "Elephant's Foot": This is a classic. The first few layers, being pressed onto the hot bed, tend to spread out slightly, making the base of your print wider than designed. This is a notorious culprit for holes being too small or pegs being too large at their base.
- Filament Variations: Not all filaments are created equal. Even within the same brand, there can be tiny variations in diameter (1.75mm might be 1.78mm sometimes!), and different materials shrink at different rates as they cool. PLA is pretty stable, but ABS and even PETG will shrink more noticeably.
- Layer Lines: Those beautiful, visible lines on your print? While they give it character, they also add microscopic bumps and ridges that can prevent a smooth fit, especially if you're trying for a tight tolerance.
- Temperature & Environment: Printing in a chilly Bangalore room versus a humid Mumbai workshop can affect how your plastic behaves. Seriously!
So, basically, the real world isn't as perfect as your digital CAD model. And that's where tolerance comes in.
Understanding Tolerance: Clearance, Interference, and Transition Fits
When we talk about tolerance in the context of parts fitting together, we're basically talking about the acceptable range of variation in a dimension. But more practically for us, it's about how much "wiggle room" or "squish room" you design into your parts. There are three main types of fits we usually aim for:
1. Clearance Fit: When Things Need to Slide or Rotate
This is when you want one part to easily slide into or move freely within another. Think a shaft spinning in a bearing, or a drawer sliding in its runners. For a clearance fit, the internal feature (the hole) must be slightly larger than the external feature (the peg). The difference between them is your clearance.
In my experience, especially with my trusty Ender 3 Pro (which is a fantastic entry-level machine, you can often find deals for it around ₹18,000-₹22,000 on Amazon.in, though prices fluctuate), I usually aim for a 0.2mm to 0.4mm clearance for most sliding PLA parts. So, if I have a 10mm peg, I'll make the hole 10.2mm to 10.4mm. For something that needs to rotate very freely, like a fidget spinner bearing housing, I might go up to 0.5mm or even 0.6mm.
2. Interference Fit: When Things Need to Stick Together (Press-Fit, Snap-Fit)
This is the opposite of clearance. You want the parts to hold together firmly, often without glue. An interference fit means the external feature (peg) is slightly larger than the internal feature (hole). You'll need to press, tap, or even gently hammer them together. The material slightly deforms, creating friction that holds them. Think of a LEGO brick, though that's more of a snap-fit with some interference.
For a basic press-fit in PLA, I often start with an interference of 0.1mm to 0.2mm. So, a 10mm peg would go into a 9.8mm or 9.9mm hole. Be careful here, too much interference and you'll either break the part, or it simply won't go in. This is where printer calibration and filament choice really matter, as brittle filaments might crack.
3. Transition Fit: A Bit of Both (Light Tap Fit)
A transition fit is somewhere in the middle. It's not completely free, but it's not a super tight press-fit either. You might need a light tap to get the parts together, but they'll hold without being easily pulled apart. Sometimes the design will even specify that the hole is marginally smaller than the shaft, but the elastic deformation allows it to fit with a light press. For 3D printing, a transition fit is often what you get when you aim for a very small clearance (like 0.1mm) or a very small interference (like 0.05mm). It’s a fine line, honestly.
Practical Tips for Designing Tolerances into Your Prints
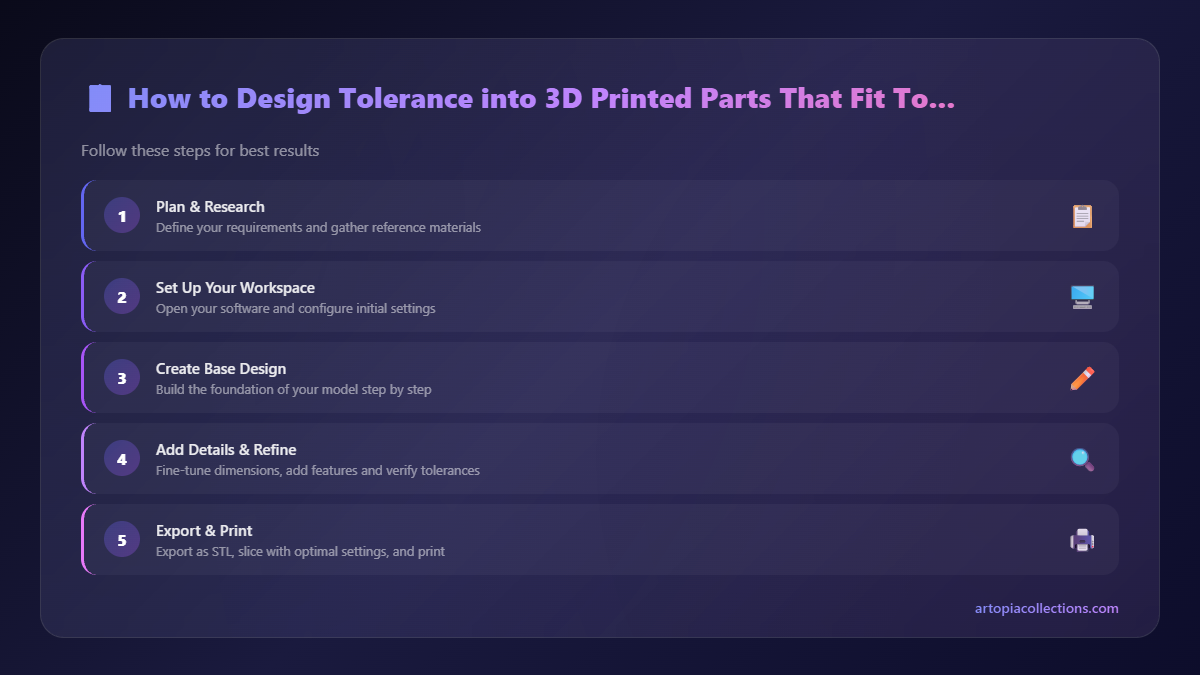
Alright, enough theory. How do we actually do this in our CAD software? (I use Fusion 360 mostly, but these principles apply to any software like SolidWorks, TinkerCAD, or FreeCAD).
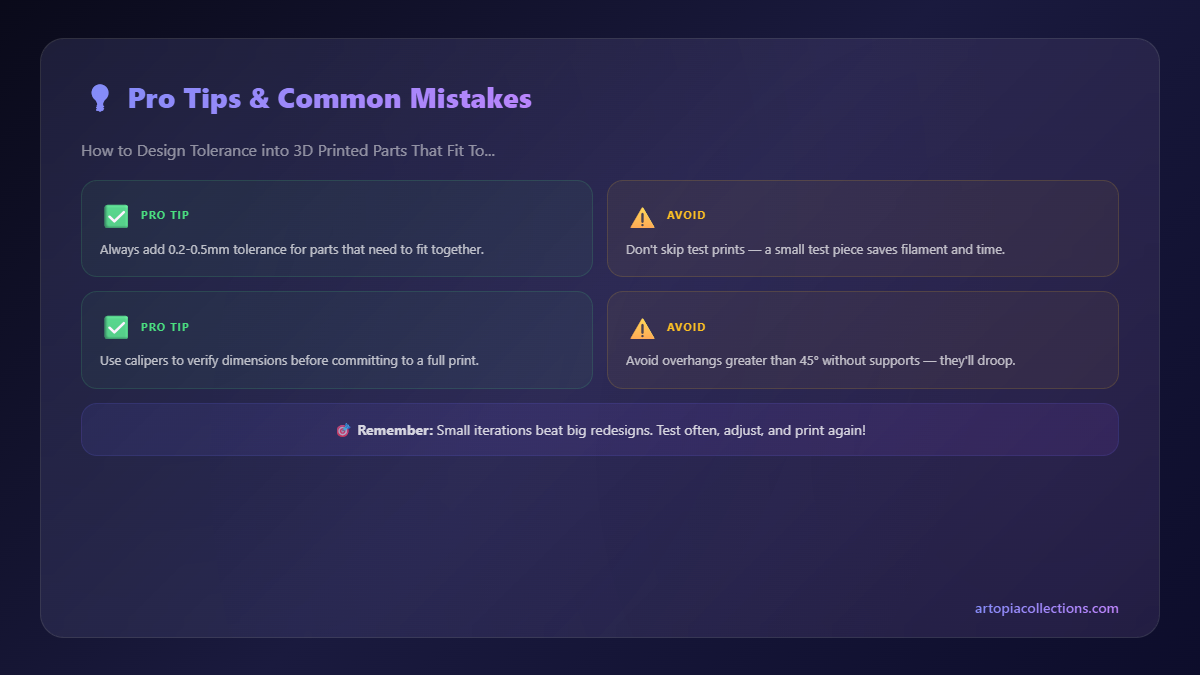
1. Test Prints Are Your Best Friends (Seriously, don't skip this!)
Before you print your final, huge, multi-hour project, design and print a small, simple "tolerance test." This is basically a block with several pegs of varying sizes and a corresponding block with holes of varying sizes. I usually make pegs/holes with nominal diameters (e.g., 5mm, 10mm) and then create variations with different clearances/interferences:
- Hole 5.0mm, Peg 5.0mm (Nominal)
- Hole 5.1mm, Peg 5.0mm (0.1mm Clearance)
- Hole 5.2mm, Peg 5.0mm (0.2mm Clearance)
- Hole 5.3mm, Peg 5.0mm (0.3mm Clearance)
- Hole 5.0mm, Peg 5.1mm (0.1mm Interference)
Print this small piece. It might take only 15-30 minutes and a few grams of filament. Then, try fitting the parts. You'll quickly discover what clearances or interferences work best on *your specific printer* with *your specific filament* and *your current print settings*. For example, on my Prusa MK3S+ (a dream machine, but definitely an investment for most Indian hobbyists at around ₹90,000+), I can often get away with 0.15mm clearance for a nice snug fit, while my old, slightly wonky delta printer needs at least 0.4mm!
2. Compensate for Elephant's Foot
This is a big one. Elephant's foot makes holes smaller and outer dimensions larger at the bottom. Most slicers (like PrusaSlicer or Cura) have a "Brim" or "Initial Layer Horizontal Expansion" setting. You can actually dial in a negative value here (e.g., -0.1mm or -0.2mm) to shrink that first layer just enough to counteract the spread. It's a game-changer for fitting parts. Or, a slightly less elegant solution in your CAD is to simply chamfer the bottom edge of any hole or the top edge of any peg that needs to fit into a hole. That chamfer acts as a lead-in and helps guide the parts together, even if the absolute dimensions are a touch off.
3. Chamfers and Fillets Are Your Friends
Even when your tolerances are perfect, sharp edges can make assembly a nightmare. Add a small chamfer (a beveled edge) to the entry point of holes and the leading edge of pegs. Even a tiny 0.5mm x 45-degree chamfer can make a world of difference in guiding parts together smoothly. Fillets (rounded edges) can also help distribute stress on snap-fit mechanisms, making them less likely to break during assembly or use.
4. Design with Features, Not Just Flat Faces
If you're designing a lid for a box, don't just rely on two flat surfaces to meet perfectly. Design a lip or a ridge on one part that fits into a corresponding groove on the other. This creates a much better seal, helps align the parts, and is more forgiving with slight tolerance variations.
5. Mind Your Material!
PLA is pretty easy to work with in terms of shrinkage. PETG has a bit more. ABS? Oh boy, that's where things get fun with warping and significant shrinkage, sometimes needing scaling of your entire model. If you're printing functional parts in PETG or ABS, always do your tolerance tests with that specific material, because the numbers for PLA might not translate at all.
I find good quality PLA filament on Amazon.in is usually quite consistent, which helps a lot. Using a reliable brand like eSUN, Overture, or even local brands like Xact that have good reviews, reduces one variable in the equation.
Calibration: The Unsung Hero of Tight Tolerances
All the design wizardry in the world won't save you if your printer isn't calibrated. Make sure you've done these basics:
- E-steps Calibration: Ensures your extruder pushes out the correct amount of filament.
- Flow Rate Calibration: Fine-tunes how much plastic actually comes out of the nozzle relative to the e-steps.
- Bed Leveling: A perfectly level bed is crucial for a consistent first layer, which directly impacts elephant's foot.
- Temperature Towers & Retraction Tests: Dial in your filament settings for the best surface finish and minimal stringing.
These aren't just for pretty prints; they directly affect dimensional accuracy. If your printer is over-extruding, your pegs will be too thick and holes too small, regardless of your CAD design.
A Caliper is More Than Just a Tool; It's Your Best Friend
You absolutely, positively need a good set of digital calipers. Seriously, this isn't optional. How else are you going to measure your test prints and figure out exactly how off your dimensions are? I've got a decent set that cost me about ₹700-₹1200 on Amazon.in, and it's probably the most used tool next to my side cutters.
The Artopia Collections Angle
For my business, Artopia Collections, designing with proper tolerance isn't just a "nice-to-have"; it's fundamental. When I'm printing custom enclosures for electronics, interlocking display stands, or multi-part artistic sculptures for clients, they expect precision. They expect parts to fit together, easily, elegantly, and without breaking. Every failed print due to tolerance issues is not just wasted material, but also wasted time – and time is money, especially when you're running on tight deadlines for client projects.
I've learned (the hard way, believe me) that spending an extra 30 minutes on a tolerance test print can save me hours of reprinting, debugging, and potentially losing a client's trust. It's an investment that pays off exponentially, both in terms of material savings and, more importantly, in peace of mind and client satisfaction.
Wrapping Up: Embrace the Imperfection, Master the Fit
Look, 3D printing is an amazing technology, but it's not perfect. It's got its quirks. The key isn't to fight those quirks but to understand them and design around them. By embracing the concept of tolerance, running those crucial test prints, and making small adjustments in your design and slicing settings, you'll go from struggling to jam parts together to creating assemblies that click, slide, and fit together with satisfying precision.
So, go forth, experiment! Don't be afraid to fail a few test prints; it's all part of the learning curve. Your future self, and your wallet, will thank you. Happy printing, everyone!


