How to Create a Topographic Map Model from Real Terrain Data
Ever wondered how to turn digital terrain data into a physical model? This post guides you through the process of creating your own topographic map model from real-world elevation information.

You ever look at a mountain range, a sprawling valley, or even just that familiar hill behind your ancestral village, and wish you could just hold it in your hand? Like, physically touch its contours, feel its rise and fall? Because honestly, that's exactly what got me hooked on printing topographic maps. There's something utterly magical about taking raw, invisible data and transforming it into a tangible piece of art, a miniature world you can explore with your fingertips. And today, my friends, I'm going to pull back the curtain and show you exactly how I do it here at Artopia Collections, right from my workshop in India.
Bringing Mountains Home: The Magic of 3D Printed Topography
Look, I've been in the 3D printing game for a while now, running my little business, and I've printed everything from intricate prototypes for local engineers to custom action figures for kids. But the topographic maps? They're special. They connect us to places in a really unique way. Imagine gifting someone a perfectly scaled model of their hometown, or having a detailed relief map of the Himalayas on your desk. It’s not just a cool gadget; it's a conversation starter, a piece of nostalgia, and honestly, a pretty impressive display of what modern 3D printing can achieve.
The thing is, getting started with this might seem a bit intimidating. You hear "terrain data" and "GIS" and your eyes might glaze over, right? But trust me, it's much, much easier than you think, especially with some fantastic free tools available. You don't need to be a GIS expert or a CAD wizard. You just need a computer, an internet connection, and, well, a 3D printer, obviously!
Step 1: Finding Your World – Getting the Terrain Data
This is where the journey truly begins. We need the raw information that tells us how high every point on a piece of land is. This is called Digital Elevation Model (DEM) data, and it's basically a grayscale image where different shades represent different altitudes. White areas are high, black areas are low, and all the shades in between show the slopes. Pretty neat, right?
So, where do you find this magical data? My go-to sources are usually pretty accessible globally:
- OpenTopography: This is an absolute gem. It’s got high-resolution DEM data from various sources, including LiDAR where available. You can literally select an area on a map, specify the data resolution you want, and download it. Super user-friendly.
- USGS EarthExplorer: For US-centric data, this is fantastic, but it also has global coverage like SRTM (Shuttle Radar Topography Mission) data. It's a bit more intimidating interface-wise initially, but once you get the hang of it, it's powerful.
- SRTM Data: This is a global dataset that covers most of the Earth's landmass between 60 degrees north and 56 degrees south latitude. It's usually a good starting point if you're looking for larger areas, even here in India.
For most personal projects, especially if you're just starting, I'd suggest sticking with OpenTopography. They make it really straightforward. You'll usually download a file in a GeoTIFF format, or sometimes just a raw DEM file. Don't worry about the file types too much; the next step will handle that for us.
Step 2: From Data to 3D – Turning DEM into an STL
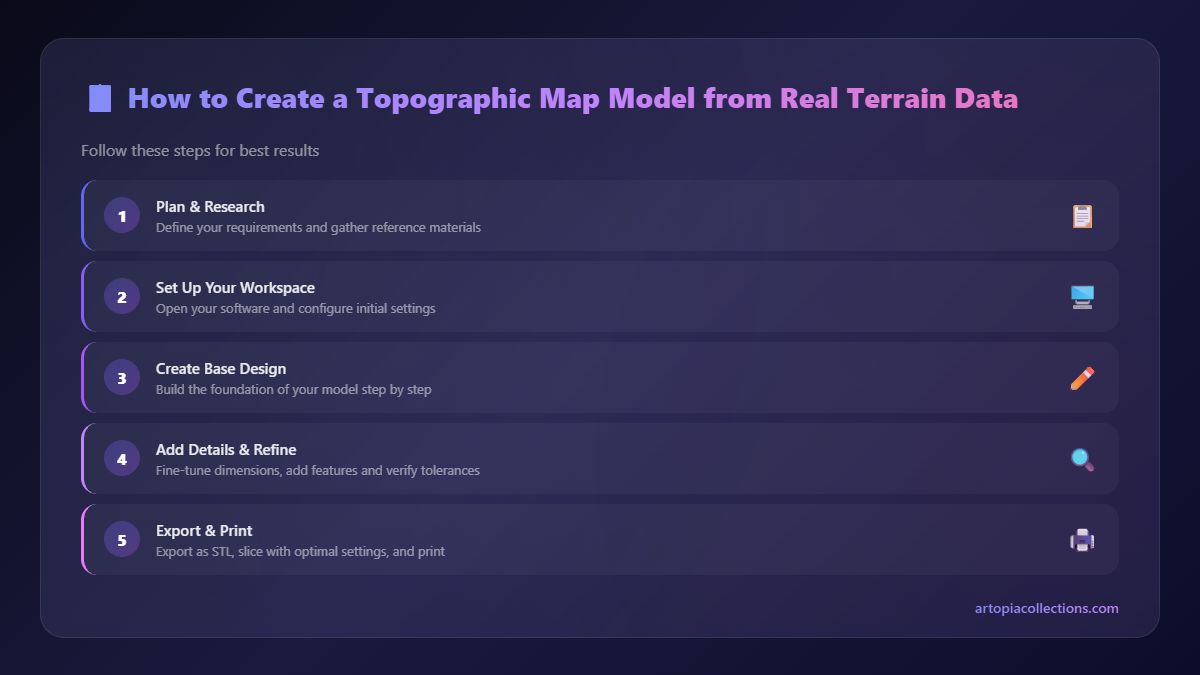
This is arguably the most exciting part! We're taking that elevation data and making it 3D. Now, there are professional tools like QGIS or Blender with GIS add-ons that can do this, but honestly, for most of what we do, especially for printing, there's a fantastic, free, browser-based tool that makes life incredibly easy. It's called TouchTerrain.
Here's how I usually work with it:
- Upload Your Data: You can either upload the GeoTIFF/DEM file you downloaded, or even better, TouchTerrain lets you directly select an area on a global map! This is super convenient if you don't want to mess around with downloading raw files first.
- Define Your Area: Once you've got your data in there, you'll see a little box on a map. You can drag and resize this box to precisely select the region you want to print. Want that specific peak and the valley next to it? Zoom in, drag the box. Simple!
- Set Dimensions and Resolution: This is important. You'll set the physical dimensions of your final print (e.g., 200mm x 200mm). And then there's the vertical exaggeration. This is crucial for topographic maps. Most real-world terrain isn't as dramatic as we think; mountains can look quite flat when scaled down. So, applying a 2x, 3x, or even 5x vertical exaggeration makes those subtle elevation changes pop. I personally think 2.5x to 3x is a good sweet spot for most landscapes to look visually interesting without appearing too distorted. Play around with it though!
- Generate the Model: Hit the "Generate" button, and TouchTerrain works its magic. It processes the data and creates a 3D model right there in your browser. You can even preview it before downloading.
- Download as STL: Once you're happy, download the model as an STL file. This is the standard file format for 3D printing, and your slicer software will love it.
And just like that, you've got a printable 3D model of real-world terrain! It's mind-bogglingly cool, isn't it? Took me a bit to get comfortable with the settings, but honestly, the tool is so intuitive.
Step 3: Preparing for Print – Slicing it Up
Now that we have our STL file, we need to prepare it for your 3D printer. This is where a slicer program comes in. I mostly use Ultimaker Cura or PrusaSlicer, both of which are free and excellent. Let's talk about some key settings:
- Layer Height: For detailed topographic maps, I usually go with a finer layer height. Something like 0.12mm or 0.16mm works wonders. You want those subtle elevation changes to be smooth, not blocky. A finer layer height means more detail, but also a longer print time. It's a trade-off, but for these, the detail is worth it.
- Infill: Since these models are usually display pieces and not structural, you don't need much infill. 10-15% is usually more than enough. I personally like a gyroid infill pattern; it's strong and efficient.
- Supports: This is the best part – usually, you don't need supports for topographic maps! Since the terrain always rises from a base, there are no significant overhangs that require support structures. This saves a ton of filament and post-processing time. Sweet!
- Print Speed: I generally print these at a moderate speed, maybe 50-60mm/s. Going too fast can sometimes compromise detail, especially with finer layer heights.
- Filament Choice: PLA (Polylactic Acid) is your best friend here. It's easy to print with, comes in a million colours, and is relatively affordable. I often use natural white, light grey, or even a nice matte black for a minimalist look. Sometimes, for a more "earthy" feel, I’ll go for a matte brown or a forest green. A good quality spool of PLA, like eSUN or Overture, will typically cost you around ₹1800-₹2200, depending on the brand and colour. If you're looking for some reliable filament, you can check out options like this PLA filament on Amazon.in.
- Brim/Skirt: I almost always use a brim (3-5 lines) to help with bed adhesion. Since these models often have a wide base, preventing warping is key, especially on larger prints.
Once all your settings are dialed in, hit that "Slice" button, and your slicer will generate the G-code file – the instructions your 3D printer understands.
Step 4: The Moment of Truth – Printing Your Terrain
Right, so you've got your G-code. Now it's time to send it to the printer! I've run everything from a trusty old Creality Ender 3 (honestly, a workhorse and fantastic value, usually around ₹20,000-₹25,000 for a V2 or Neo model) to more advanced CoreXY machines. The principles remain the same.
Make sure your print bed is clean and level. This is non-negotiable for successful prints, especially for flat-bottomed models like these. I use a textured PEI sheet on my bed, and a quick wipe with IPA (Isopropyl Alcohol) before each print usually does the trick for adhesion. If you're using glass, a thin layer of Fevicol dissolved in water works wonders as a cheap, effective bed adhesive here in India.
Then, load your chosen filament, preheat your printer, insert the SD card (or send via OctoPrint if you're fancy like that), and hit print! Now comes the hardest part: waiting. Depending on the size and detail, these prints can take anywhere from a few hours to a full day. Grab a chai, catch up on some Netflix, or just watch that first layer go down perfectly – it's oddly satisfying.
Sometimes, things don't go perfectly, and that's okay! I've had my share of failed prints, curled corners, or spaghetti monsters. It's part of the learning curve. Don't get discouraged. Adjust your bed leveling, tweak your initial layer settings, or slow down that first layer. A good 3D printer toolkit with spatulas, pliers, and cutters can be super handy for troubleshooting and removing prints.
Step 5: The Finishing Touches – Making it Pop!
Once your print is done and cooled down, carefully remove it from the bed. For topographic maps, there's usually very little post-processing needed since there are no supports. Maybe a quick deburr of any stray wisps with a hobby knife.
Now, this is where you can really make your map shine:
- Painting: A simple base coat (like a light grey or tan) followed by dry-brushing lighter shades on the peaks and darker shades in the valleys can really enhance the 3D effect. You can also paint bodies of water blue. Acrylic paints work great on PLA.
- Labeling: Using a fine-tip marker or even waterslide decals, you can add names of mountains, cities, rivers, or state/country borders. This really brings the map to life and adds an educational element.
- Framing/Mounting: You can mount these prints on a nice wooden base, or even create a custom frame for them. I've seen some amazing shadowbox frames where the map sits elevated.
- Multi-part Prints: For truly massive terrains, you can slice the original STL into multiple smaller pieces using your slicer's cut tool, print them separately, and then assemble them with super glue. This is how I tackle larger custom orders for clients who want, say, the entire Western Ghats! (Okay, maybe not the entire thing, but a significant chunk!)
My Journey and Your Potential
Honestly, printing these maps has been a game-changer for my business, Artopia Collections. It's opened up a whole new avenue for custom orders and unique gifts. People absolutely love getting a piece of their favourite place, or a reminder of an epic trek, right on their desk. It's not just a product; it's an experience, a memory encapsulated in plastic.
I've done maps of the entire Nilgiris region for a resort, detailed models of specific hiking trails for adventure companies, and countless hometown maps for individuals. Each one tells a story. And the best part? The process, once you get the hang of it, is actually quite relaxing and rewarding.
So, whether you're looking to create a unique gift, a stunning piece of home decor, or even explore starting your own niche 3D printing service, learning to print topographic maps is a fantastic skill to add to your repertoire. It's a great blend of technology,


