Creality Ender 3 V3 SE Upgrades: 10 Mods That Transform Your Printer
Looking to supercharge your Creality Ender 3 V3 SE? Explore 10 game-changing upgrades that will dramatically improve your printer's performance and print quality.

From Stock to Superstar: 10 Game-Changing Upgrades for Your Creality Ender 3 V3 SE
You know that feeling, right? That absolute buzz when you unbox a new 3D printer. The fresh smell of plastic, the promise of endless creations. For me, when I first got my hands on the Creality Ender 3 V3 SE, it was pure joy. What a machine! Seriously, Creality has packed so much value into this little workhorse – auto-bed leveling, direct drive, good speed out of the box. It’s an amazing entry point for anyone getting into the hobby, or even for seasoned pros looking for a reliable, affordable second (or third, or fourth!) printer. Here at ArtOpia, it’s become one of our go-to machines for testing new ideas, and honestly, for just churning out some fantastic prints for our clients. But here’s the thing, my friends: good isn't good enough when you can have great. And with a few thoughtful upgrades, you can take your V3 SE from a fantastic beginner machine to a bona fide print-making beast.
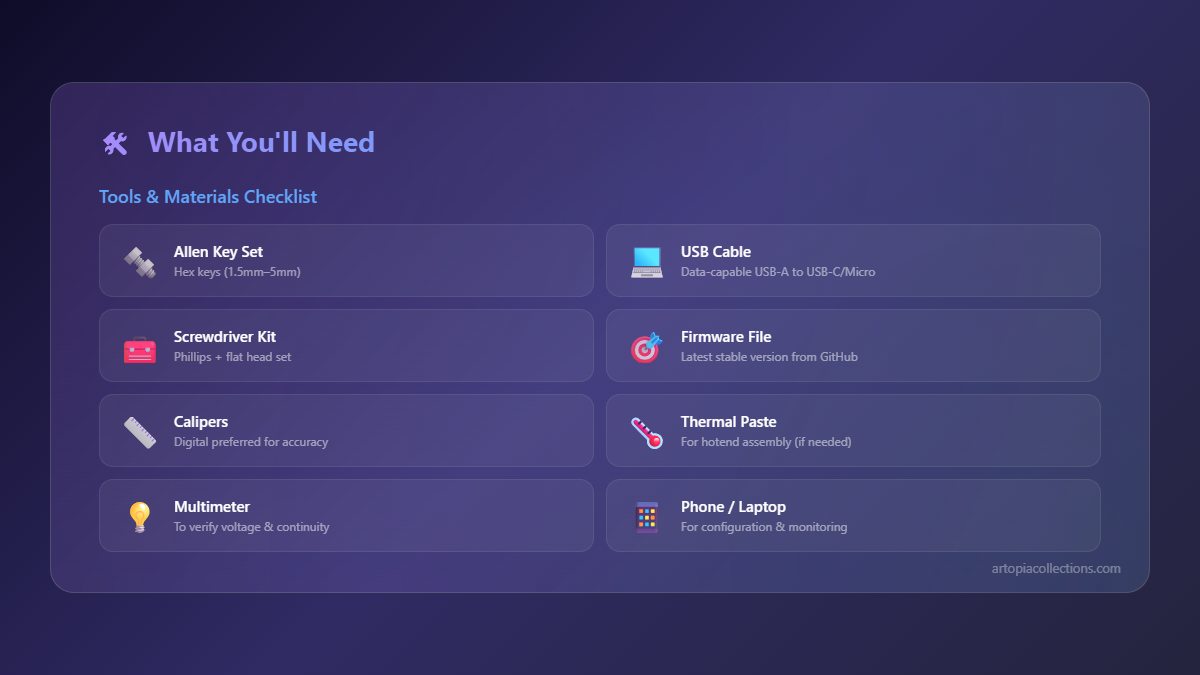
I’ve spent countless hours tinkering with these machines, pushing them to their limits, and figuring out what truly makes a difference. And today, I’m sharing my top 10 mods for the Ender 3 V3 SE – the ones that I personally think transform it into something truly special. We’re talking about unlocking better print quality, more reliability, and a generally smoother, more enjoyable printing experience. So, grab a cup of chai, settle in, and let’s talk upgrades!
1. The Mighty PEI Build Plate: Stick It and Forget It!
Okay, this one isn't just an upgrade; it's practically a necessity in my book. The stock PC spring steel sheet that comes with the V3 SE is decent, don't get me wrong. But once you go PEI, you never go back. Seriously, the adhesion you get with a textured PEI sheet is just phenomenal. Your prints stick wonderfully when hot, and then with a gentle flex of the plate once it cools down, they just pop right off. No more scraping, no more cursing. It’s brilliant!
And it's a game-changer for durability too. I've had PEI sheets last for hundreds of prints with proper care. You can find good quality textured PEI sheets specifically for the Ender 3 series (235x235mm) online for anywhere from ₹1000 to ₹1800. It’s an instant quality-of-life improvement. Just search for "Ender 3 PEI plate" on Amazon, and you'll find plenty of options. Here's a generic link to get you started: Ender 3 PEI Plate on Amazon.in.
2. Nozzle Upgrades: Small Change, Big Impact
The standard brass nozzle that comes with the V3 SE is perfectly fine for PLA and standard PETG. But if you're like me and you love experimenting with different filaments, a nozzle upgrade is crucial. For starters, a hardened steel nozzle is a must if you plan on printing with abrasive materials like carbon fiber-filled PLA, wood-filled, or glow-in-the-dark filaments. Brass just wears down way too quickly with those, leading to inconsistent extrusion and frustrating prints.
But beyond that, consider a CHT-style nozzle. These nozzles are designed with a special internal geometry that increases the melt pool surface area, allowing for much higher flow rates. This means you can print faster without sacrificing quality, especially on larger prints. A good hardened steel nozzle might set you back ₹300-₹500, while a CHT clone can be around ₹500-₹800 for a pack. Definitely worth the investment for the versatility and speed.
3. All-Metal Heatbreak: Tame the Heat Creep Beast
The stock heatbreak in the V3 SE's hotend is a PTFE-lined one. This means the PTFE tube goes all the way down into the hotend, touching the nozzle. While it works okay for PLA, printing at higher temperatures (think ABS, Nylon, or even some PETG variants that like a bit more heat) can degrade that PTFE liner over time. When PTFE degrades, it releases harmful fumes, and more importantly, it can cause clogs due to changes in its inner diameter and texture. Not ideal.
An all-metal or bimetal heatbreak solves this problem entirely. It separates the PTFE tube from the melt zone, providing a much cleaner, more reliable path for the filament. This significantly reduces the chances of heat creep clogs and allows you to confidently print at higher temperatures without worrying about melting your PTFE. You can usually find a good bimetal heatbreak for around ₹800 to ₹1500. This is one of those "set it and forget it" mods that just makes your printer more robust.
4. Fan Upgrades: Silence the Beast, Cool the Print
Let's be honest, the stock fans on many budget printers, including the V3 SE, aren't exactly quiet. And while the V3 SE is better than some older Ender models, there's still room for improvement. Upgrading your part cooling fan to a 5015 blower fan can dramatically improve overhangs and bridging performance. The increased airflow simply chills the plastic faster, locking in those details.
And while you're at it, consider replacing the hotend fan and even the mainboard fan with quieter, higher-quality alternatives like Noctua or Sunon fans. These can be a bit pricier (₹500-₹1000 per fan, easily), but the reduction in noise is often worth every penny, especially if your printer is in a living area. You’ll need to make sure you get the correct voltage (typically 24V for most 3D printer fans) and current, and sometimes print a new fan shroud, but the difference in noise levels is staggering. I often recommend upgrading the part cooling fan first, as that has the most direct impact on print quality.
5. Klipper Firmware: Unlock True Potential
Okay, this one isn't a physical mod, but it's arguably the biggest game-changer on this list. Klipper is an alternative firmware for your 3D printer that offloads the processing heavy lifting from your printer's mainboard to a more powerful computer, typically a Raspberry Pi. This allows for incredibly precise motion control, faster print speeds, and a whole host of advanced features that simply aren't possible with stock Marlin firmware.
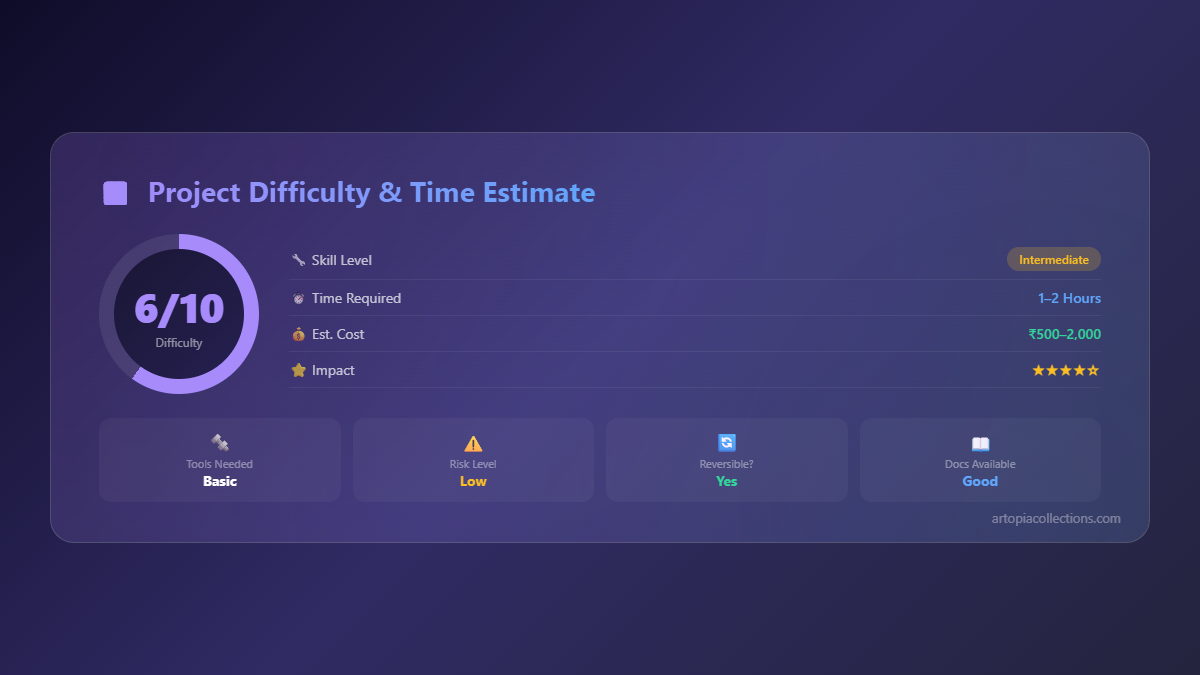
With Klipper, you get access to features like Input Shaper (more on that next!), pressure advance, and a super slick web interface (Mainsail or Fluidd) for controlling your printer remotely. It's a bit of a learning curve to set up, but there are tons of guides out there. The cost primarily comes from the Raspberry Pi itself, which can range from ₹3000 for an older Pi 3B+ to ₹6000+ for a Pi 4 or Pi 5, depending on availability. Believe me, once you go Klipper, you won't want to go back. It's truly transformative for speed and quality.
6. Input Shaper with an ADXL345: Smooth as Silk
Following on from Klipper, an ADXL345 accelerometer for Input Shaper calibration is a must-have. What is Input Shaper? Basically, it's a Klipper feature that measures and compensates for vibrations (ringing and ghosting) in your printer's frame caused by rapid movements. Those annoying lines you sometimes see on your prints, especially on sharp corners? Input Shaper virtually eliminates them.
You attach a tiny ADXL345 module (which costs around ₹500-₹1000) to your print head and bed, run a few commands in Klipper, and boom – your printer automatically tunes itself to significantly reduce ringing. The result? Dramatically cleaner, smoother prints, even at higher speeds. It's incredible to see the difference this makes, turning fast prints from looking "okay" to looking "professional".
7. Integrated LED Lighting: See Your Masterpiece Unfold
This might seem like a cosmetic mod, but trust me, good lighting inside your print enclosure or right on your printer is incredibly practical. Trying to check the first layer of a print with just ambient room light can be a pain, and spotting imperfections mid-print becomes much easier with direct illumination. Plus, it just makes your printer look cooler, especially when you're showing off your creations.
You can go simple with a strip of warm or cool white LED tape and a small 24V buck converter (to step down the printer's power to 12V if your LEDs need it, or just find 24V strips directly) for under ₹700. Mount it to the top gantry, and suddenly your print area is bathed in light. It makes monitoring prints through OctoPrint or Klipper webcams much clearer too. A small, inexpensive change that makes a big difference in usability.
8. Silicone Bed Spacers: Ditch the Springs, Embrace Stability
The yellow bed springs that come with the Ender 3 V3 SE are... fine. They do the job of holding the bed up. But they can compress unevenly over time, and they don't offer the rock-solid stability you might want for truly consistent bed leveling. Enter silicone bed spacers. These little guys are fantastic!
They replace the springs entirely, providing a much more stable and consistent support for your print bed. Once you level your bed with silicone spacers, it stays level for much longer. You still use the auto-bed leveling (CR-Touch) system, of course, but the underlying physical stability is vastly improved. They're super cheap, usually less than ₹400 for a set, and they're easy to install. Just make sure you get the right height for your V3 SE (they usually come in different heights, so check reviews or product descriptions for compatibility).
9. Filament Dryer Box: A Must-Have in Humid India
Now, this one is especially critical for us here in India. The humidity can wreak havoc on filament. Even PLA, which is less hygroscopic than PETG or Nylon, will absorb moisture, leading to stringing, blobbing, poor layer adhesion, and generally weak, ugly prints. A filament dryer box isn't just an upgrade; it's a lifeline for your filament supply.
These boxes gently heat your filament, driving out absorbed moisture, and often include a desiccant pack for storage. Printing with dry filament makes a monumental difference in print quality, especially for tricky materials. You can find good filament dryer boxes from brands like Creality, eSUN, or Sunlu for around ₹3000 to ₹5000. It's an investment that pays for itself many times over in saved filament and avoided failed prints. Trust me, your prints (and your sanity) will thank you. Here’s a general link for filament dryers on Amazon: Filament Dryer Boxes on Amazon.in.
10. Custom Enclosure: More Than Just a Box
Finally, let's talk about enclosures. While the Ender 3 V3 SE prints PLA and PETG beautifully in the open air, an enclosure elevates your printer's capabilities significantly. For one, it's essential if you want to print with engineering filaments like ABS, ASA, or Nylon, which require a stable, warm ambient temperature to prevent warping and cracking. It also helps with noise reduction, keeping dust away from your printer, and maintaining consistent temperatures for all your prints.
You can go the DIY route with an IKEA Lack table enclosure (there are tons of guides online for under ₹2000-₹3000 for materials if you're handy), or buy a pre-made fabric or acrylic enclosure. There are also official Creality enclosures that are pretty good. Depending on the size and material, a good enclosure can range from ₹4000 to ₹10,000+. It's a bigger investment, but if you're serious about expanding your material repertoire and improving print consistency, it's totally worth it. And who knows, maybe you'll even find some cool ideas for custom prints to make for your enclosure over on our ArtOpia collections page!
Go Forth and Upgrade!
So there you have it, my top 10 mods for the Creality Ender 3 V3 SE. Remember, 3D printing is all about iterating, experimenting, and constantly improving. The V3 SE is an incredible printer right out of the box, but with these upgrades, you're not just improving its performance; you're personalizing it, making it truly yours, and unlocking a whole new level of printing potential.
Don't feel like you have to do all of these at once, though. Pick one or two that address your biggest pain points or that excite you the most, and go from there. Each upgrade is a step towards a more reliable, capable, and enjoyable 3D printing experience. Happy printing, my friends, and never stop tinkering!


