Best Upgrades for Anycubic Photon Resin Printers
This post reveals the ultimate upgrades for your Anycubic Photon resin printer, helping you achieve superior print quality and reliability. Learn how to transform your printing experience with simple yet effective modifications.

Seriously, Your Anycubic Photon Deserves Some Love: My Top Upgrades for Resin Printing Glory!
You know that feeling, right? That buzz you get when a perfect print comes off your Anycubic Photon. The intricate details, the silky-smooth surfaces... it’s pure magic. But then there are those other days. The stuck prints, the failed supports, the "is this even worth it?" moments. Trust me, I've been there, staring at a vat of half-cured resin, wanting to throw the whole thing out the window. That's exactly why we need to talk upgrades. Your Photon isn't just a machine; it's a workhorse, a miniature factory, and with a little love (and some smart investments), it can be even better, churning out those masterpieces for your hobby or, if you're like me, for your growing business, Artopia Collections. Let's be honest, we push these machines hard, and they deserve to be optimized. This isn't just about fanciness; it's about reliability, print quality, and most importantly, making your life easier.
1. The Magnetic Flex Plate: A Game-Changer, No Kidding!
If you take away just one thing from this entire post, let it be this: get a magnetic flex plate for your build platform. Seriously, stop reading, go order one. I cannot stress enough how much of a difference this makes. Remember those terrifying moments, prying your precious prints off the build plate with a metal scraper, convinced you're going to gouge the plate, damage the print, or worse, slice your finger open? Yeah, been there, done that, got the scars. It’s a nightmare, especially when you're trying to carefully remove something intricate for a client. The flex plate just... eliminates that. You pop the build plate off, detach the magnetic sheet, give it a gentle bend, and *pop!* your prints come right off. It’s glorious.
Installation is a breeze, honestly. You basically stick a magnet to your existing build plate, then attach a spring steel sheet to that, and you're good to go. Just make sure you re-level your build plate afterwards, which is crucial anyway for consistent prints. I've found that it significantly reduces the stress on my prints too, leading to fewer failures from excessive prying. You can find good quality ones online for around ₹1,500 - ₹3,000, depending on the size and brand. It’s a small investment for a massive quality-of-life improvement. For example, a 135x80mm one for the Photon Mono X series would be on the higher end, but worth every rupee.
2. Upgrading Your FEP Film to NFEP: Smoother Peels, Happier Prints
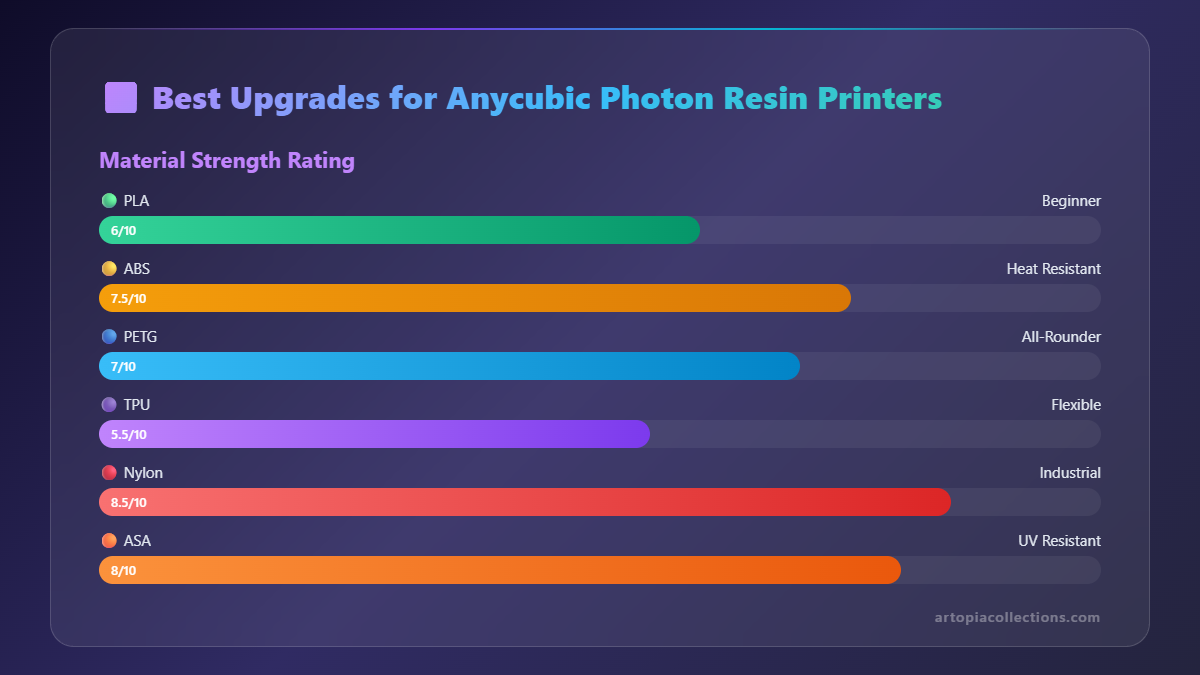 Now, this is where things get a bit technical, but bear with me because it’s a big deal. FEP film (Fluorinated Ethylene Propylene) is that transparent sheet at the bottom of your resin vat. Its job is crucial: let UV light through to cure the resin, but also provide a non-stick surface so your print can peel away easily with each layer. The stock FEP on many Photons is decent, but not all FEPs are created equal. And then there's nFEP – Non-stick FEP. Some call it PFA, but let's stick to nFEP for simplicity.
What's the difference? nFEP has even better release properties. This means less "stick" when the print tries to separate from the FEP, resulting in fewer failed layers, less suction force on your delicate supports, and generally smoother prints. In my experience, especially with detailed miniatures or larger, solid objects, the difference is noticeable. You hear less of that aggressive "thwack" sound during printing and more of a gentle "zzzip." It also tends to last longer, which is a big bonus because changing FEPs can be a fiddly, messy job. A good quality nFEP sheet or a pre-framed vat with nFEP might set you back anywhere from ₹800 to ₹2,000 depending on the size and whether it’s a generic sheet or a branded one. It’s one of those silent upgrades that just makes everything work better in the background, minimizing frustrating print failures. Trust me, it's worth it for the peace of mind.
3. Temperature Control (aka a Heated Enclosure): Especially Important in India!
Okay, this is a big one, particularly for us here in India where the weather can swing wildly. Resin, like a fussy baby, absolutely loves a consistent temperature. Most resins perform optimally between 20°C and 30°C. If it's too cold, the resin gets thicker, flows poorly, and your prints are more prone to failure due to incorrect curing, layer separation, or even brittleness. And if it's too hot, well, that has its own issues, but cold is usually the bigger culprit for hobbyists.
Think about Delhi winters, or even just an AC-cooled room. Your resin printer is often struggling. A heated enclosure, or at least a way to maintain stable temperatures, is an absolute game-changer. You don't necessarily need to buy a fancy, expensive setup. I've seen people use everything from small ceramic heaters inside an insulated box (be careful with fire hazards, please!) to DIY reptile warmers or even simple seedling heat mats. The goal is to gently warm the air *around* the printer and keep it stable. Some folks even pre-heat their resin bottles in warm water before pouring, which helps a bit. For my larger prints, especially with engineering resins, I've rigged up a small, insulated cabinet with a low-wattage heating element and a thermostat, and it’s been invaluable. It definitely helps reduce warping and ensures consistent layer adhesion. You can pick up a small, safe heater or mat for around ₹500 - ₹1,500, but the enclosure itself might be a DIY project using an old cabinet or thick cardboard box lined with insulation. This isn't just an upgrade; it's a necessity for consistent quality, especially when you're printing delicate models for clients.
4. Ventilation and Air Purification: Breathe Easy, Print Safely
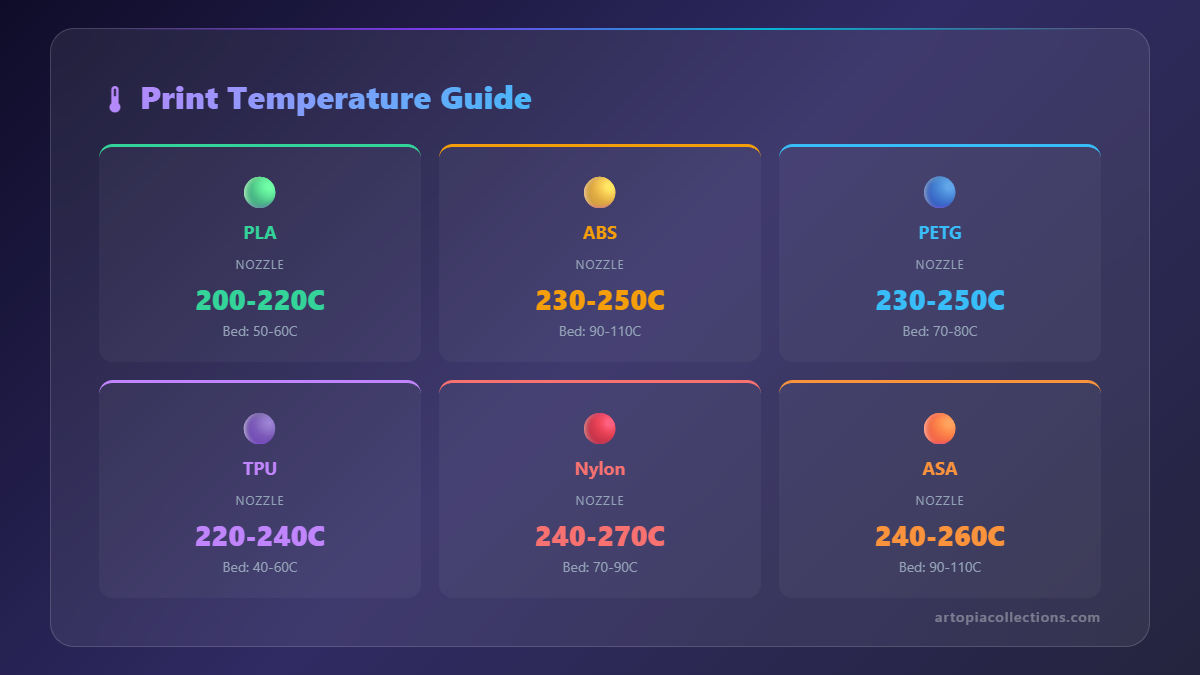 This isn't an "upgrade" for your print quality, per se, but it's an upgrade for your health, and that's even more important. Resin fumes are no joke. They contain volatile organic compounds (VOCs) that can cause headaches, dizziness, and respiratory irritation. Long-term exposure? Not good. If you're printing regularly, especially in a small space, you absolutely need to address ventilation.
At minimum, print in a well-ventilated room with open windows. But even better? A small exhaust fan that vents outside. I've seen some clever setups where people enclose their printer in a grow tent and use an inline duct fan to pull air out of a window. For an even simpler solution, a small carbon filter system can work wonders. Many air purifiers designed for homes now include activated carbon filters that can absorb VOCs. I personally run a compact air purifier right next to my Photon whenever it's running, and I've noticed a significant difference in the air quality in my workshop. You can find decent, compact air purifiers with carbon filters on Amazon.in, something like a small air purifier with a carbon filter for around ₹3,000 - ₹7,000. It’s an investment in your well-being, which you can't put a price on, can you? Don't skimp on this one, seriously.
5. Wash & Cure Station: Streamline Your Post-Processing Workflow
Okay, I know, I know. This isn't strictly an upgrade *to* the printer itself, but it's an upgrade to your *resin printing experience* as a whole, and it's transformative. If you're still hand-washing your prints with IPA in Tupperware containers and curing them in the sun or under a single UV nail lamp, you're missing out on a huge time-saver and quality booster. A dedicated wash and cure station, like Anycubic's own Wash & Cure Machine or similar models from Creality or Elegoo, is a revelation.
Here's the deal: you drop your print (either still on the build plate or removed) into a basket in a sealed container filled with IPA or a resin cleaner. The station then agitates the liquid, cleaning off all the uncured resin. No more scrubbing with toothbrushes! Then, you switch modes, remove the cleaning container, and place your print on a rotating turntable. Powerful UV lights blast it from all angles, ensuring a complete and even cure. This consistency in curing helps prevent yellowing, improves the strength of your prints, and eliminates those annoying tacky spots. For me, running Artopia Collections, efficiency is key, and this machine easily shaves off 20-30 minutes of manual post-processing time per batch. It's an investment, usually ranging from ₹15,000 to ₹30,000 for a decent one, but if you're printing regularly, it pays for itself in time saved and consistent results. Check out options on Amazon.in for Wash & Cure Stations. You won't regret it.
6. LCD Screen Protector: Cheap Insurance for an Expensive Part
This is probably the simplest, cheapest, and most often overlooked upgrade. Your Anycubic Photon cures resin by projecting UV light through an LCD screen. If that screen gets damaged – by a fallen print, a spill of resin, or a rogue scraper – your printer is basically bricked until you replace it. And replacing an LCD screen? That’s not a cheap fix, usually running upwards of ₹4,000-₹8,000 depending on your model. You do not want to be in that situation.
A simple screen protector, just like the one you put on your phone, provides a sacrificial layer. If resin spills (and it *will* spill eventually, trust me), it spills onto the protector. If a print detaches and falls, it impacts the protector. For literally ₹300-₹700, you can get a pack of LCD screen protectors that can save you a huge headache and a significant amount of money. It's like wearing a helmet while riding a bike – you hope you never need it, but you're really glad it's there if you do. Just make sure it's optically clear and specifically designed for resin printers to avoid light diffusion issues. A thin, clear tempered glass or PET film works wonders. Don't print without one!
7. Experiment with Different Resins: Sometimes the "Upgrade" is the Material
While not a physical upgrade to the printer itself, changing the type or brand of resin you use can feel like a massive upgrade to your print quality and capabilities. Seriously. The stock resin that comes with your printer is often just okay, a basic entry point. But the world of resin is vast and exciting!
Want tougher prints? Try ABS-like resins. Need super sharp details for miniatures? There are dedicated high-detail resins. Printing functional parts that need to withstand a bit of flex? Look into engineering resins. I've found that sometimes, just switching to a premium resin brand that has tighter tolerances and better pigment dispersion can drastically improve print success rates and surface finish, even on the exact same printer settings. Local brands like eSUN, Resione, and even Anycubic's own specialty resins offer a huge range. For example, when I need to print really intricate prototypes or models for display at Artopia Collections, I might switch to a high-precision grey resin, and the difference in crispness is astounding. It truly feels like my printer is suddenly capable of more. The cost varies wildly, from ₹1,500 for a 1kg bottle of standard resin to ₹4,000+ for specialty resins, but it’s worth exploring once you've got the basics down. You can check out some of the models I print with different resins on our site, like our Artopia Collections products – you’ll see the kind of detail I'm talking about.
Final Thoughts: It's All About the Journey, Not Just the Destination
Look, your Anycubic Photon is already a fantastic machine. It's brought the magic of high-detail 3D printing to so many of us, myself included. But like any good tool, a little optimization goes a long way. These upgrades aren't just about making your prints look better (though they absolutely will!), they're about making the *entire process* more enjoyable, less frustrating, and more reliable. From battling sticky prints to ensuring a healthy workspace, these simple changes can truly elevate your resin printing game.
Whether you're a hobbyist creating masterpieces in your spare time or running a small business like Artopia Collections, investing in these upgrades means more successful prints, less wasted resin, and more time enjoying the creative process. So go on, give your Photon the love it deserves. Happy printing, my friends!


