5 Cura Slicer Settings That Will Dramatically Improve Your Print Quality
Struggling with print quality? Discover 5 crucial Cura slicer settings that can transform your 3D prints from good to outstanding. Get ready for smoother finishes and stronger models.

Ever pull a print off your build plate, look at it, and just⦠sigh? Yeah, me too. More times than I care to admit, especially in the early days of ArtOpia Collections. You spend hours designing, slicing, the printer hums along, and then BAM! Stringing, blobs, rough surfaces, layers not sticking⦠it's enough to make you want to throw your â¹8,000 reel of silk PLA out the window. But hold on a minute! Before you lose your cool (and your expensive filament), let me tell you something: most of those headaches aren't your printer's fault. They're probably sitting right there, hidden in plain sight, in your slicer settings.
I remember starting out with my trusty old Ender 3, then upgrading to an Anycubic Kobra Go â both solid machines, honestly. But for a long time, my prints were just⦠okay. Good enough for prototypes, but not the crisp, beautiful pieces I envisioned for my little business. I was convinced I needed a super expensive printer, a Bambu Lab P1P or something crazy like that, to get that "perfect" look. But the thing is, I was wrong. Seriously wrong. What I actually needed was a deeper dive into Cura, which, let's be real, most of us just open, load a profile, and hit 'slice'.
Over the years, after countless hours of tinkering, failed prints (oh, the failed prints! I've lost enough â¹700-â¹1200 worth of filament to fund a small village, I swear), and a whole lot of coffee, I've figured out some key settings in Cura that, once dialed in, will *dramatically* improve your print quality. And I mean dramatic. We're talking about going from "meh" to "wow, did you really print that on *that* printer?" So, let's dive into five settings that changed the game for ArtOpia Collections, and I'm pretty sure they'll do the same for you.
1. Retraction Settings: Say Goodbye to Stringing & Blobs
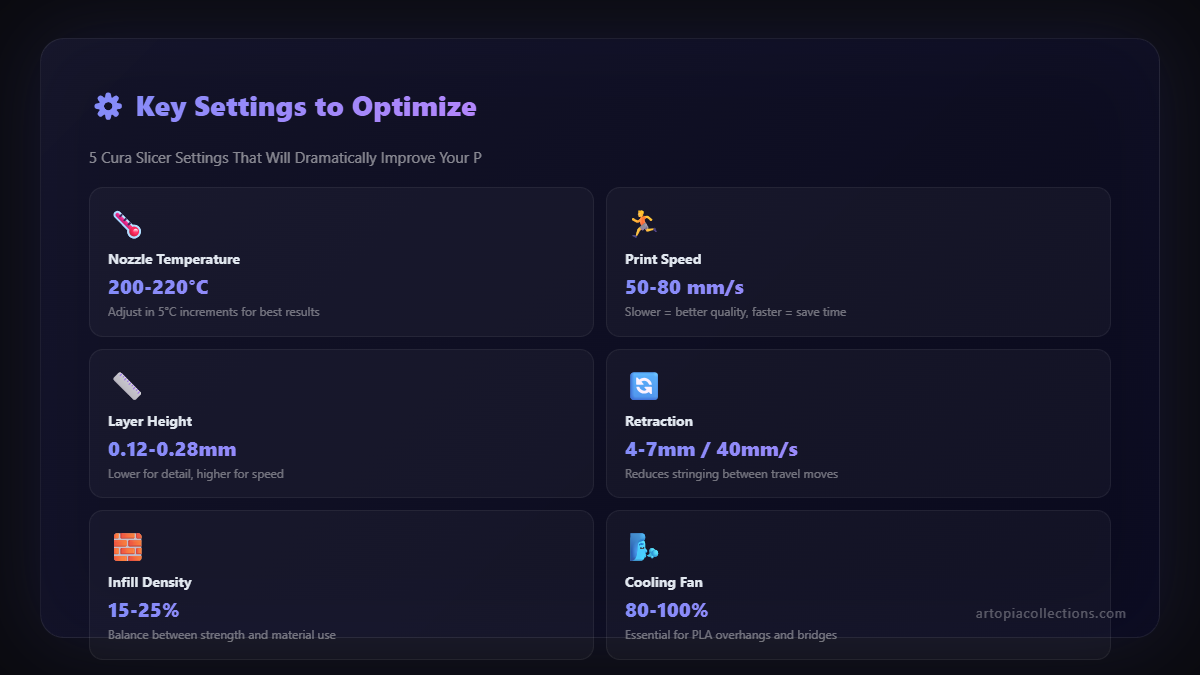
Okay, if there's one setting that causes more frustration than any other, it's retraction. Seriously, if you're seeing cobwebs on your prints or little blobs where the nozzle stops and starts, retraction is your first suspect. What is it, basically? It's when your printer pulls the filament back a tiny bit into the nozzle before moving to a new spot, preventing molten plastic from oozing out during travel. Sounds simple, right? But the devil is in the details, or rather, in the "distance" and "speed."
Retraction Distance: For direct drive extruders (like many stock Creality or Prusa setups), you're usually looking at something between 0.5mm to 2mm. Bowden setups, where the extruder motor is further away from the hotend (like on an Ender 3 Pro), need more distance, typically 4mm to 8mm. Too little, and you get stringing. Too much, and you risk clogging because the filament gets pulled too far into the colder parts of the hotend, or you get gaps in your print when it starts extruding again. I personally started with the default 5mm on my Ender 3 and had strings everywhere. After countless retraction towers (a simple test print you can find on Thingiverse), I landed on 6mm for PLA on that specific printer, and it was like magic. For my Kobra Go, which is direct drive, I use about 0.8mm.
Retraction Speed: This is how fast the filament retracts. Think about it â if it's too slow, the plastic still oozes. If it's too fast, it can grind away at the filament or even cause it to snap inside the Bowden tube. A good starting point is usually 25-45mm/s. I generally stick to the lower end, around 30mm/s, because I find it gives me a better balance without causing too much stress on the filament. Don't be afraid to experiment here; a 5mm/s change can make a huge difference. Honestly, getting these two settings right transformed my ability to print intricate models with fine details, something crucial for the unique items we make for ArtOpia Collections.
2. Initial Layer Horizontal Expansion: The Elephant's Foot Killer
Ah, the dreaded elephant's foot! You know, when the first few layers of your print bulge out slightly, making the bottom wider than it should be? It's especially annoying when you're trying to fit parts together, or when you want a perfectly flat base. This happens because the first layer gets squished a bit too much against the build plate for adhesion (which is good!), but that squish spreads the plastic outwards (which is bad!).
Cura's "Initial Layer Horizontal Expansion" setting is your secret weapon against this. What it does is basically tell the slicer to shrink the first layer's perimeter *just a tiny bit* horizontally, offsetting that squish. A common value to start with is -0.1mm to -0.2mm. On my Anycubic Kobra Go, especially when printing with a glass bed and some adhesion spray, I find that -0.15mm works wonders for PLA. For PETG, which can be a bit more prone to squish, I might even go to -0.2mm. You might need to experiment with values like -0.05mm increments until you get it perfect. It's a subtle change, but it makes a massive difference in the dimensional accuracy of your final print, especially if you're dealing with interlocking parts or precise enclosures. I spent so long sanding down the bases of my prints before I discovered this setting, and now I barely touch them. It saves so much time and effort!
3. Flow (Extrusion Multiplier): Perfecting Plastic Output
This one is critical for overall print quality, but it's often overlooked. "Flow" or "Extrusion Multiplier" basically controls how much plastic your printer pushes out compared to what the slicer *thinks* it should be pushing out. If your flow is too high, you get over-extrusion â thick, messy layers, blobs, and dimensions that are too large. If it's too low, you get under-extrusion â thin, weak layers, gaps, and prints that easily break apart. It's like tuning a guitar; everything needs to be just right.
Most filaments come with a recommended flow rate, usually around 100% (or 1.0). But here's the deal: not all filaments are created equal, even from the same brand. And your specific printer, nozzle, and hotend setup can affect it. So, how do you calibrate it? You print a single-wall cube (you can find these calibration cubes online, just search for "flow calibration cube"). Measure the wall thickness with calipers. Let's say your slicer thinks it should be 0.4mm (for a 0.4mm nozzle, one perimeter). If you measure 0.45mm, you're over-extruding. You'd adjust your flow down. The formula is simple: (Desired Wall Thickness / Measured Wall Thickness) * Current Flow % = New Flow %. So, (0.4 / 0.45) * 100% = 88.8%. You'd then set your flow to around 89% and re-test.
I usually aim for a flow rate between 90-95% for most of my eSun or Overture PLA filaments. Honestly, very rarely do I stick with 100%. One time, I was trying to print a vase mode model, and it kept having tiny gaps, making it leak. Turns out, my flow was set too low at 92% from a previous, different filament. Bumping it up to 96% for that specific brand fixed it instantly. Calibrating this is a bit of work, but it pays off with cleaner prints, better dimensional accuracy, and stronger parts. You can find good quality filament like this selection of PLA filament on Amazon.in to make your calibration efforts count!
4. Print Temperature: The Foundation of Good Quality
This might seem obvious, but print temperature is probably the single most impactful setting for almost *every* aspect of your print quality â layer adhesion, surface finish, stringing, bridging, and even strength. Too hot, and you'll get excessive stringing, oozing, brittle prints, and poor bridging. Too cold, and you'll have poor layer adhesion, rough surfaces, and potential clogging. It's a delicate balance, and it varies a lot between filament types, brands, and even colors!
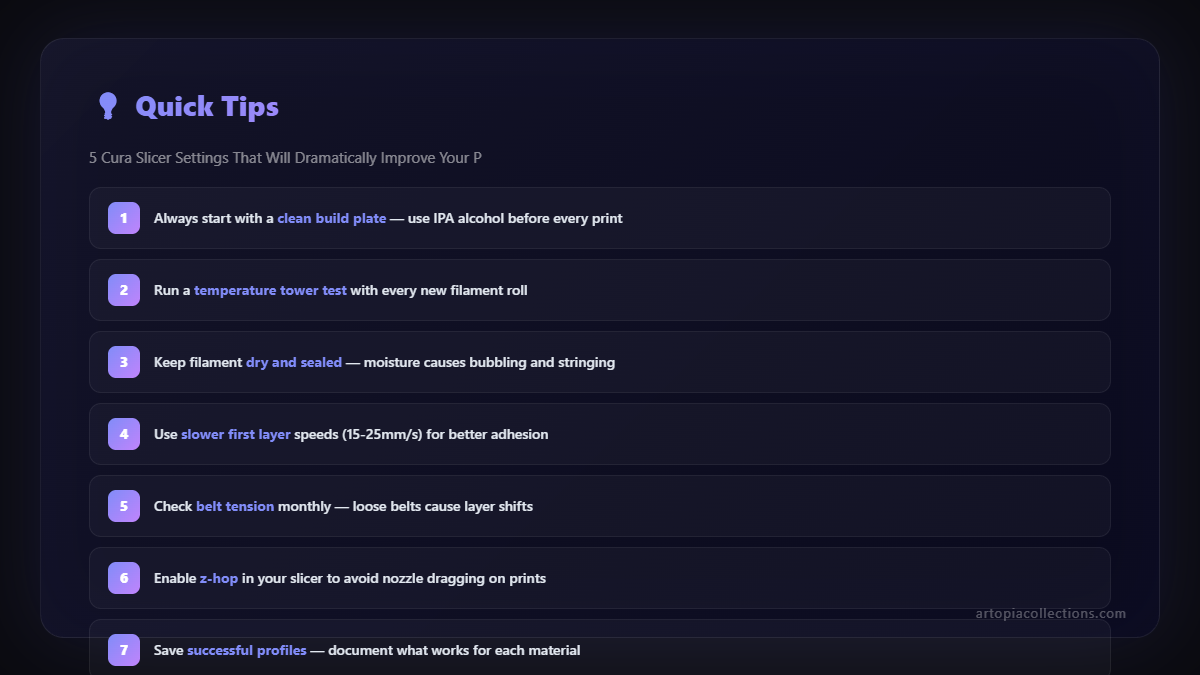
Most PLA filaments suggest a range of 190-220°C. For PETG, it's typically 220-250°C. But don't just pick a number and stick with it. I always, always recommend printing a "temperature tower" for every new spool of filament I open. It's a test print that changes temperature every few layers, letting you visually identify the optimal temperature for that specific material. You can buy a good nozzle set like this one to experiment with different materials and temperatures without worrying about wear and tear on your brass nozzle.
For example, I've got this one brand of cheap local PLA that prints beautifully at 205°C, while my premium Eryone PLA works best at 215°C. The difference in surface finish and layer adhesion between those 10 degrees is monumental. One time, I was trying to print some intricate keychains for a bulk order, and they kept breaking at the layer lines. Turns out, I had inadvertently used a profile set to 195°C. Bumping it up to 210°C instantly solved the problem, resulting in much stronger, more reliable parts. It's the simplest setting to change, but often the most overlooked when troubleshooting weird print issues.
5. Part Cooling Fan Speed: Surface Finish and Overhangs
Okay, so you've got your retraction dialed in, no elephant's foot, perfect extrusion, and the right temperature. What's next for that *really* crisp look, especially on overhangs and small details? It's your part cooling fan speed. This fan blows air directly onto the freshly extruded plastic, cooling it down quickly so it solidifies faster. This prevents sagging on overhangs and helps maintain sharp details on corners and small features. Without proper cooling, your plastic stays molten for too long and can deform.
For PLA, you generally want 100% fan speed for most of the print, starting after the first few layers (to ensure good bed adhesion). In Cura, you'll find settings for "Initial Fan Speed," "Regular Fan Speed at Layer," and "Maximum Fan Speed." I usually set my initial fan speed to 0% for the first 2-3 layers, then ramp it up to 100% by layer 4 or 5. This gives the first layer a chance to really stick to the bed without premature cooling causing warping.
However, it's not always 100%. For materials like ABS or ASA, you might actually want *less* cooling or even no cooling at all, because rapid cooling can cause warping and cracking. For PETG, I find that 30-50% fan speed is usually ideal, as 100% can lead to brittle prints and poor layer adhesion. It's counter-intuitive, I know! But that's 3D printing for you â always a new curveball. If you're seeing droopy overhangs, blobbing on sharp corners, or generally melty-looking details, crank up that fan speed (for PLA, anyway!). If your layers aren't sticking well, especially with PETG, try turning it down a bit. This setting, for me, was the final polish, making the difference between "good" prints and "professional-looking" prints for ArtOpia Collections.
Wrapping It Up: The Art of Tinkering
Look, I get it. Diving deep into slicer settings can feel overwhelming, especially when you just want to hit 'print' and have it magically work. But honestly, these five settings â Retraction, Initial Layer Horizontal Expansion, Flow, Print Temperature, and Part Cooling Fan Speed â are the bedrock of consistently high-quality 3D prints. They're not "set it and forget it" parameters; they require a bit of patience, some test prints, and a willingness to experiment. That's the beauty (and sometimes the frustration) of this hobby and business!
My biggest advice? Change one setting at a time. Seriously, just one. Print a small test cube, examine the results, and then adjust again. Don't go wild and change everything at once, or you'll never figure out what fixed (or broke) your print. And remember, every filament spool is a little different, even from the same brand. So, a bit of calibration for each new one goes a long way. It might feel like extra effort upfront, but the amount of time, material (and sanity!) you'll save in the long run is priceless.
So, go on, fire up Cura, and start tinkering. You'll be amazed at the difference these small adjustments can make. Happy printing, my friends! And hey, once you've dialed in those settings and are churning out masterpieces, why not check out some of the unique designs we create here at ArtOpia Collections? Maybe you'll find some inspiration for your next perfect print!


